A journey of a million miles begins with a single step.... or hours of sanding

Jeez, I'm sure everyone knows that it's a ton of work to prep an engine bay, or a whole car, for paint, but you never really know how much work it is until you do it.
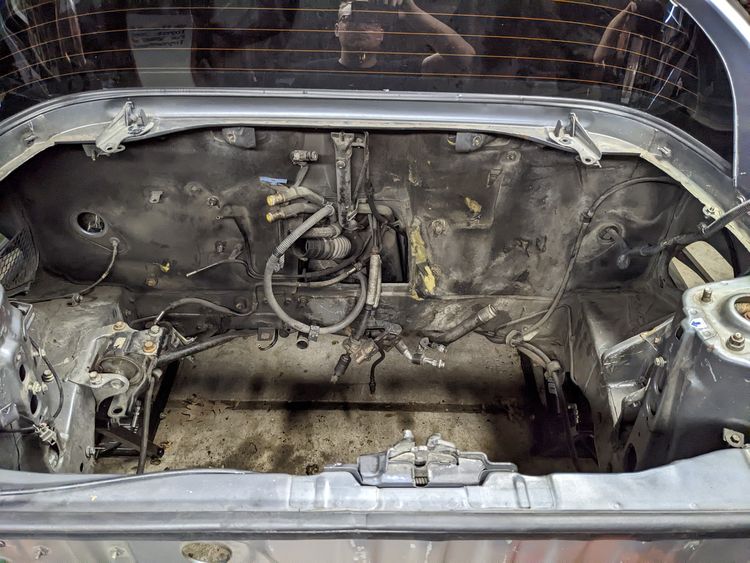
In the last post, we left off with a nice clean engine bay, but there was still some improvement to be made. I knew I wanted to paint the car eventually and I did not want the bay to be left the factory color. Unfortunately, I can't paint it the same color as the exterior for a number of reasons. First, I'm not 100% set on the color I want for the exterior. Second, I think even if the bay isn't the same color, a freshly painted bay will still look better that the original paint cleaned up.
Through the course of this post (really, the whole site, if we're being honest), you will realize that I am the hardest working, most determined, lazy S.O.B. around. You can really tell I come from IT when I am willing to put in hours of work to save 10 minutes somewhere else. Sanding is not fun, I think we can all agree on that? I'm perfectly content putting on some music or a podcast and mindlessly chugging away. But sanding is a struggle.
Unfortunately my inexperience was showing and both not knowing how much work this was going to involve, but also when to stop. I later found that if there wasn't rust, or any major paint defects, I could probably have given the bay a light scuff with a maroon Scotch-Brite and called it a day. I went MUCH farther than that as you will see...
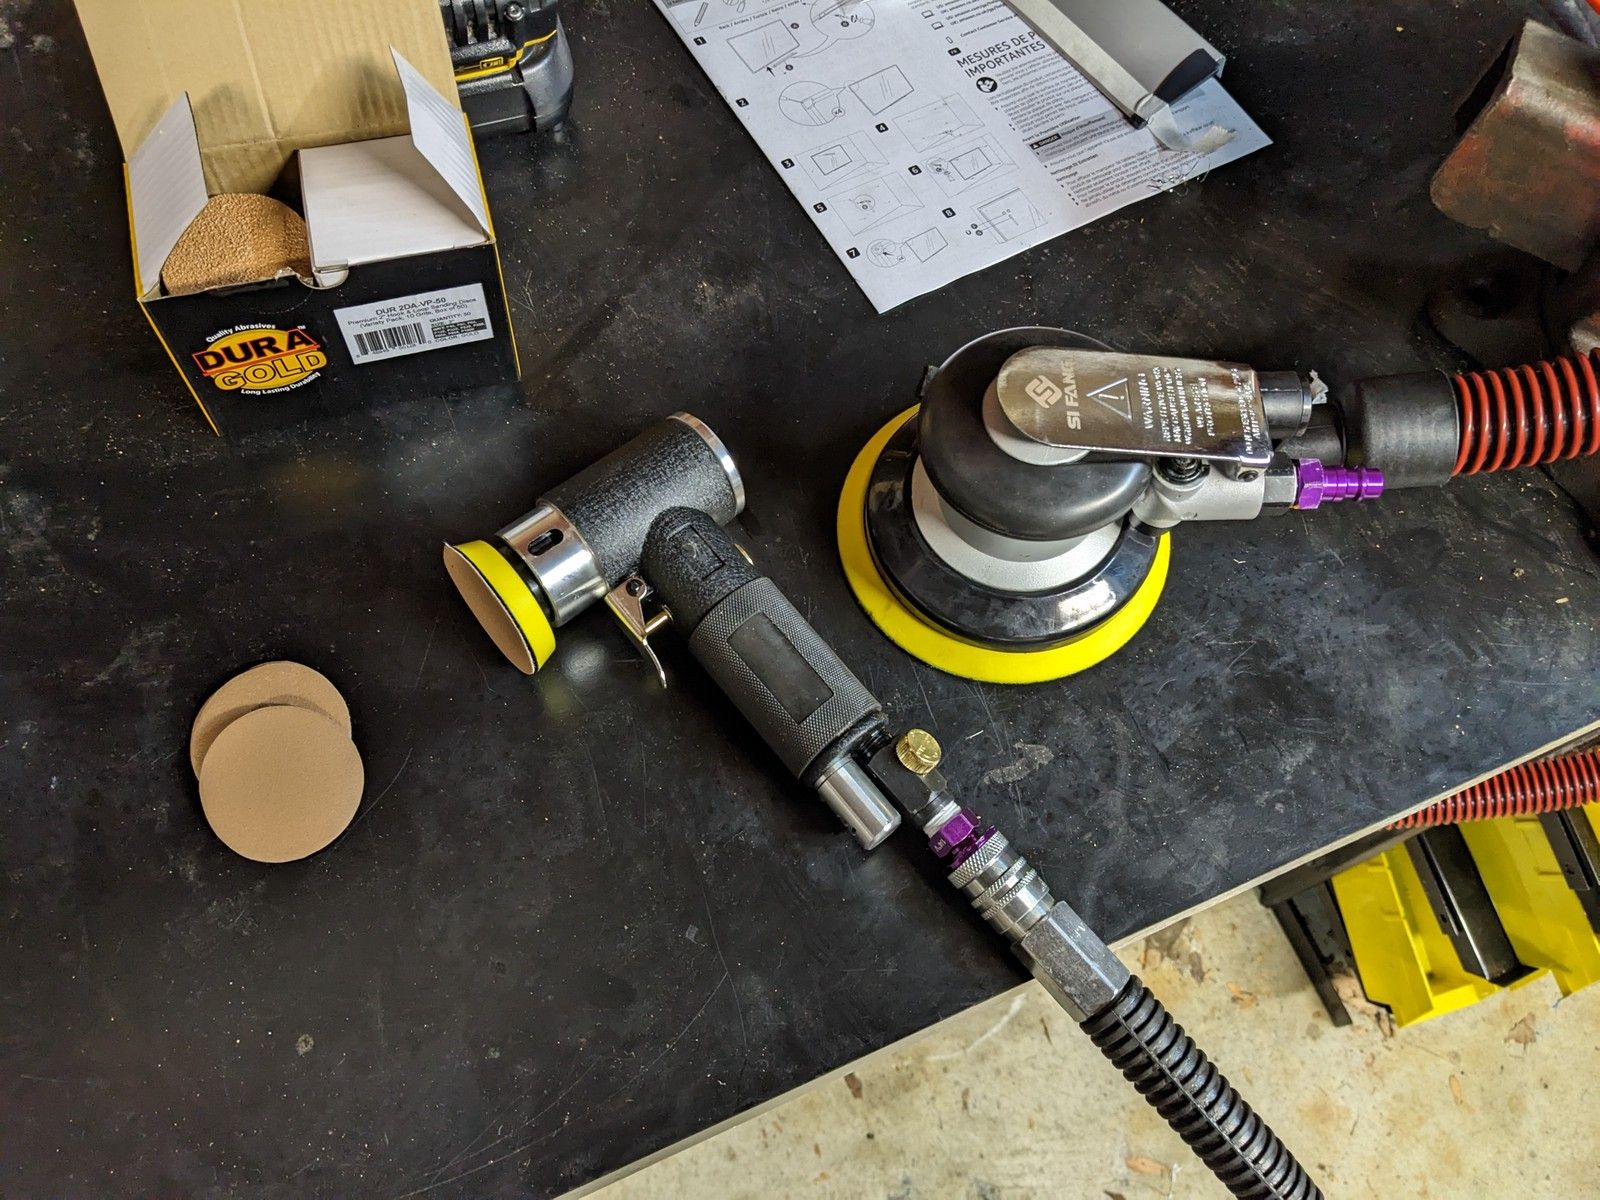
I picked up a couple DA sanders with sandpaper sizes ranging from 1", 2", 3", and 5". And even though I did not use them to their maximum potential I did get some great use out of them, especially the small one! Highly recommended.
I used the DAs until I began feeling like I was not getting through the bay efficiently, not to mention that I would have to do a good portion of the sanding in the tight areas by hand. I even enlisted the Mrs. (only when the garage heater was on, of course). I figured there must be a better way to cut through this paint!
A buddy of mine, who was traditionally trained as a mechanic, said the best way he's removed old paint from an engine bay was paint stripper. He said the paint should just bubble right off. That sounded exactly like what I wanted! He specifically said "Aircraft grade" which I would later find to be an important characteristic..
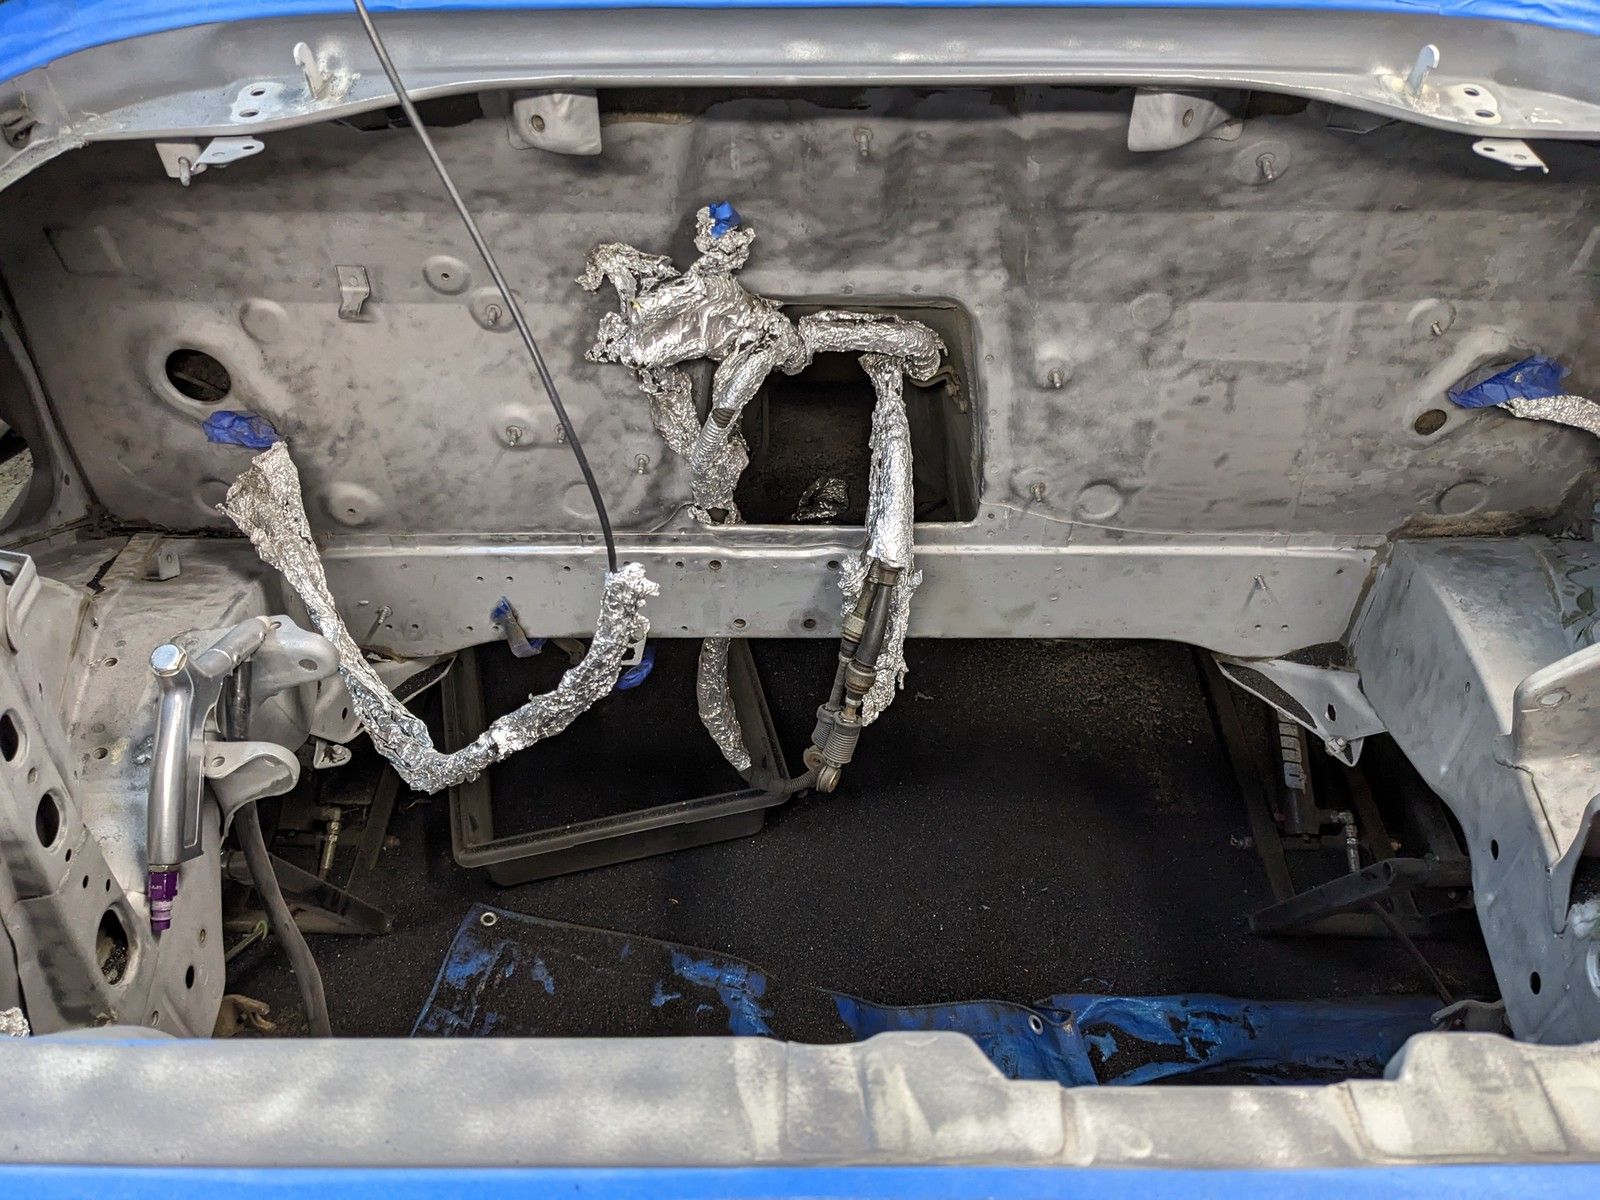
I went to the local hardware store and bought the strongest stuff they had. The instructions were pretty straightforward, scuff up the surface to get some adhesion, lay a thick coat of paint stripper on your surface, cover the surface with plastic to trap the stripper onto the surface, wait about 10-15 minutes and scrape it off. Simple enough.
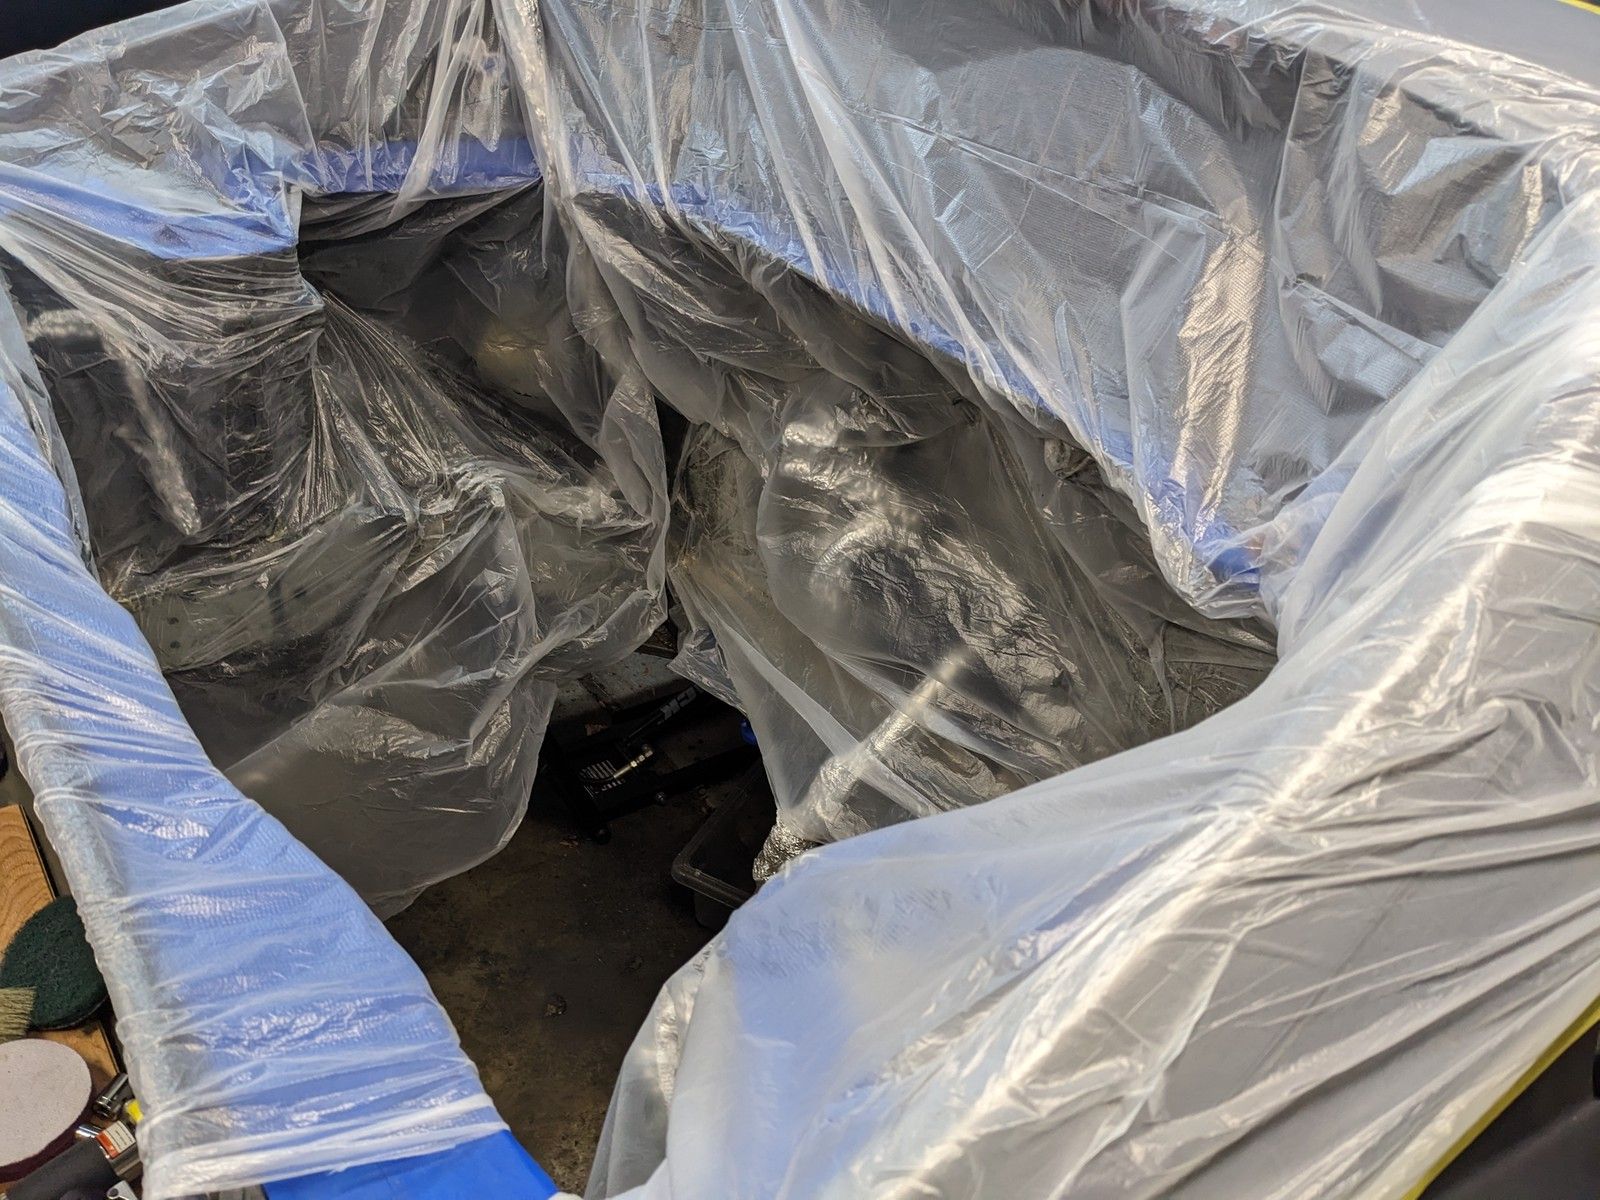
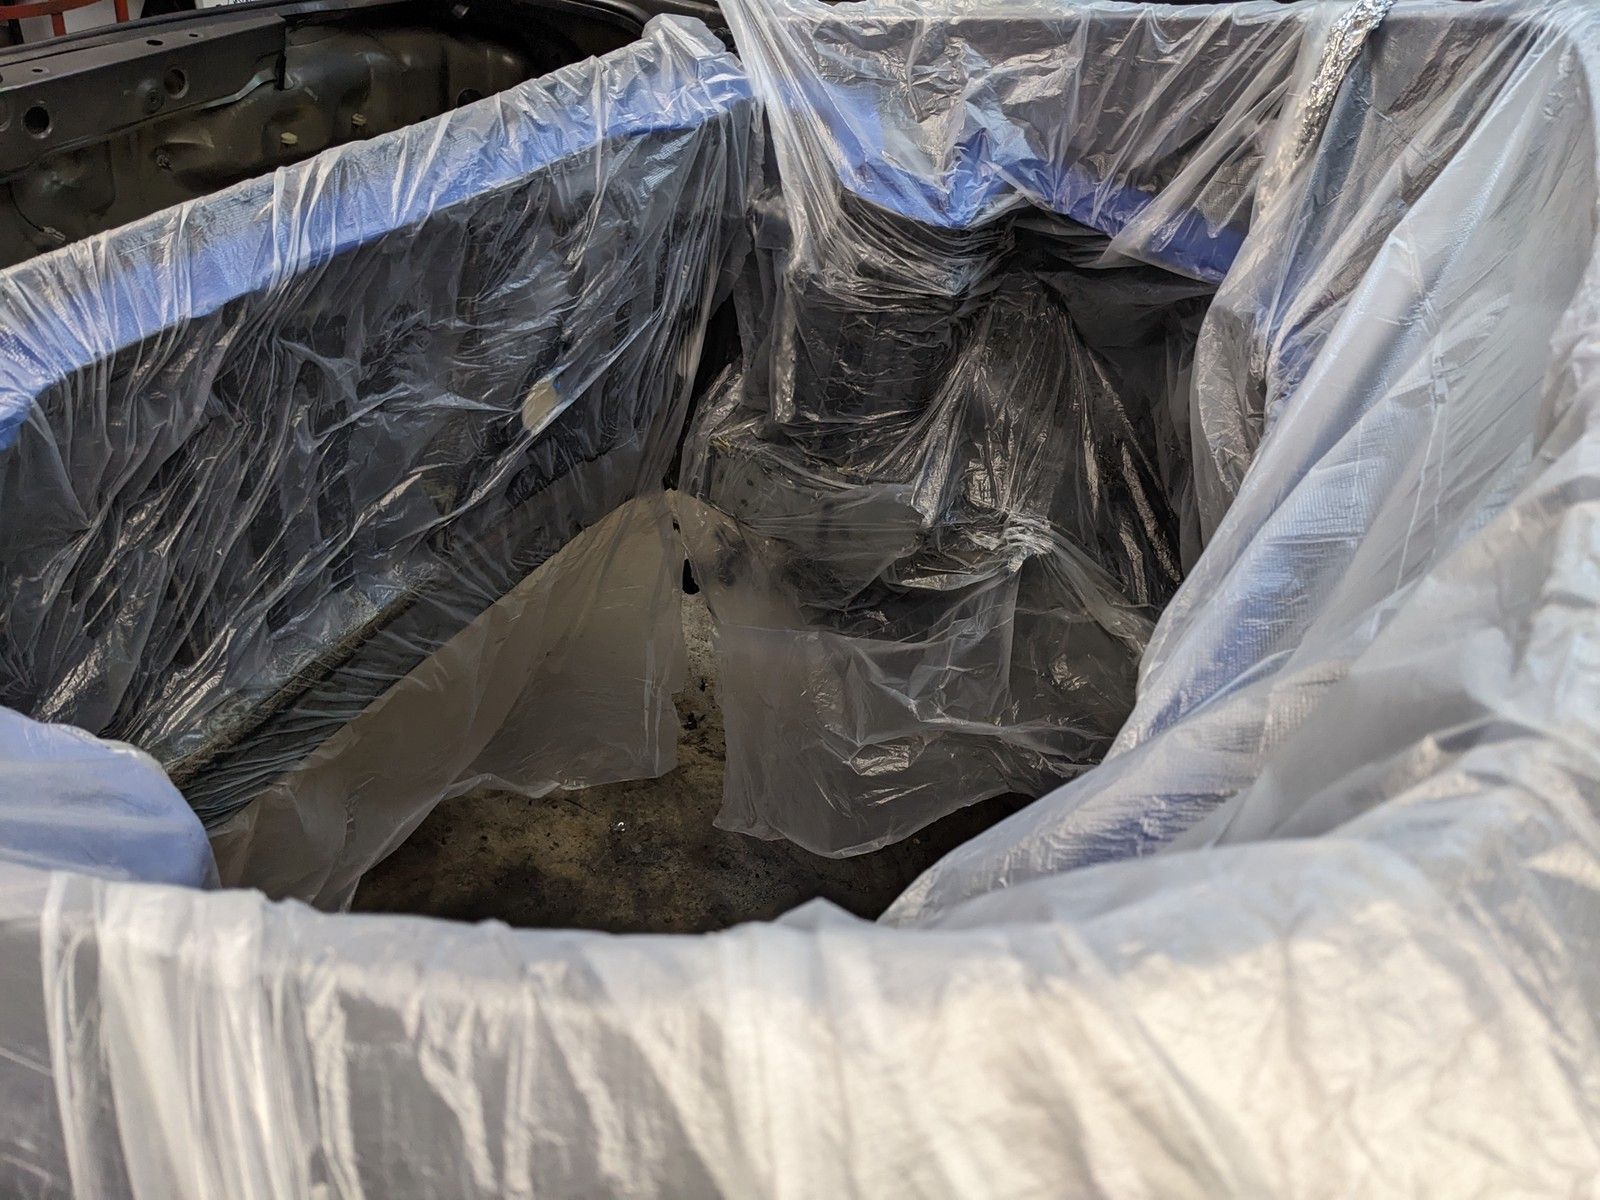
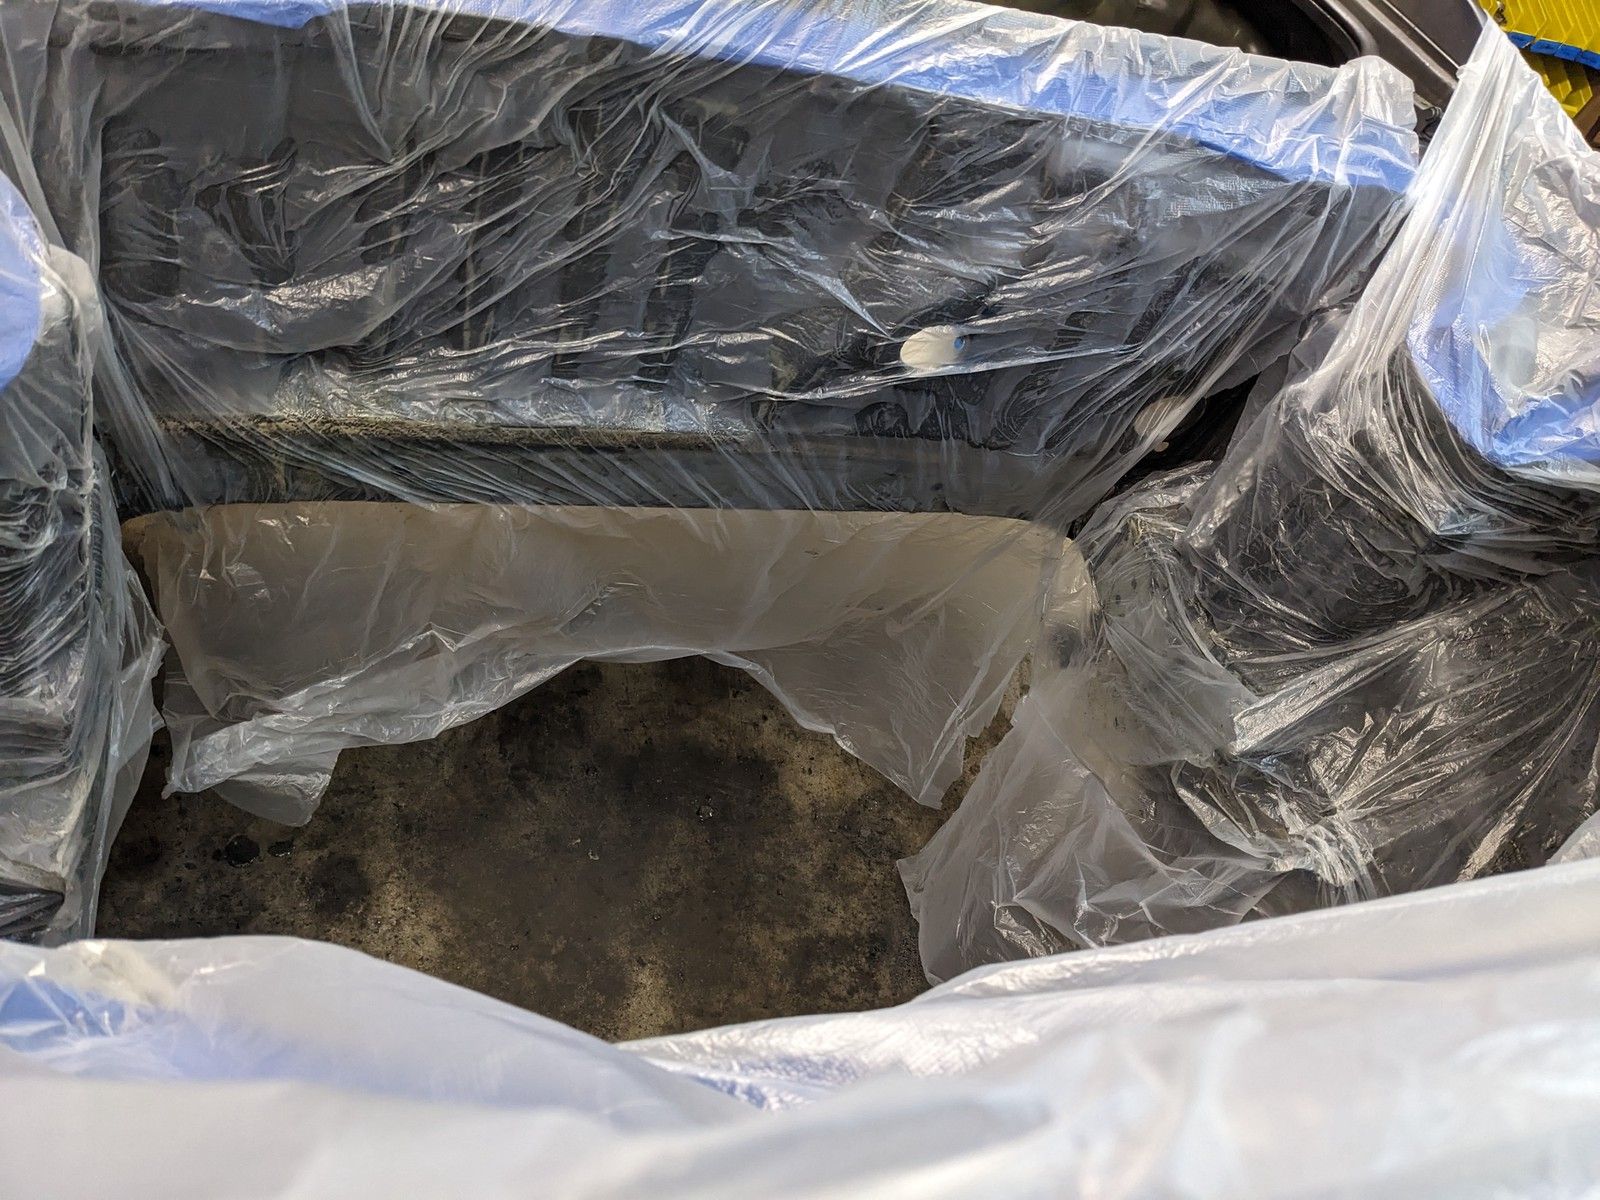
In fact, it was pretty simple. Scuff the surface, lay down stripper as thick as you can, cover, wait, scrape.
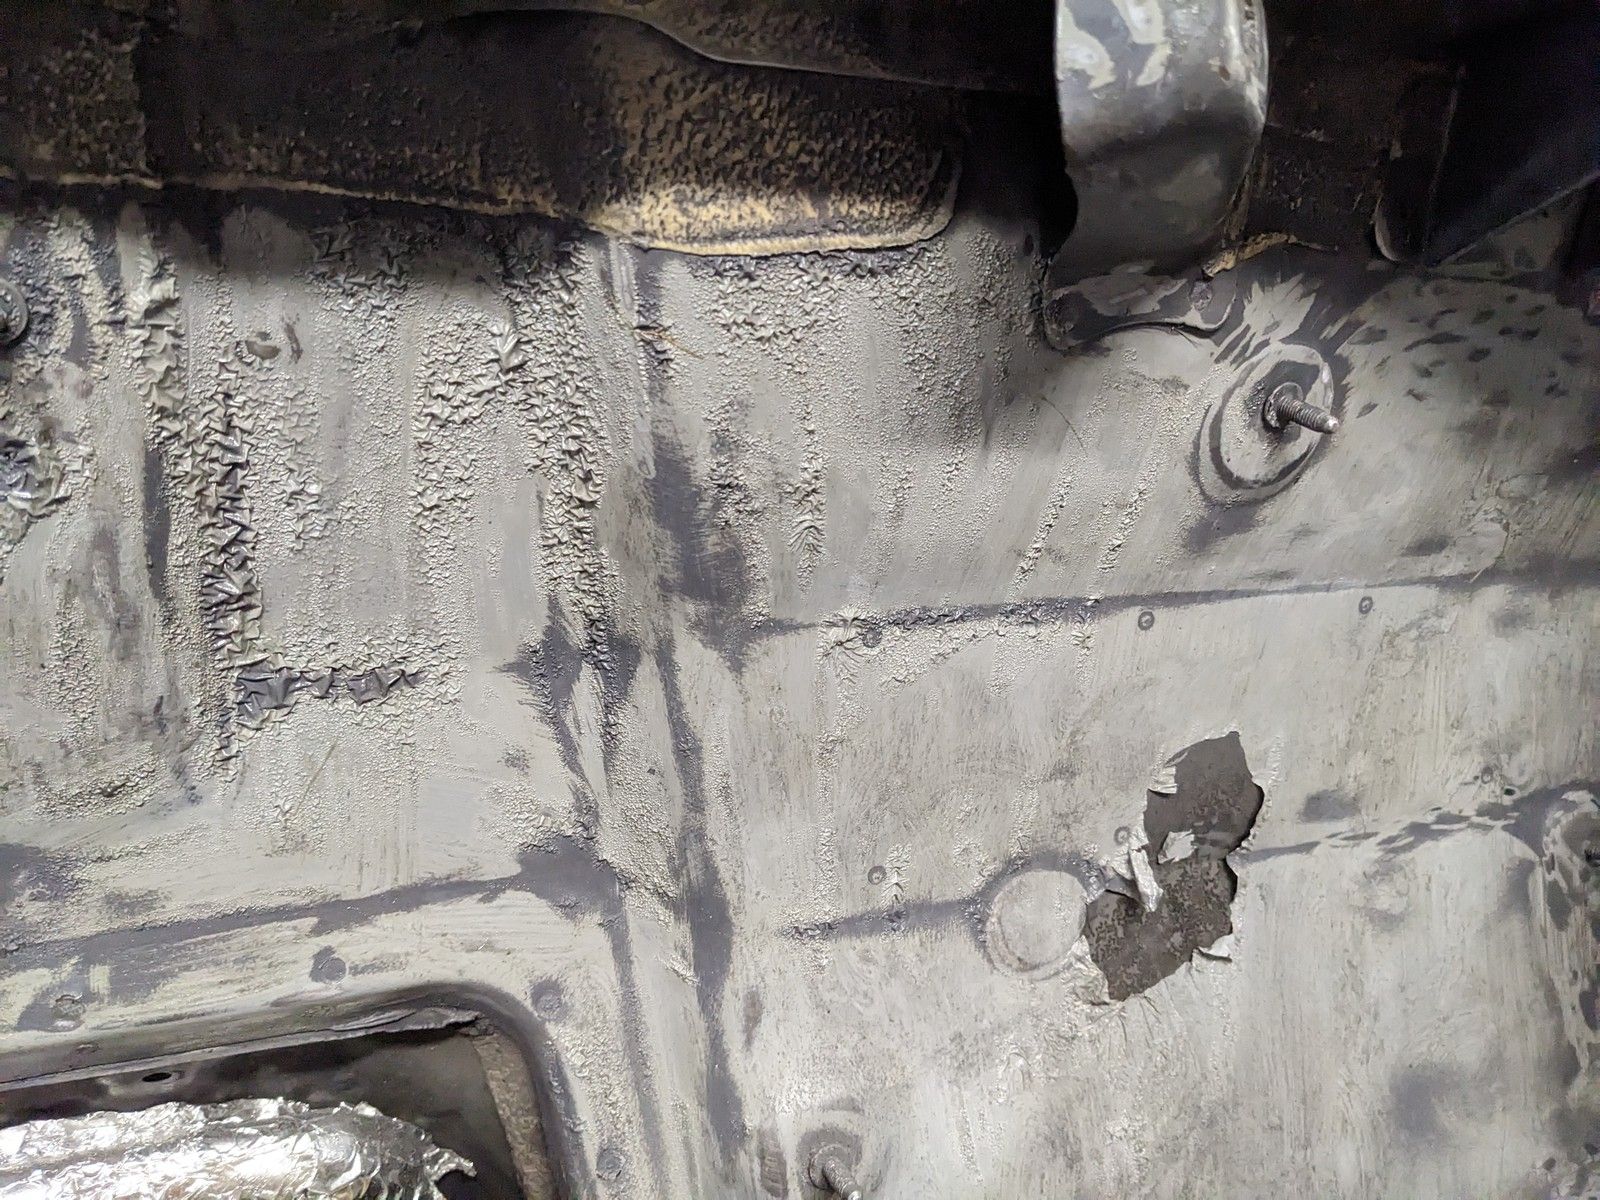
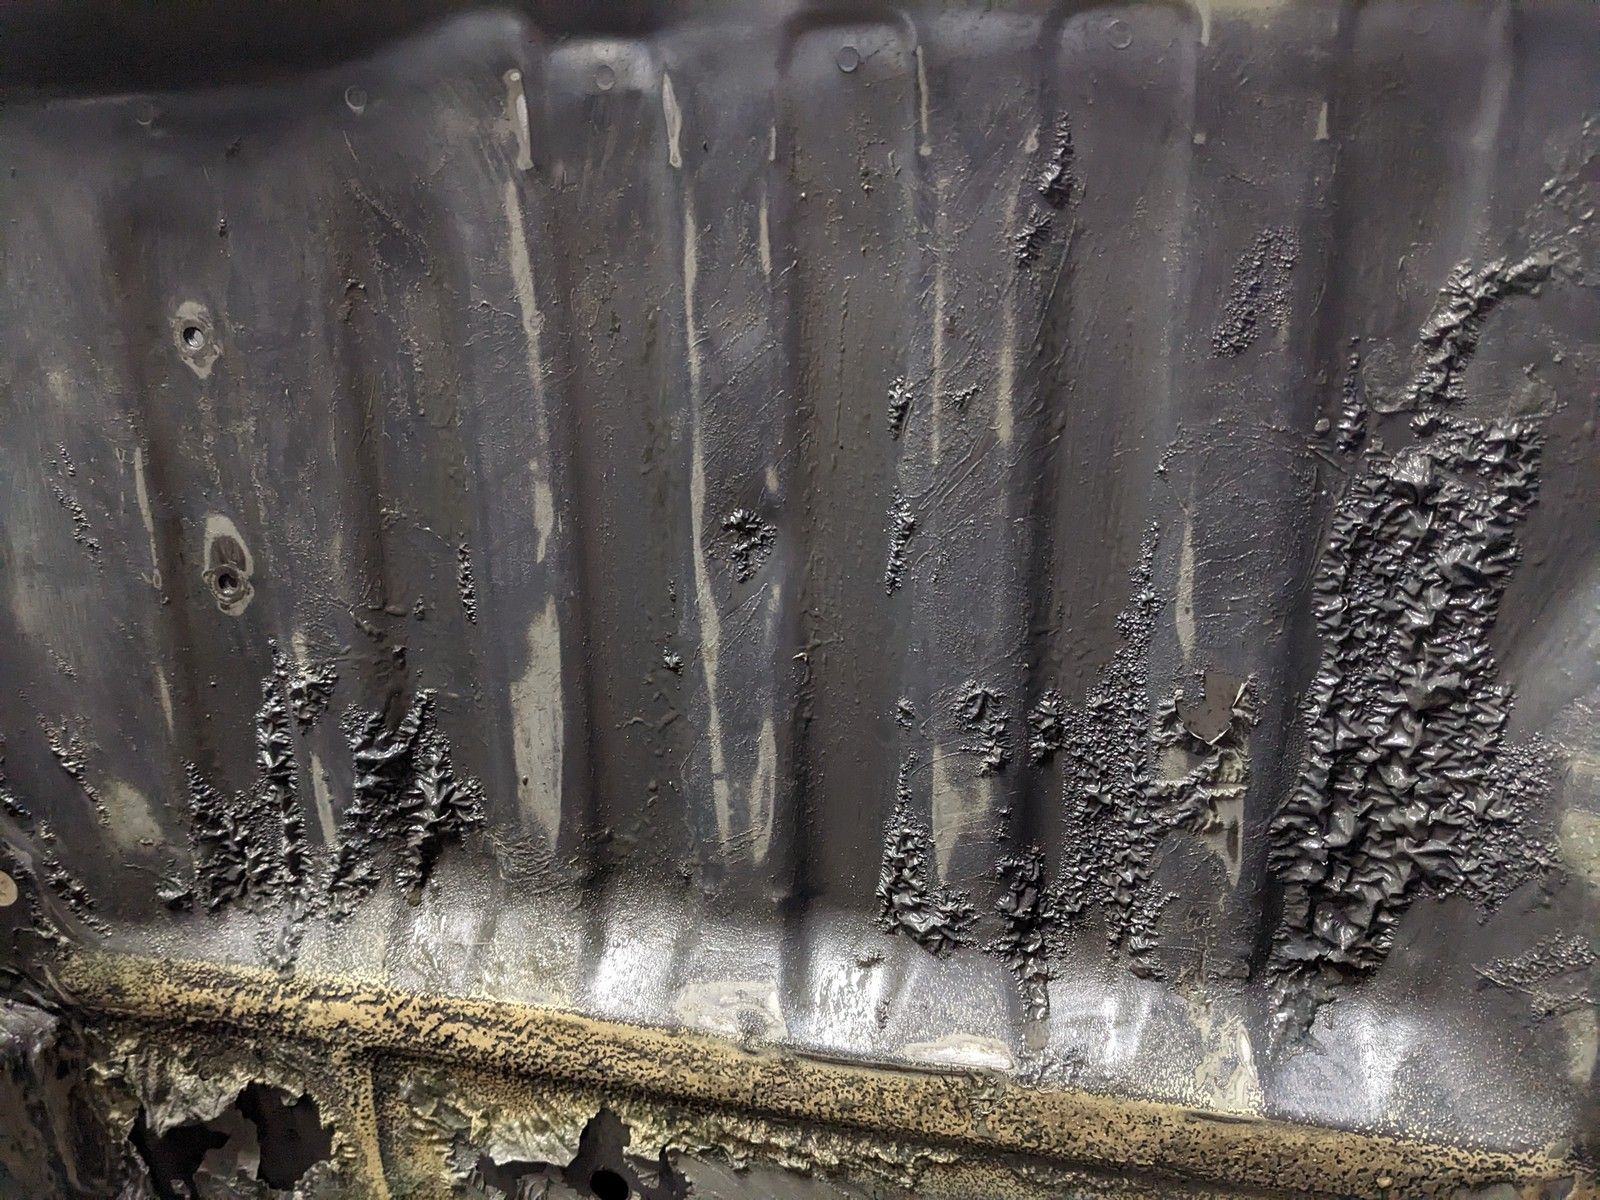
It was easy, but unfortunately, too easy. It just wasn't having the affect I had hoped for. It was bubbling up, but very patchy. The areas that weren't bubbly were still stuck to the surface and scraping was not going to be enough to remove it.
This was disappointing and led me down a rabbit hole of why it wasn't working like other people, and my friend, said it would.
Well... if you don't know, it's because it isn't as good. There is an "old formula" typically called "Aircraft grade" that contained Methylene Chloride. It would, effectively, melt the paint right off the metal. While it was very effective it was also extremely dangerous. And like many dangerous things, it eventually ends up in the hands of people that are not skilled or educated how to safely (or at least as "safely" as possible) use it.
For the record, trust me, I would be one of those unskilled idiots that ends up doing actual harm to myself if were still around.
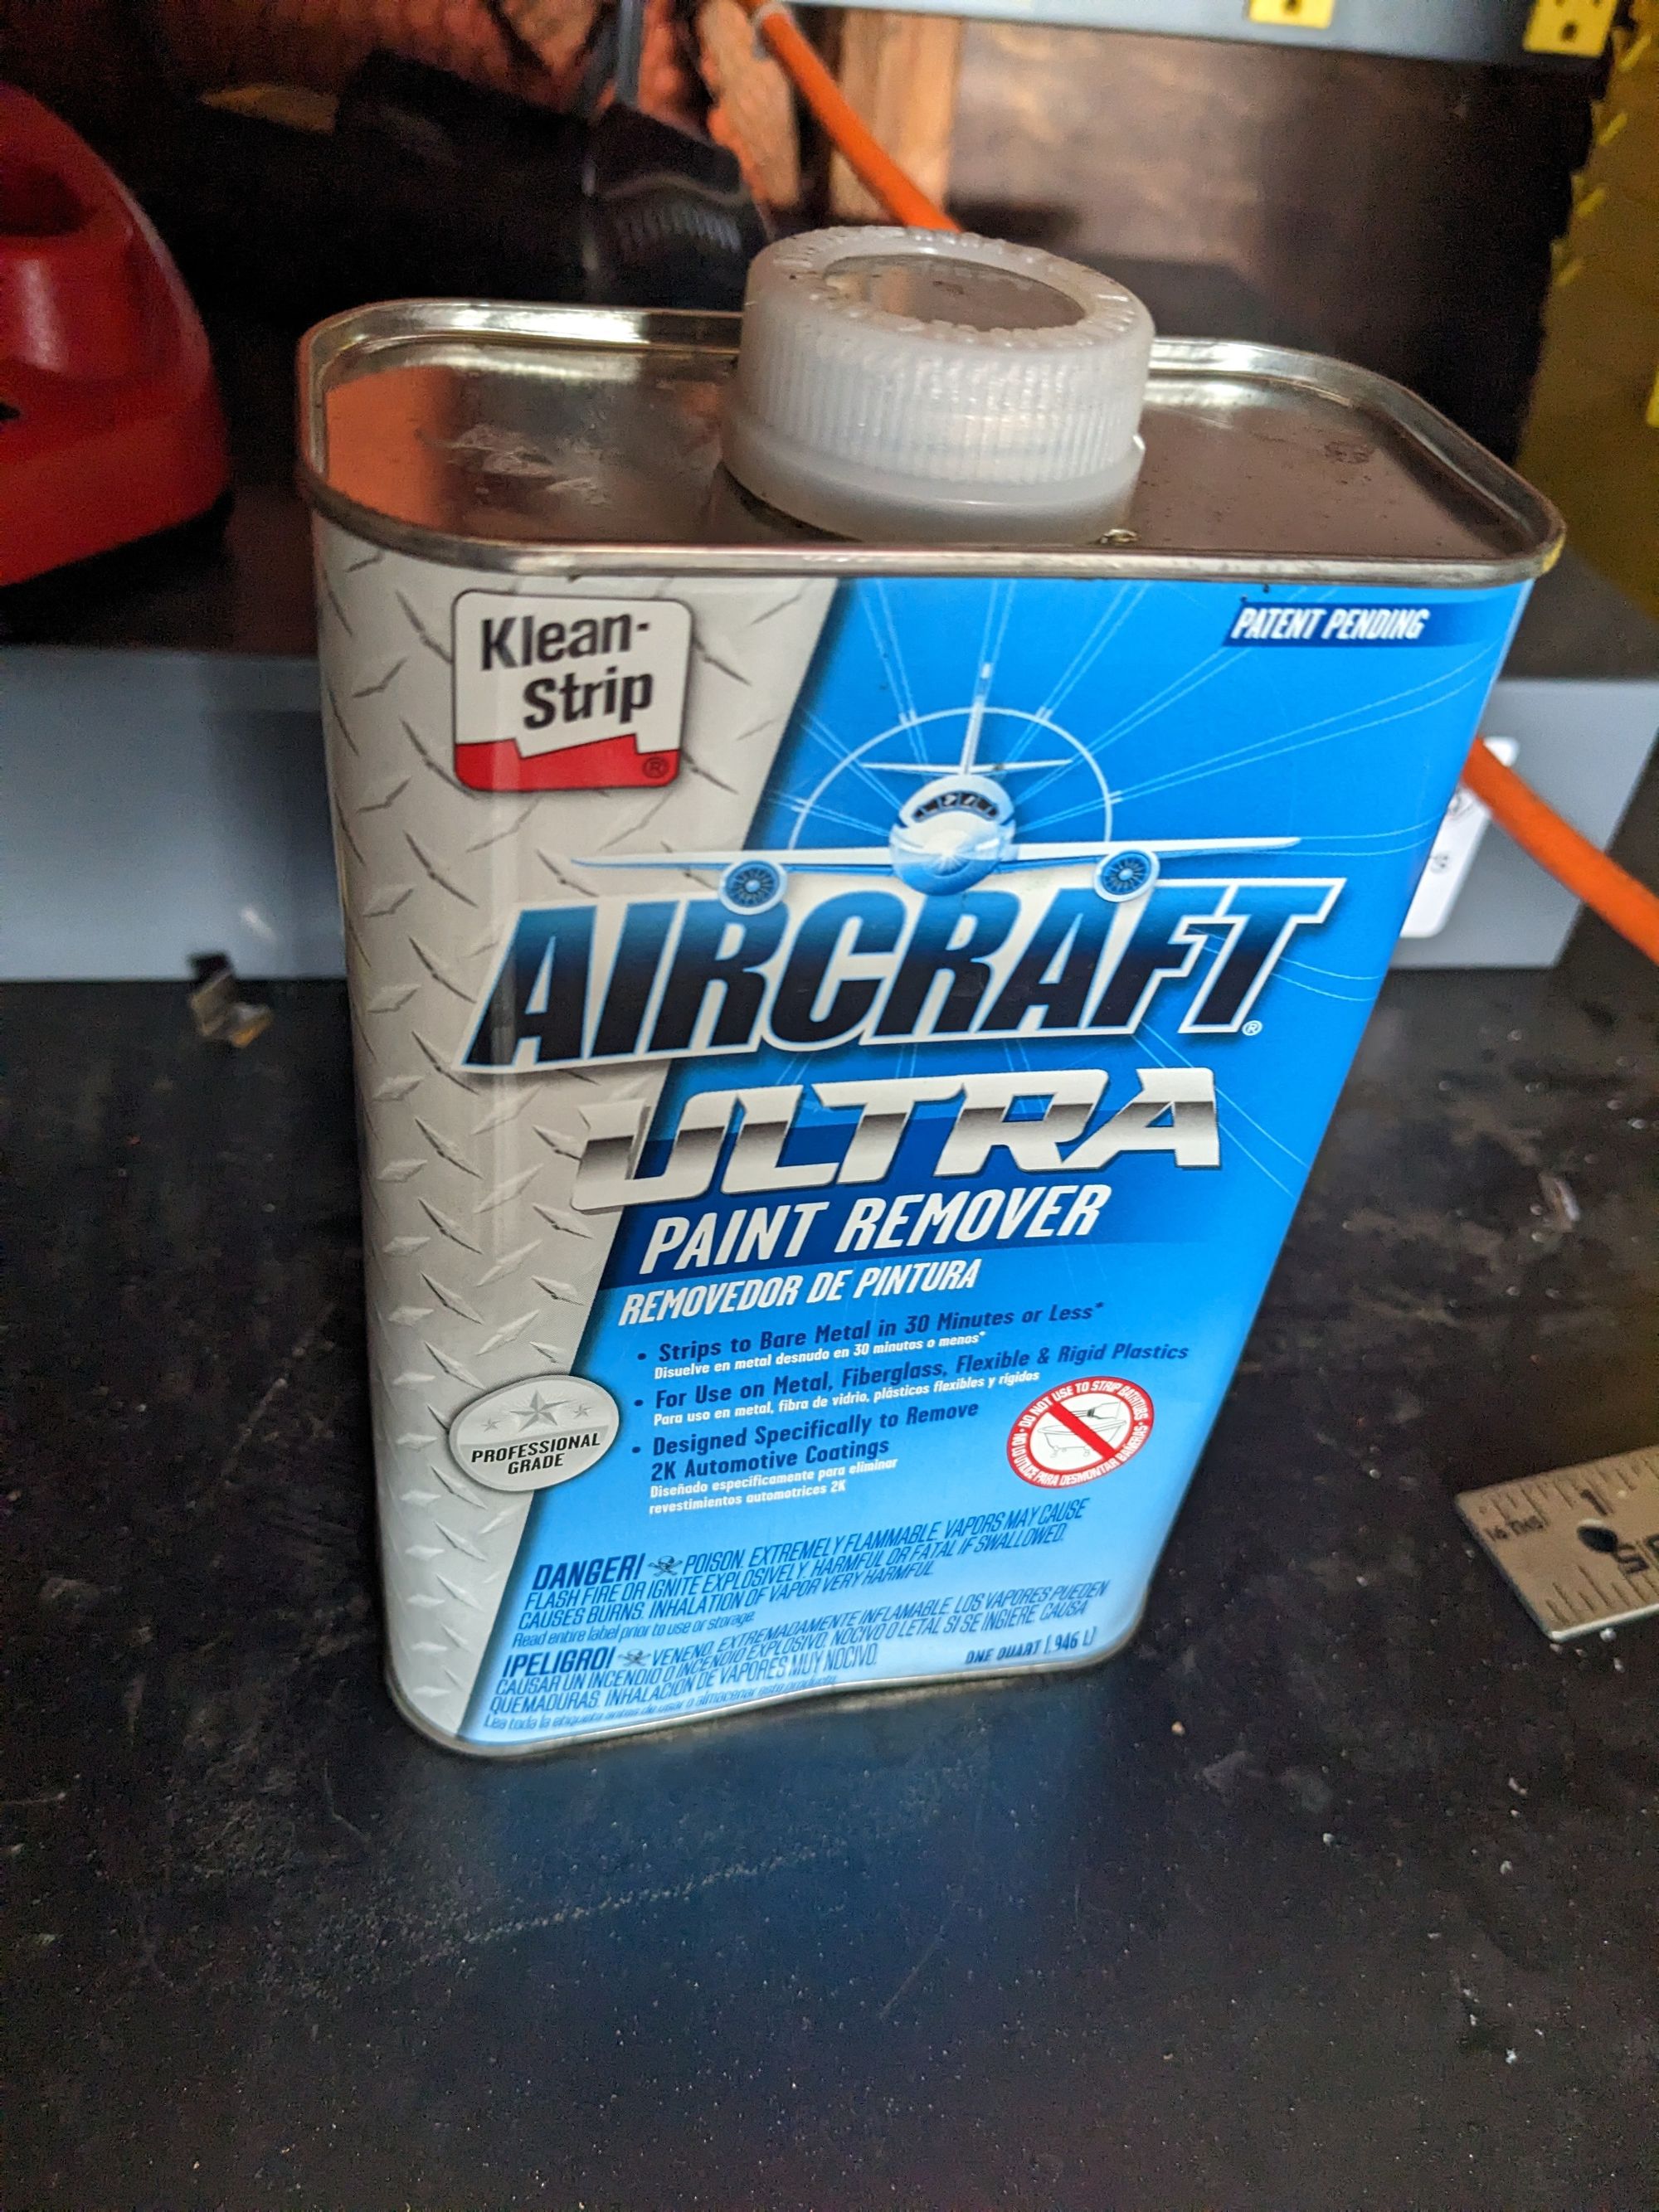
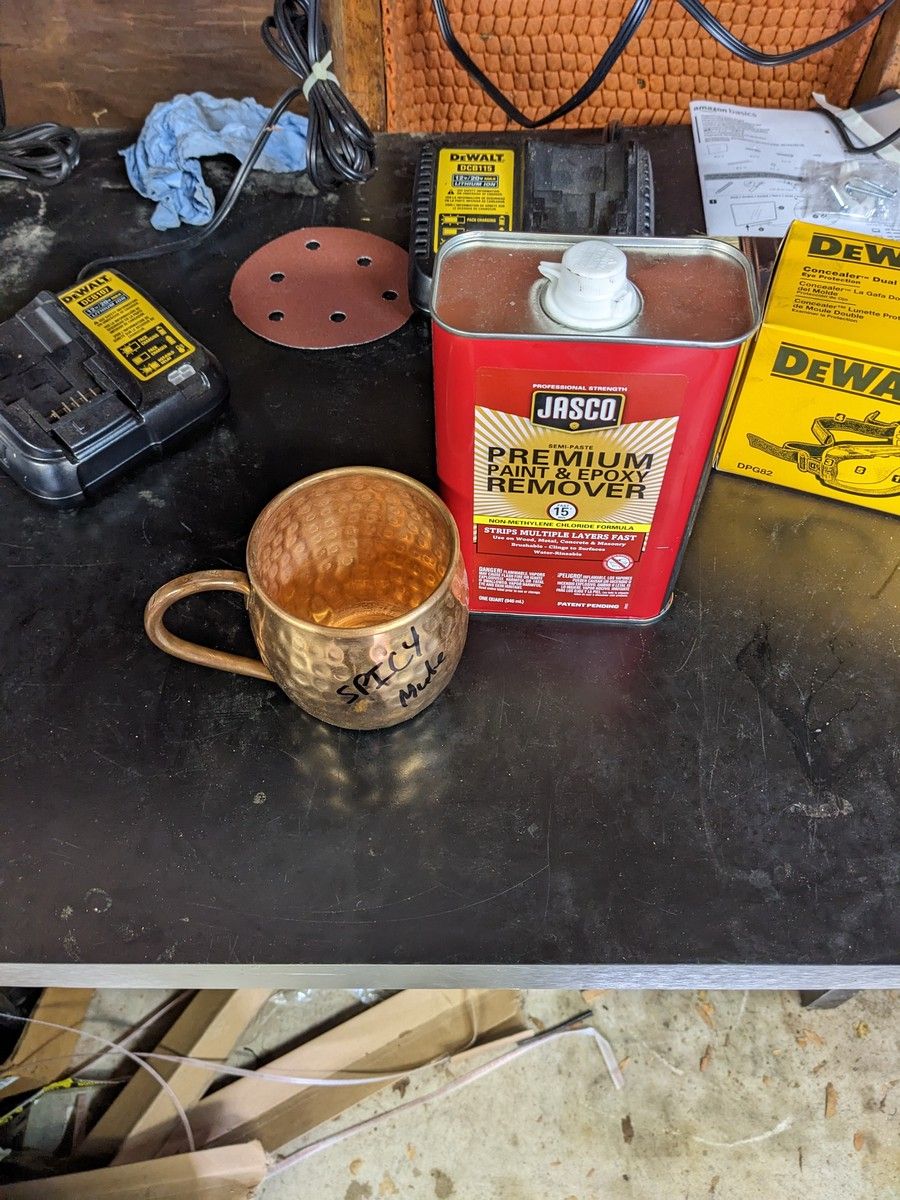
Apparently, I was in luck, Klean-Strip had just released a new paint remover that claims to be as good as the old stuff. It's unavailable for sale in 9 States ....so I think I've found the strongest stuff you can get today.


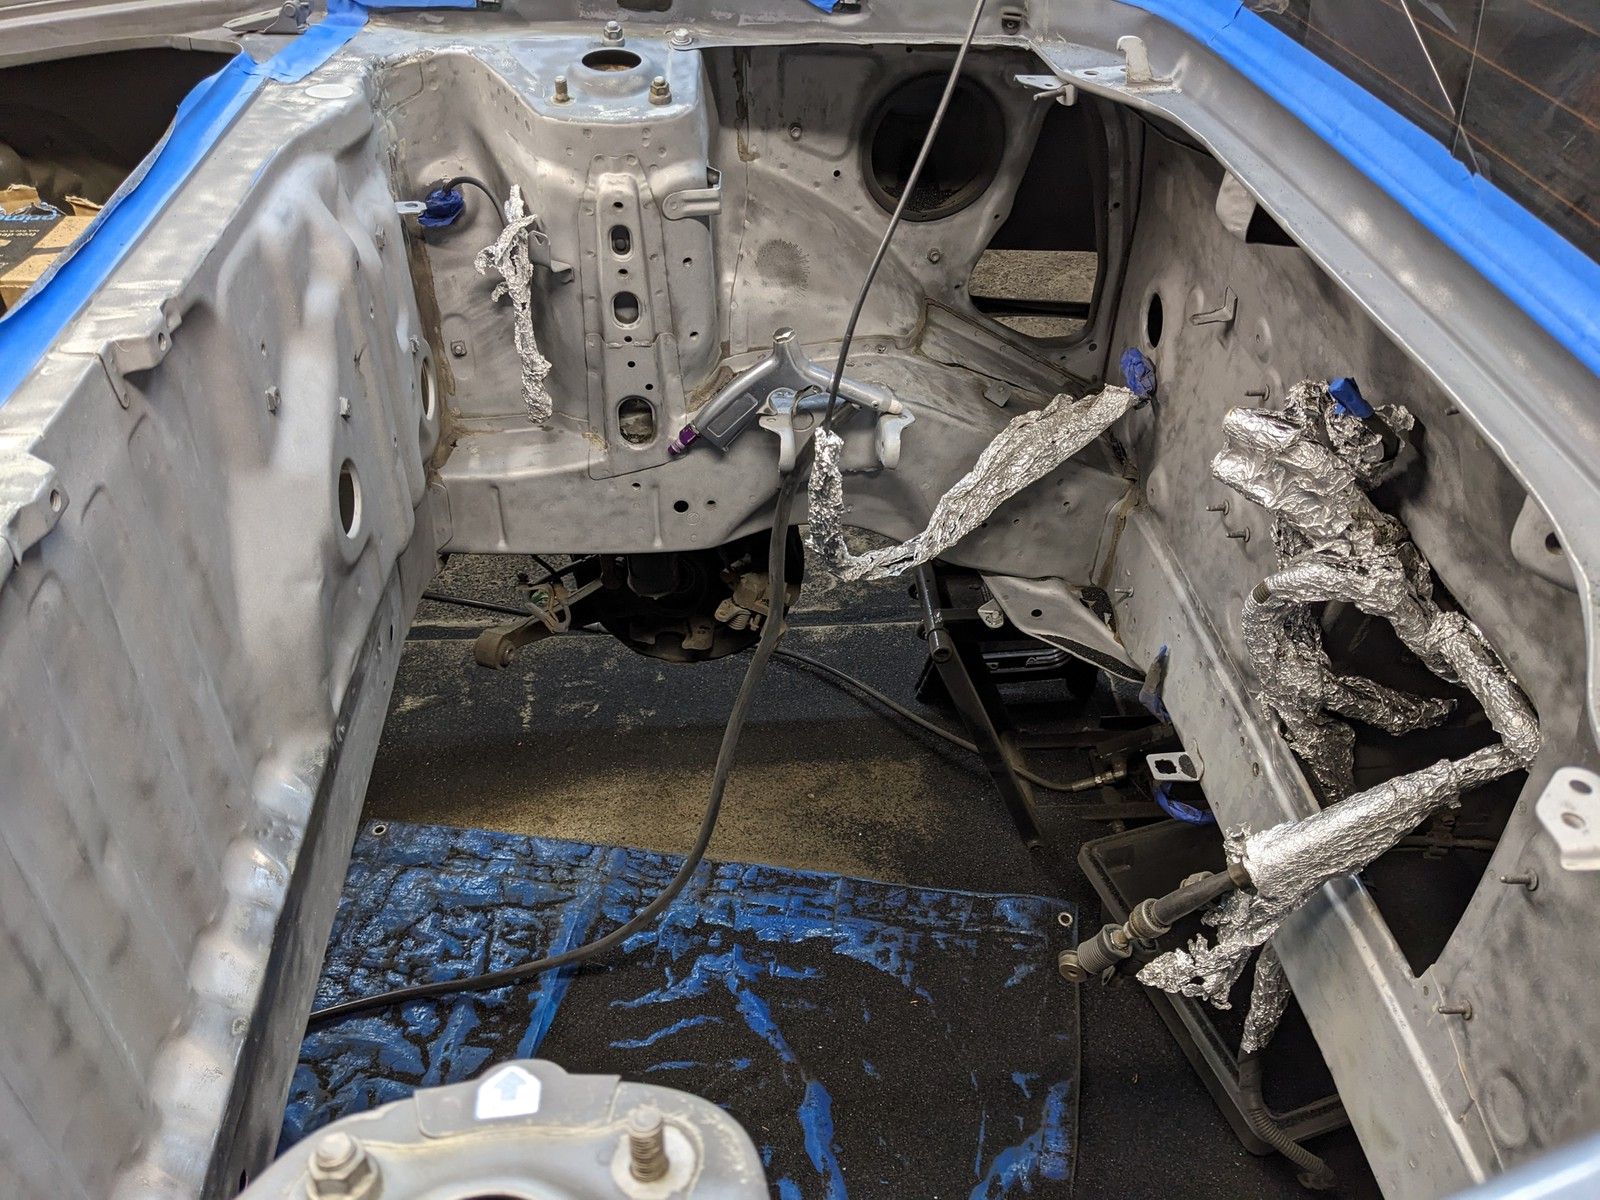
I did the whole song and dance again, scuff, lay, cover, wait, scrape. And while the results were better, it still wasn't the magic bullet I was looking for.
The biggest issue I had now was just how patchy it was. I think if I had used the stronger stuff from the beginning I could have had better results, but it was very hard to use. Even in full PPE I felt overwhelmed by the odor and could not get through the whole bay. I had to do it in stages. I would use it again, but only on smaller parts and fully outside.
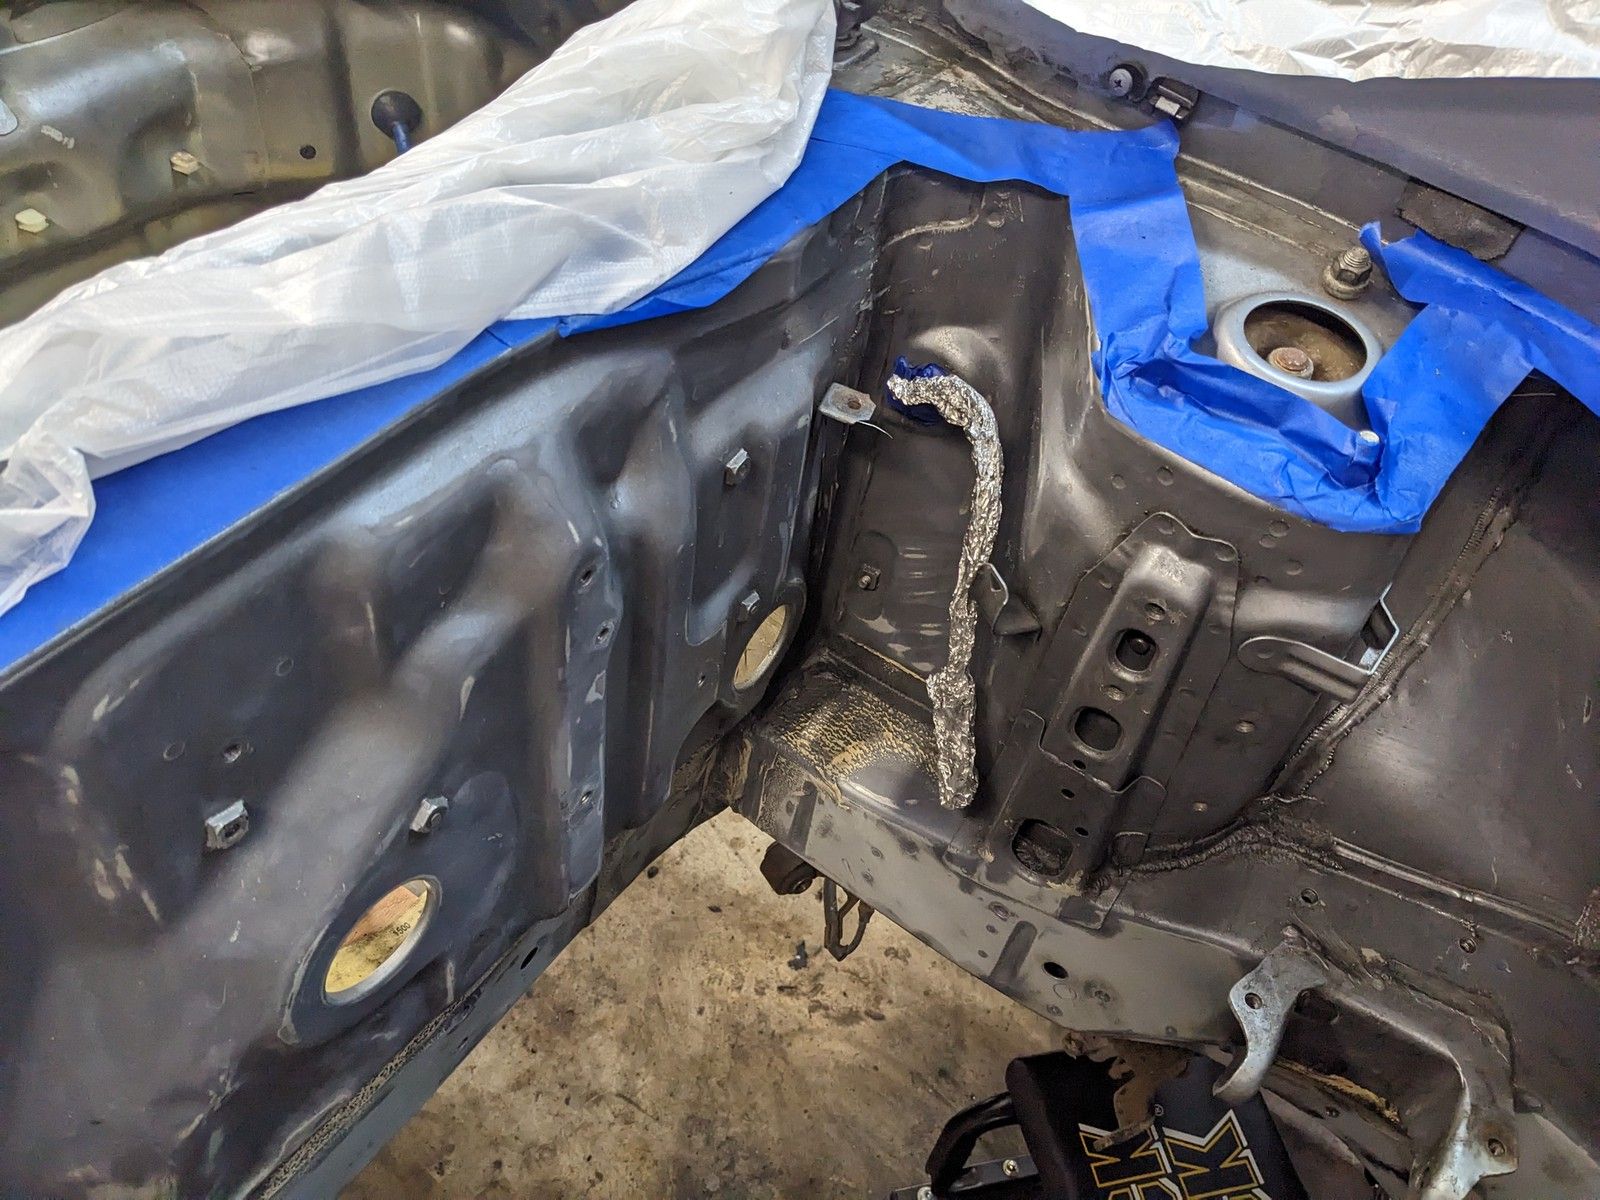
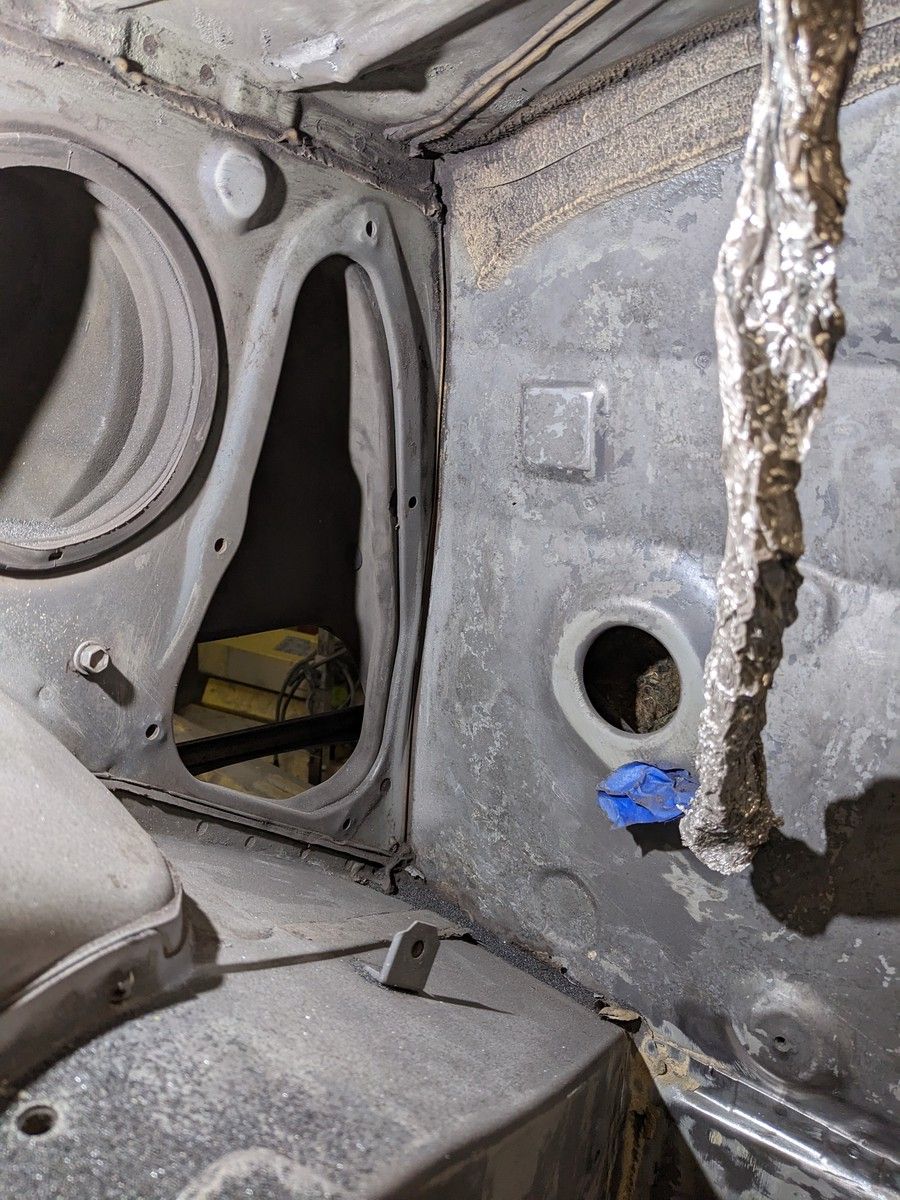
I had now stripped all the way down to bare metal, just as advertised, but not consistently. Now I needed something that would take it down to metal... everywhere.
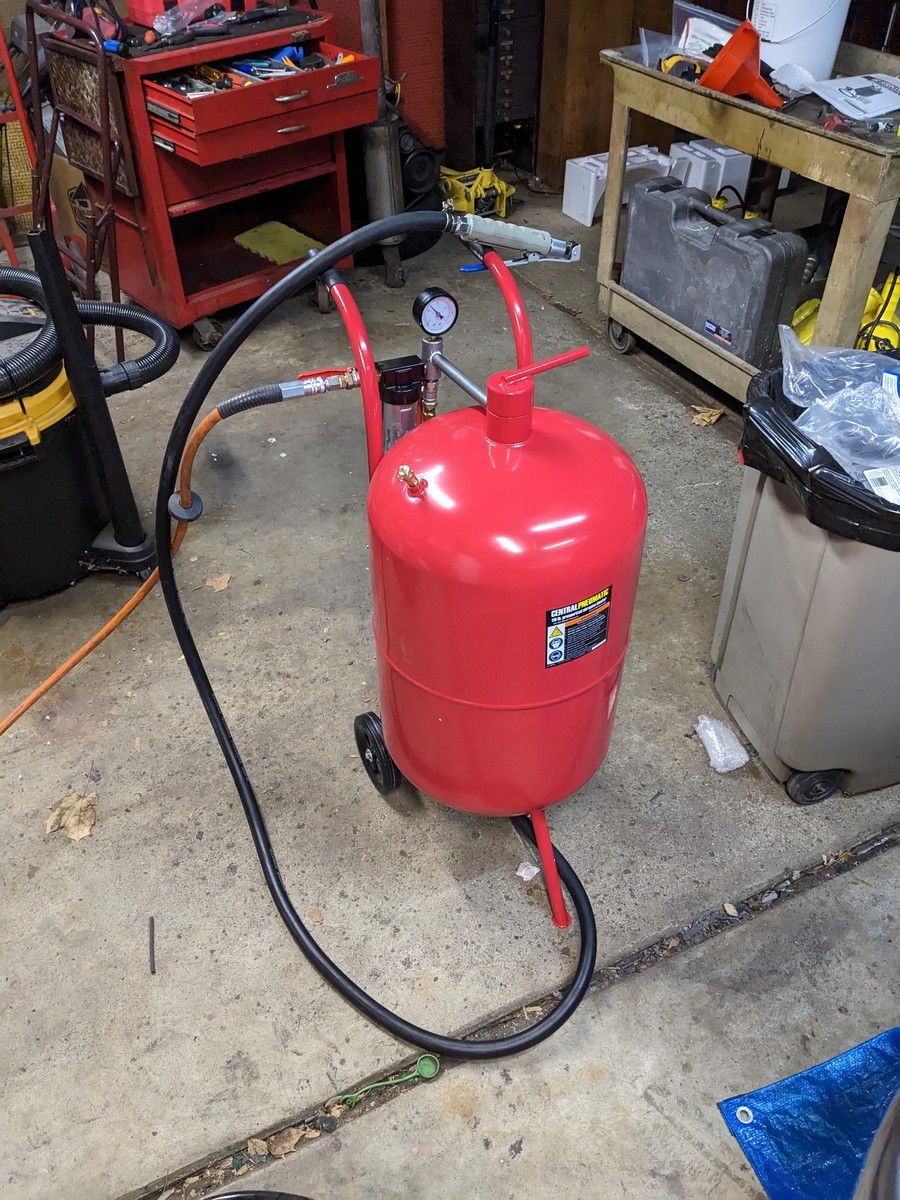
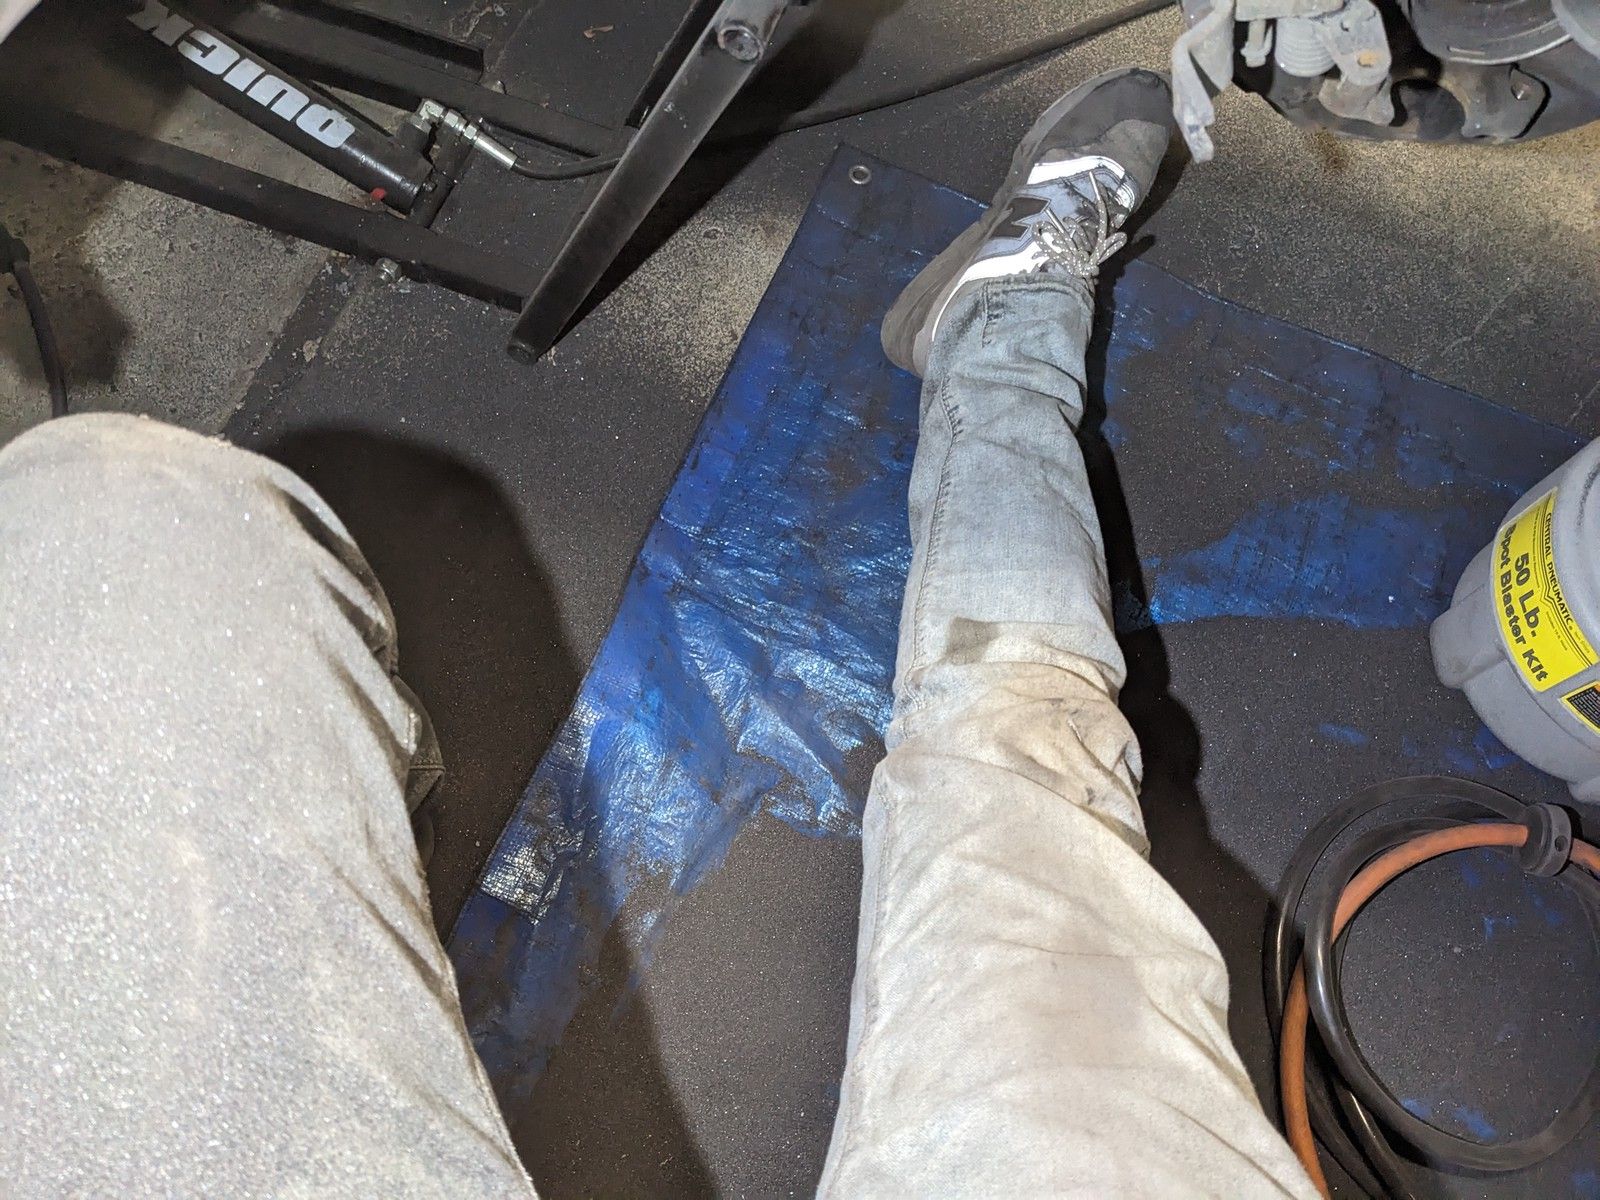
That's where this new tool comes in. A big 'ol sand blaster. This was picked up from the local Harbor Freight for $170, which when you see the results is crazy.
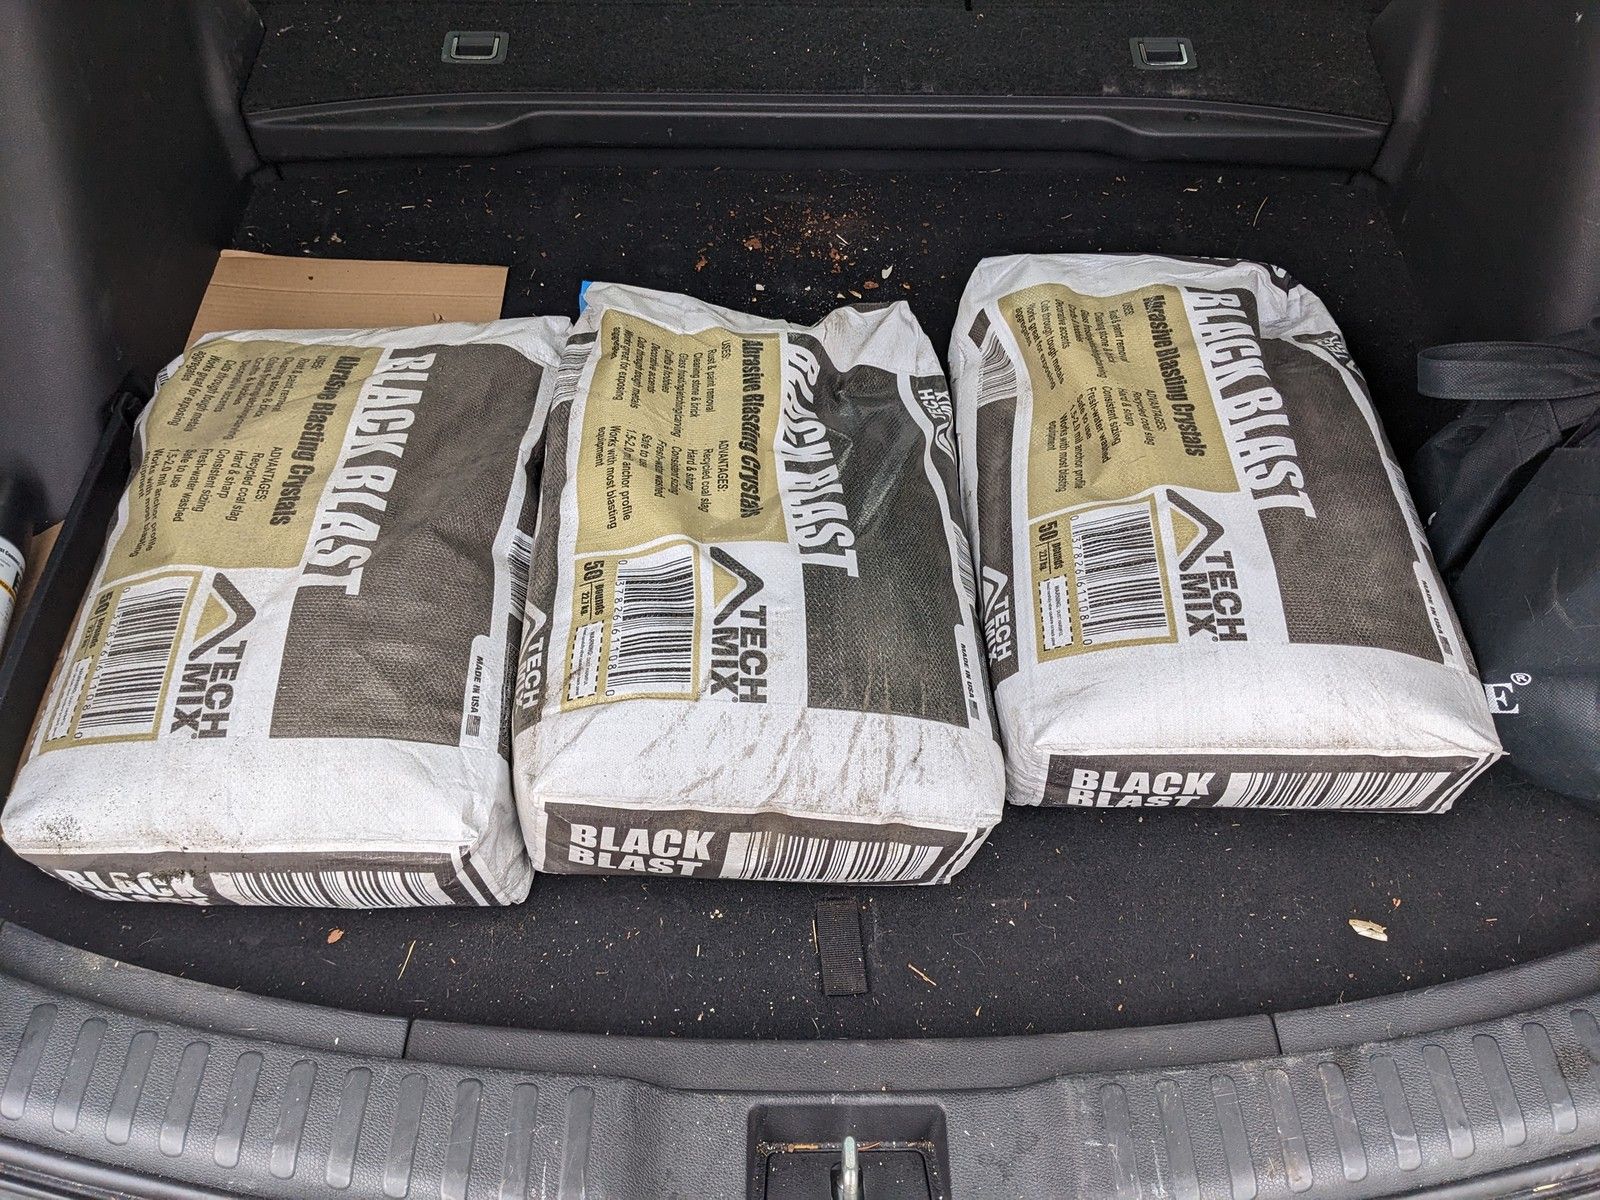
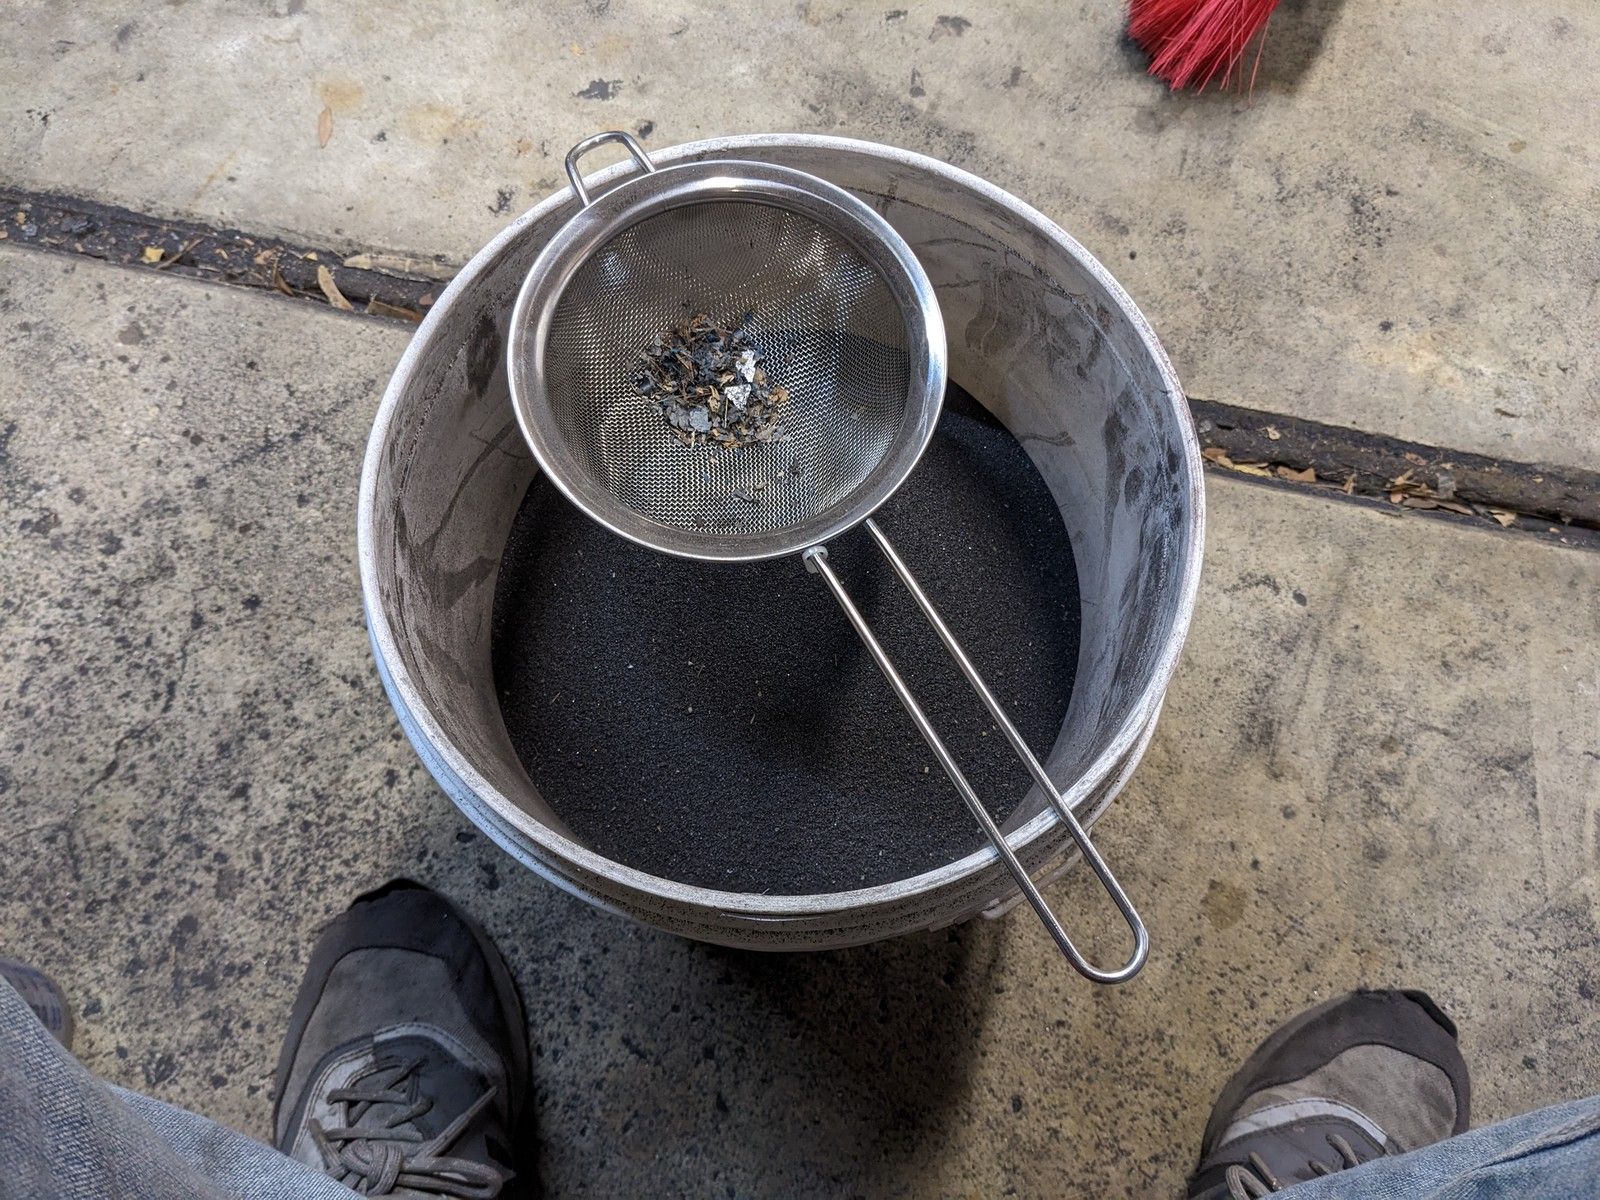
Now I actually purchased 2 (technically 3..) sandblasters from HB. I purchased 2 of the small $35 gravity fed blasters, and one of these 110lb pressurized MONSTERS. I also picked up 50lbs Black Aluminum Oxide for $70, which is a good deal, for reusable media... This was about to dust the whole 2 car garage so while I did attempt to collect as much as possible, it was a waste of time. I later found 50lbs "Blast Blast" (coal slag) non-reusable media at a local Menards for 10 whole dollery-doos. Yea, get that stuff for these.
I decided instead of buying the expensive one right away, I would try the cheap one first. In typical Harbor Freight fashion, the first one I got was so terrible I figured it must be defected. I could not build any pressure from the gun and the only media coming out of the tip would merely tickle the surface.
Instead of immediately buying the big dog, I decided I would give the cheap one another go and I bought both with the expectation of returning whichever I didn't want.
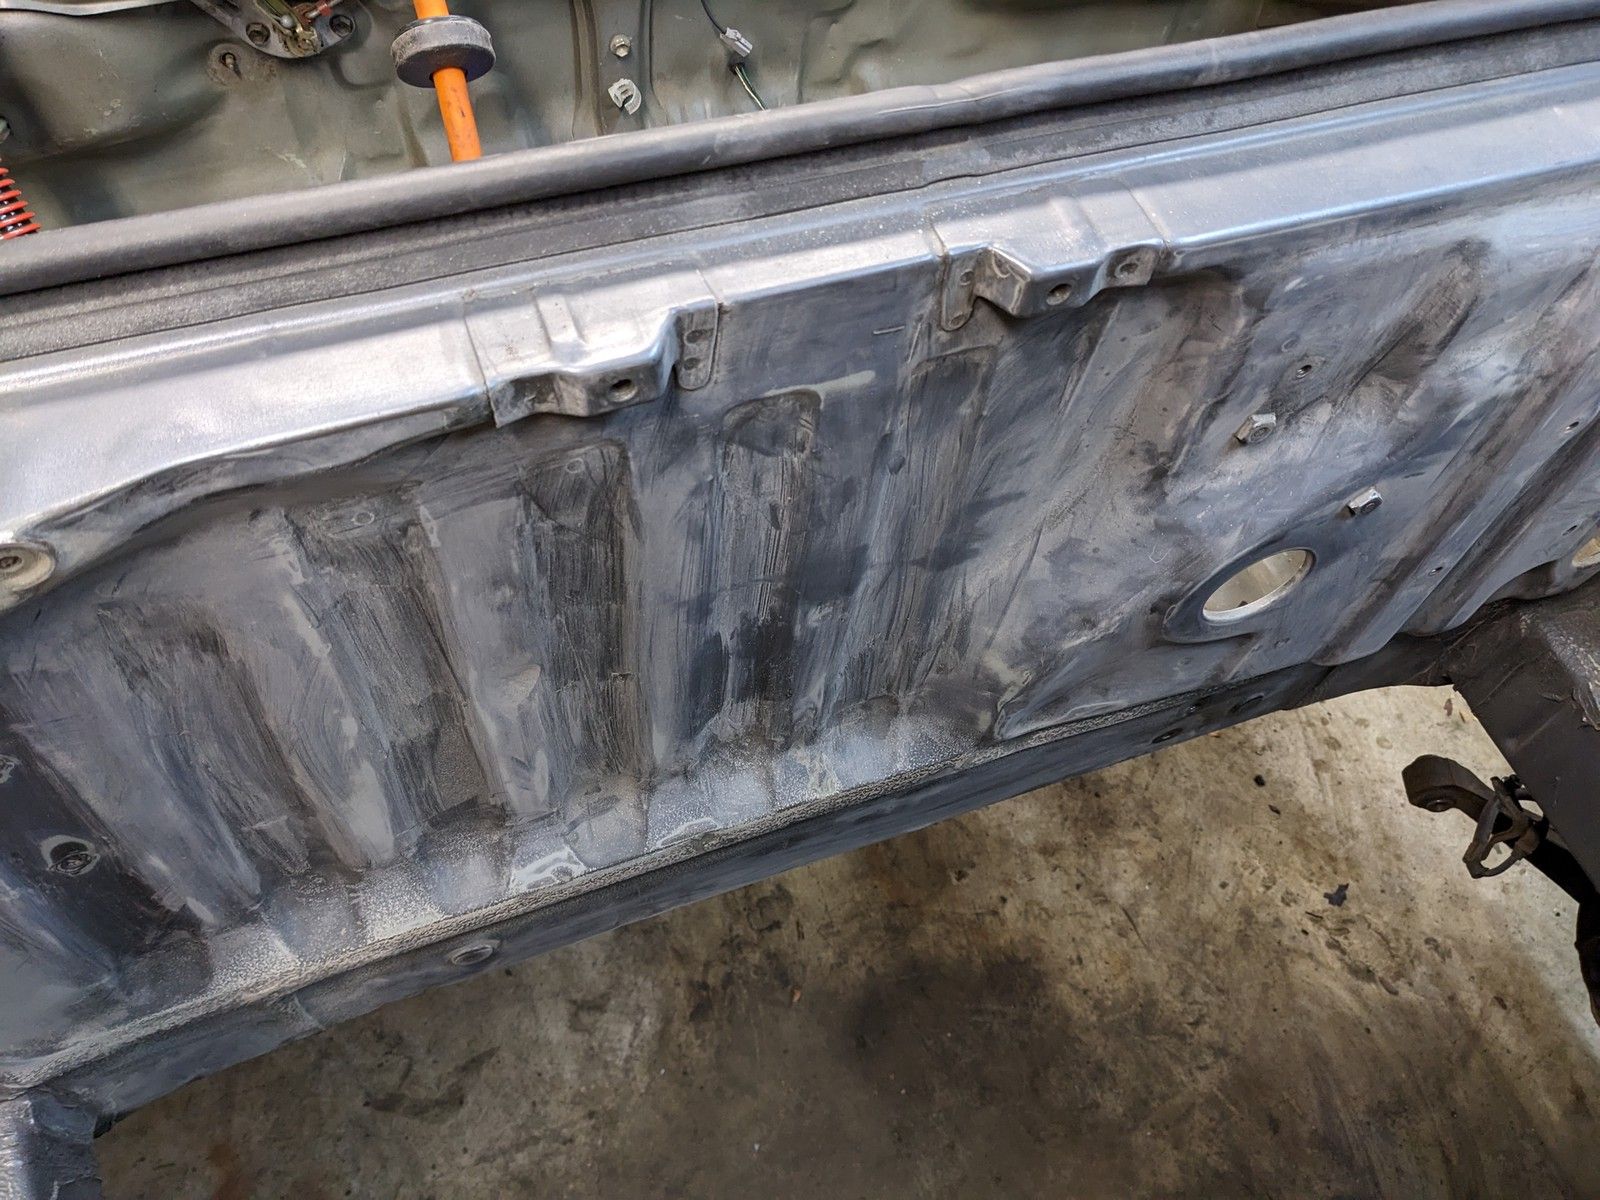
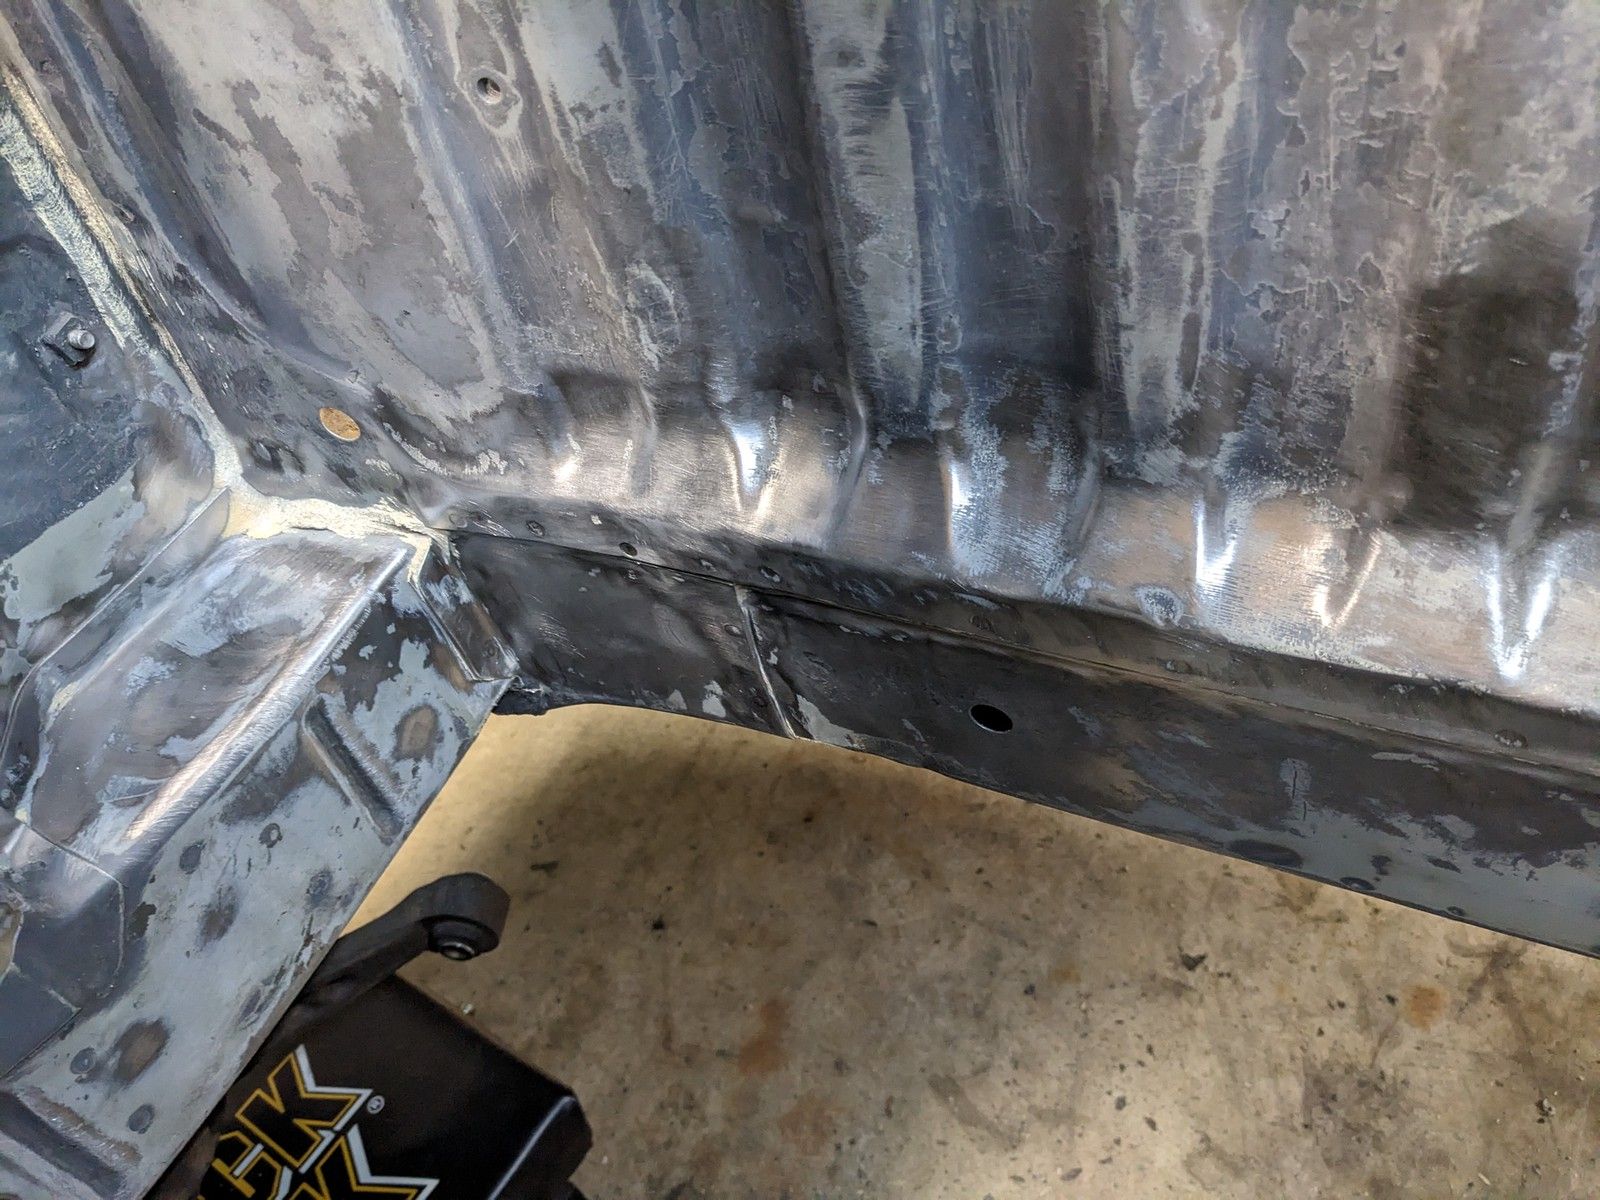
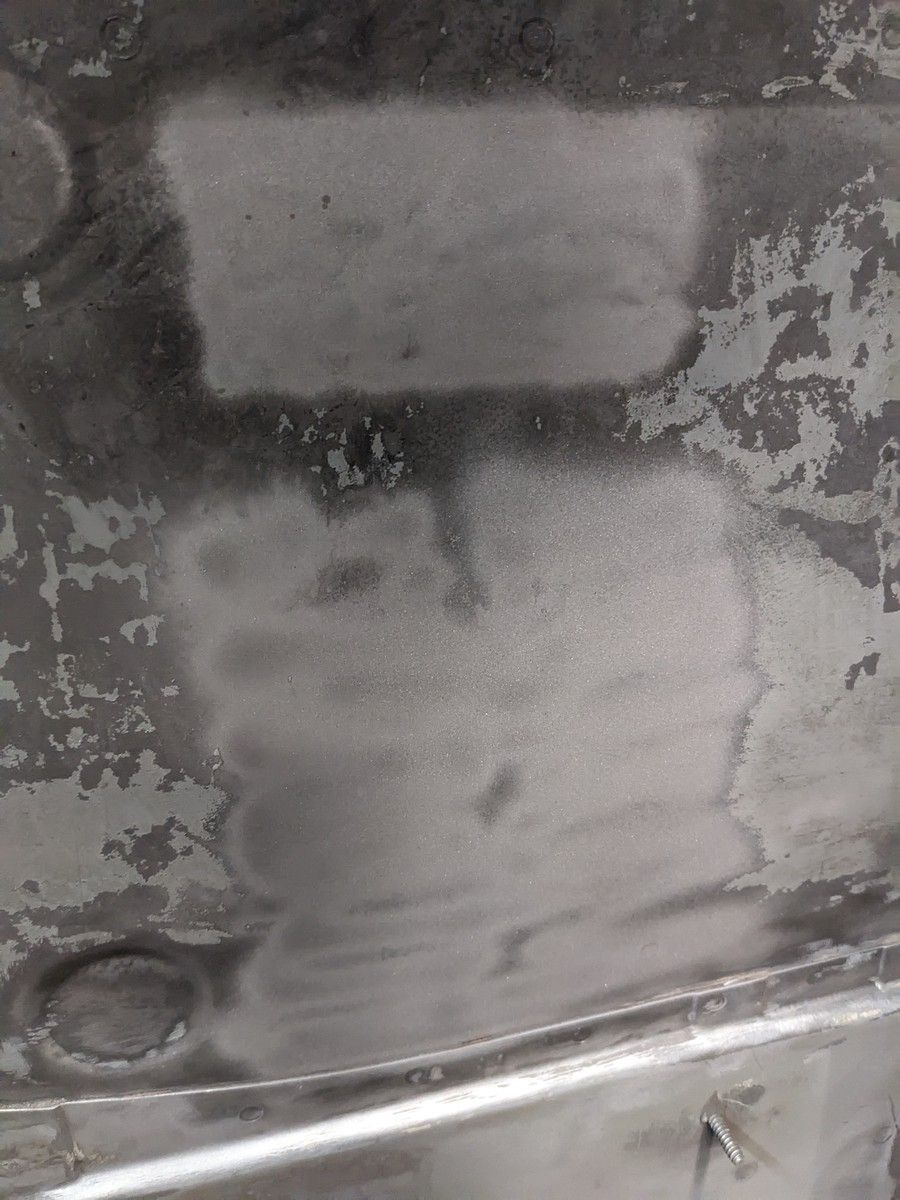
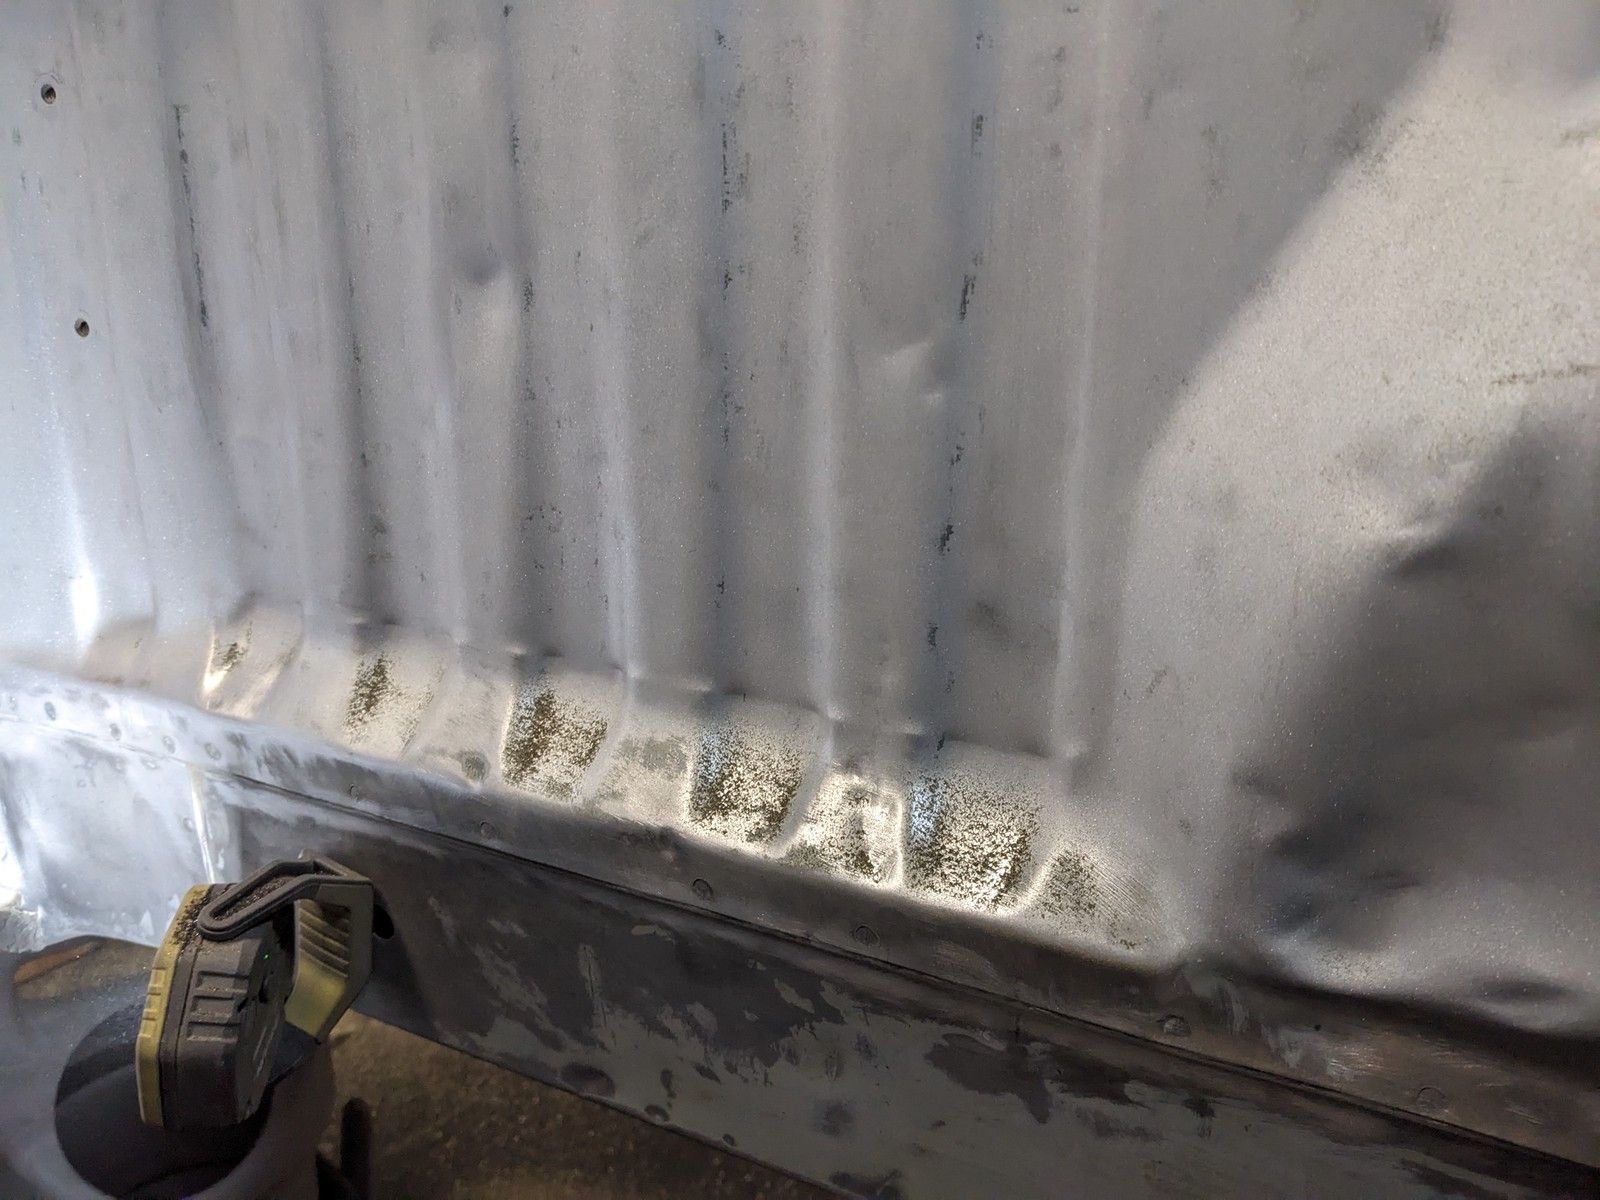
The above square is the $35 blaster, very clean, very controlled, not crazy fast, but faster than sanding. That is for sure. Took me, maybe, 30-40 seconds, as a high estimate.
The lower... "square" .... was faster. WAY faster. That took, maximum, 5 seconds. It was much more difficult to see and control which resulted in my... loose parallelogram. But it was FAST. It spit out media at an insane rate.


And that is why, you'll be happy to know, I chose to move forward with the $35 blaster. The big honky-tonk blaster is just unnecessary. It goes through media like you wouldn't believe, so even after you spend more money on the equipment, you also have a higher ongoing cost. You would complete the job faster, but I'm not sure when that break point is. The last reason, I have a 25gal air compressor from HB. It's fine. It's a little bigger than most people have, but it's not a crazy workhorse or anything either. I was not able to keep up with the demands of this blaster. If you have the storage, the compressor, and the working space for, King Kong: The Blaster, then you might be able to make it work.

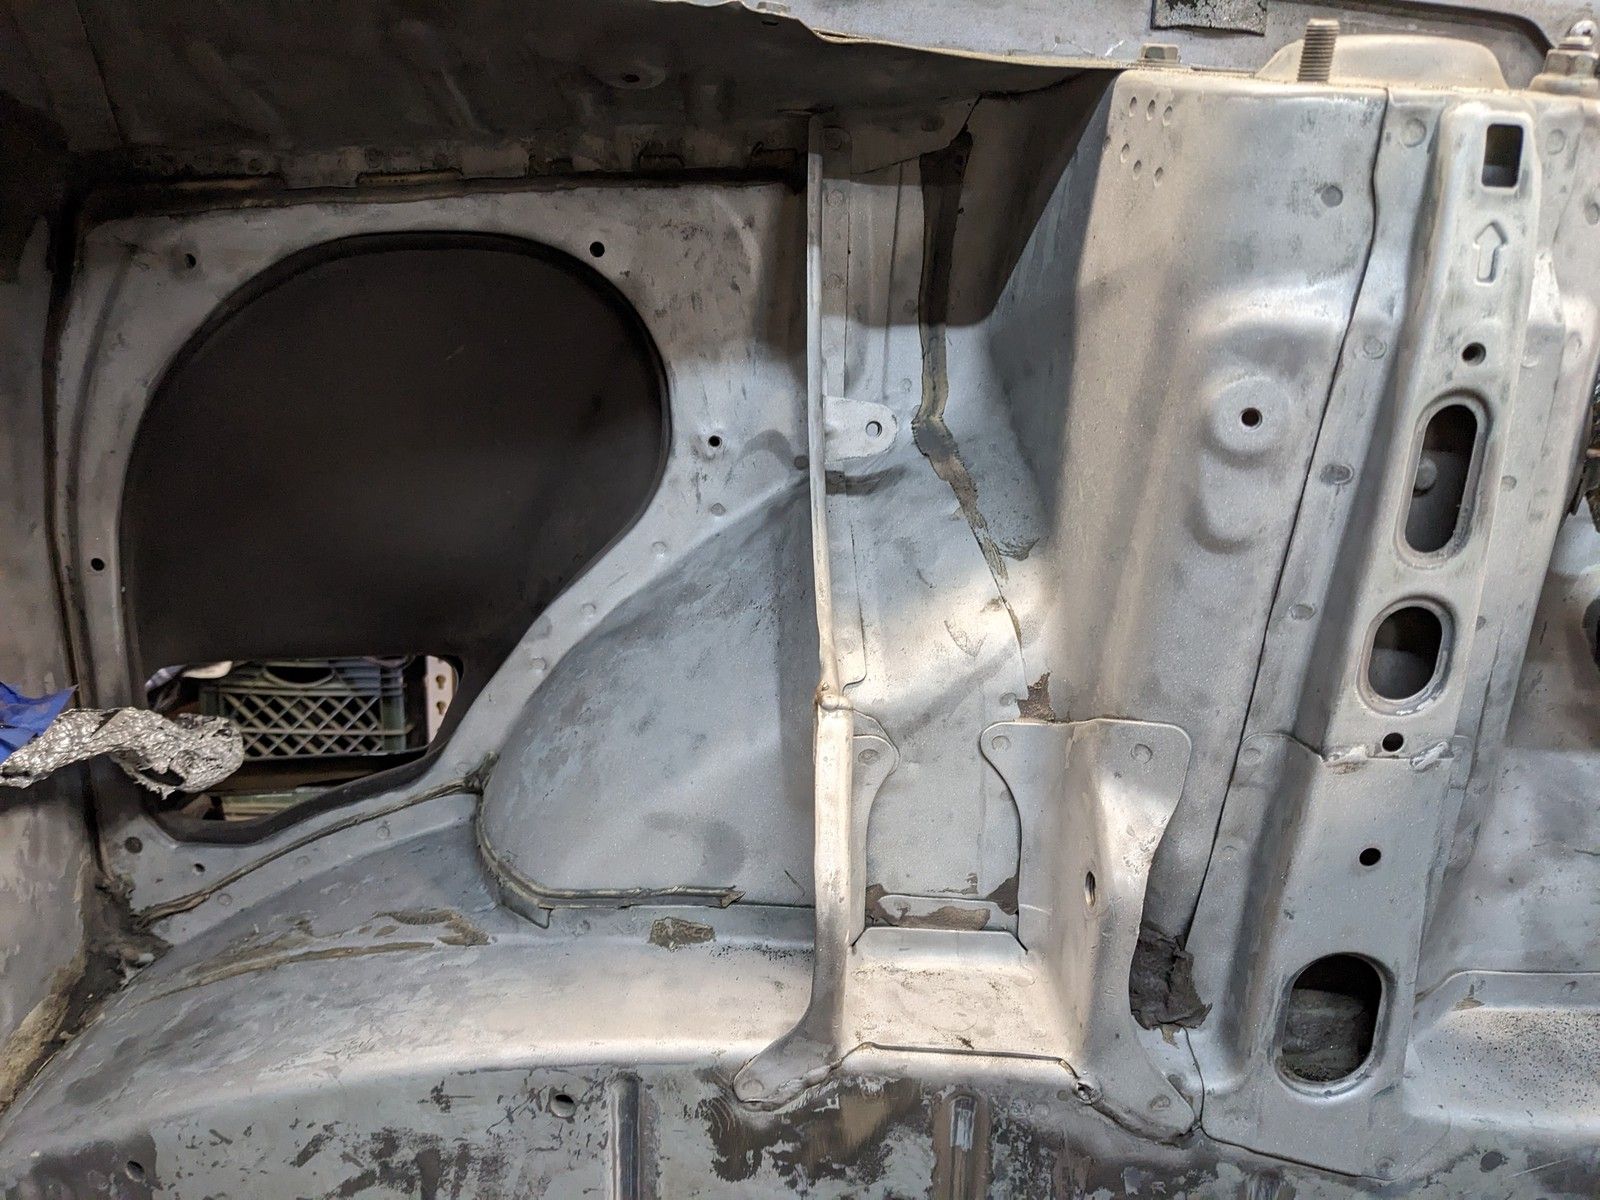
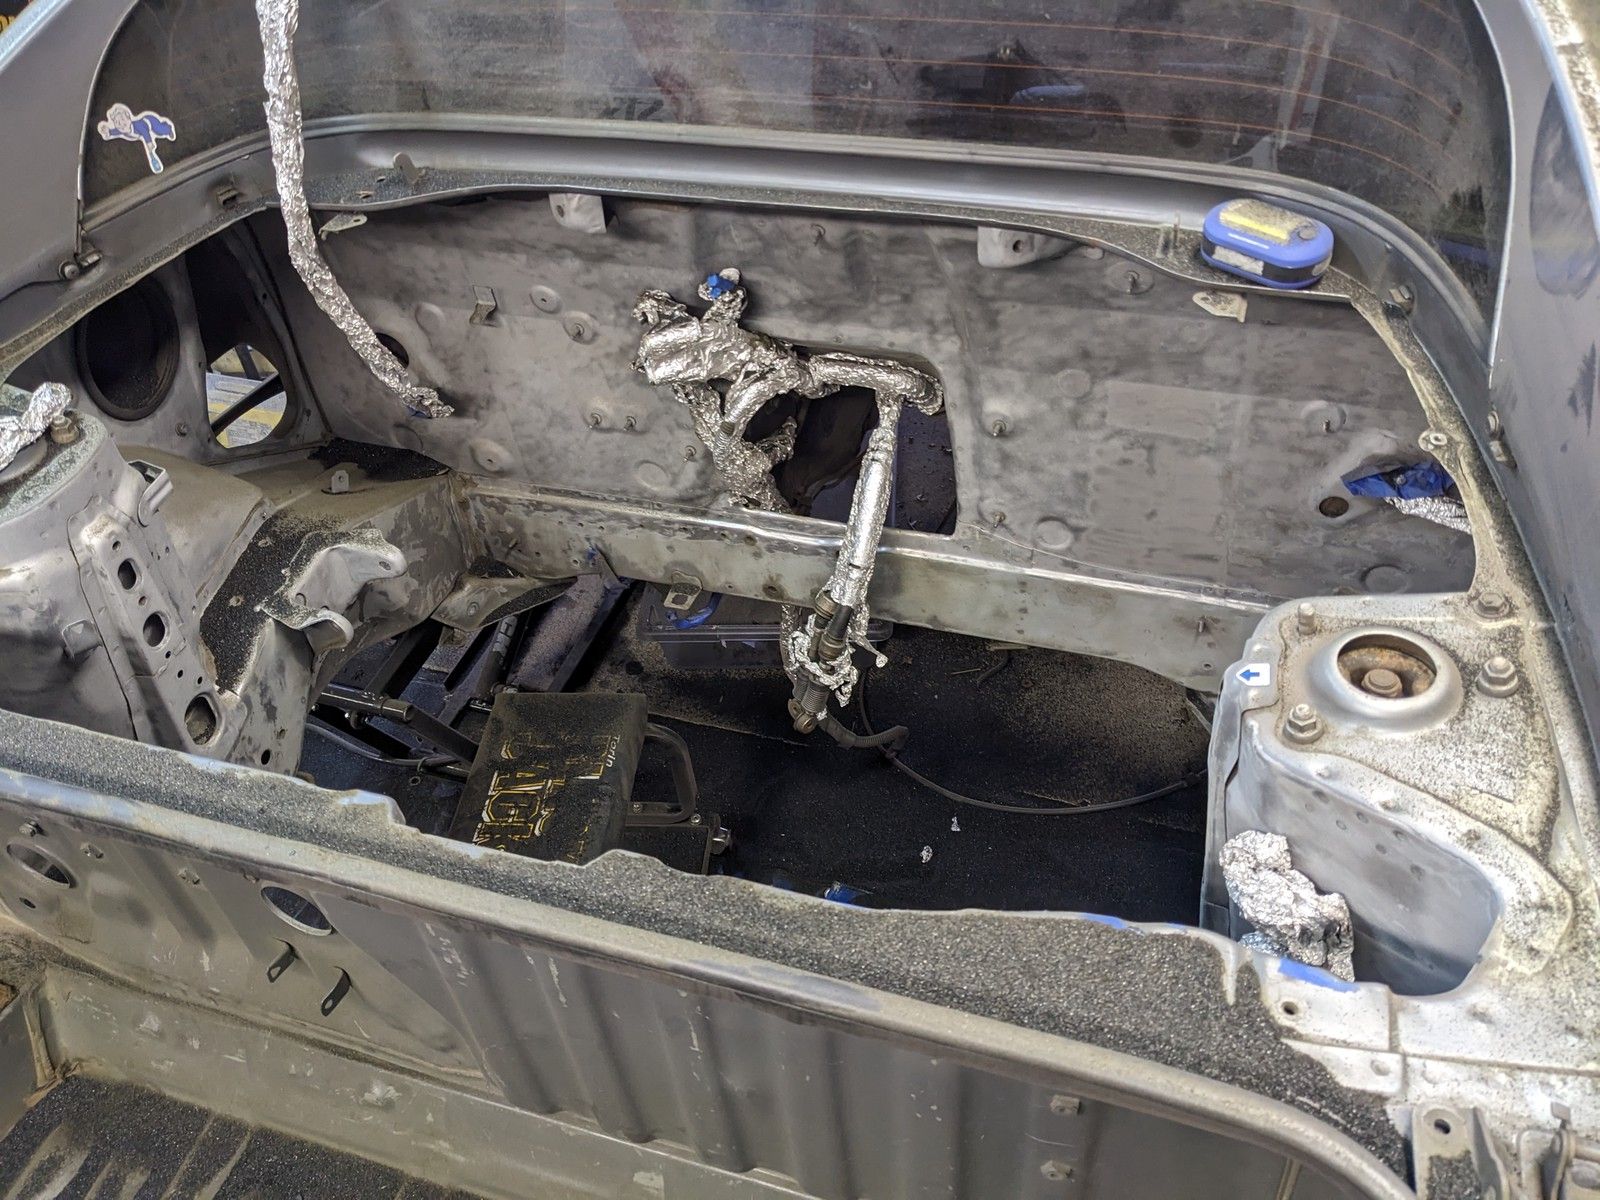
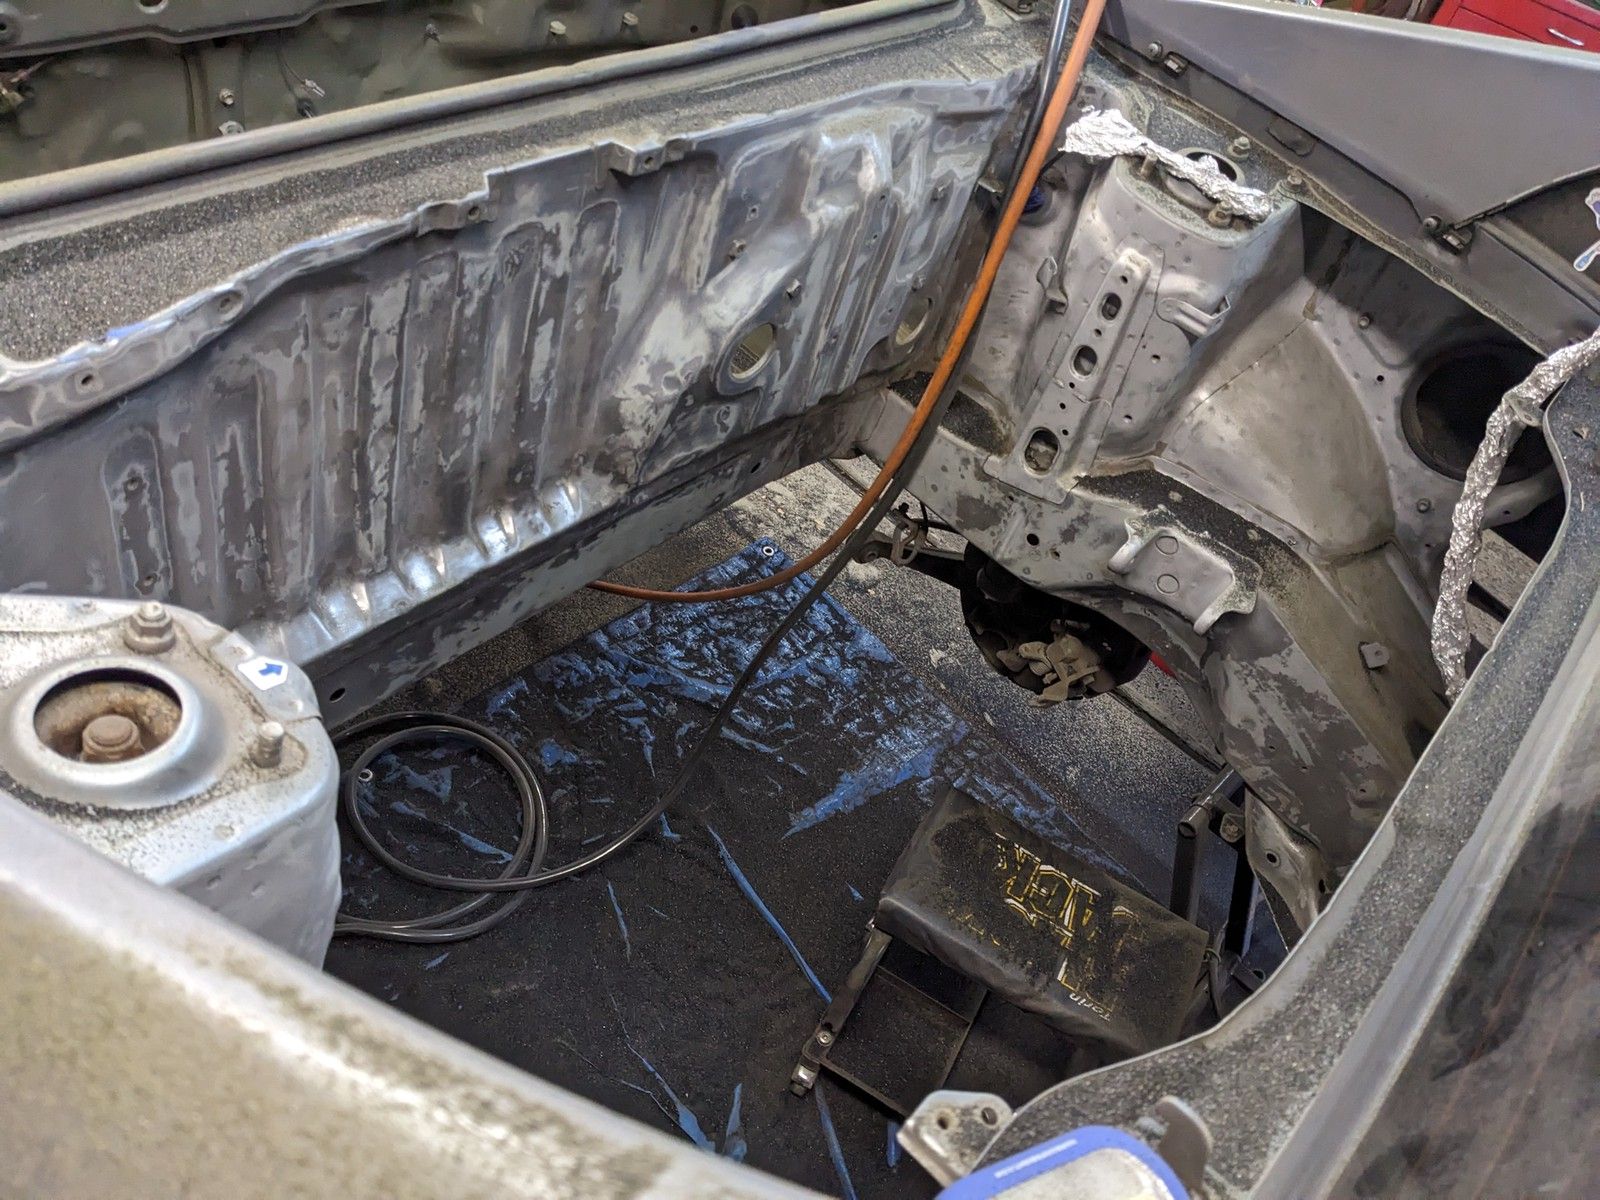
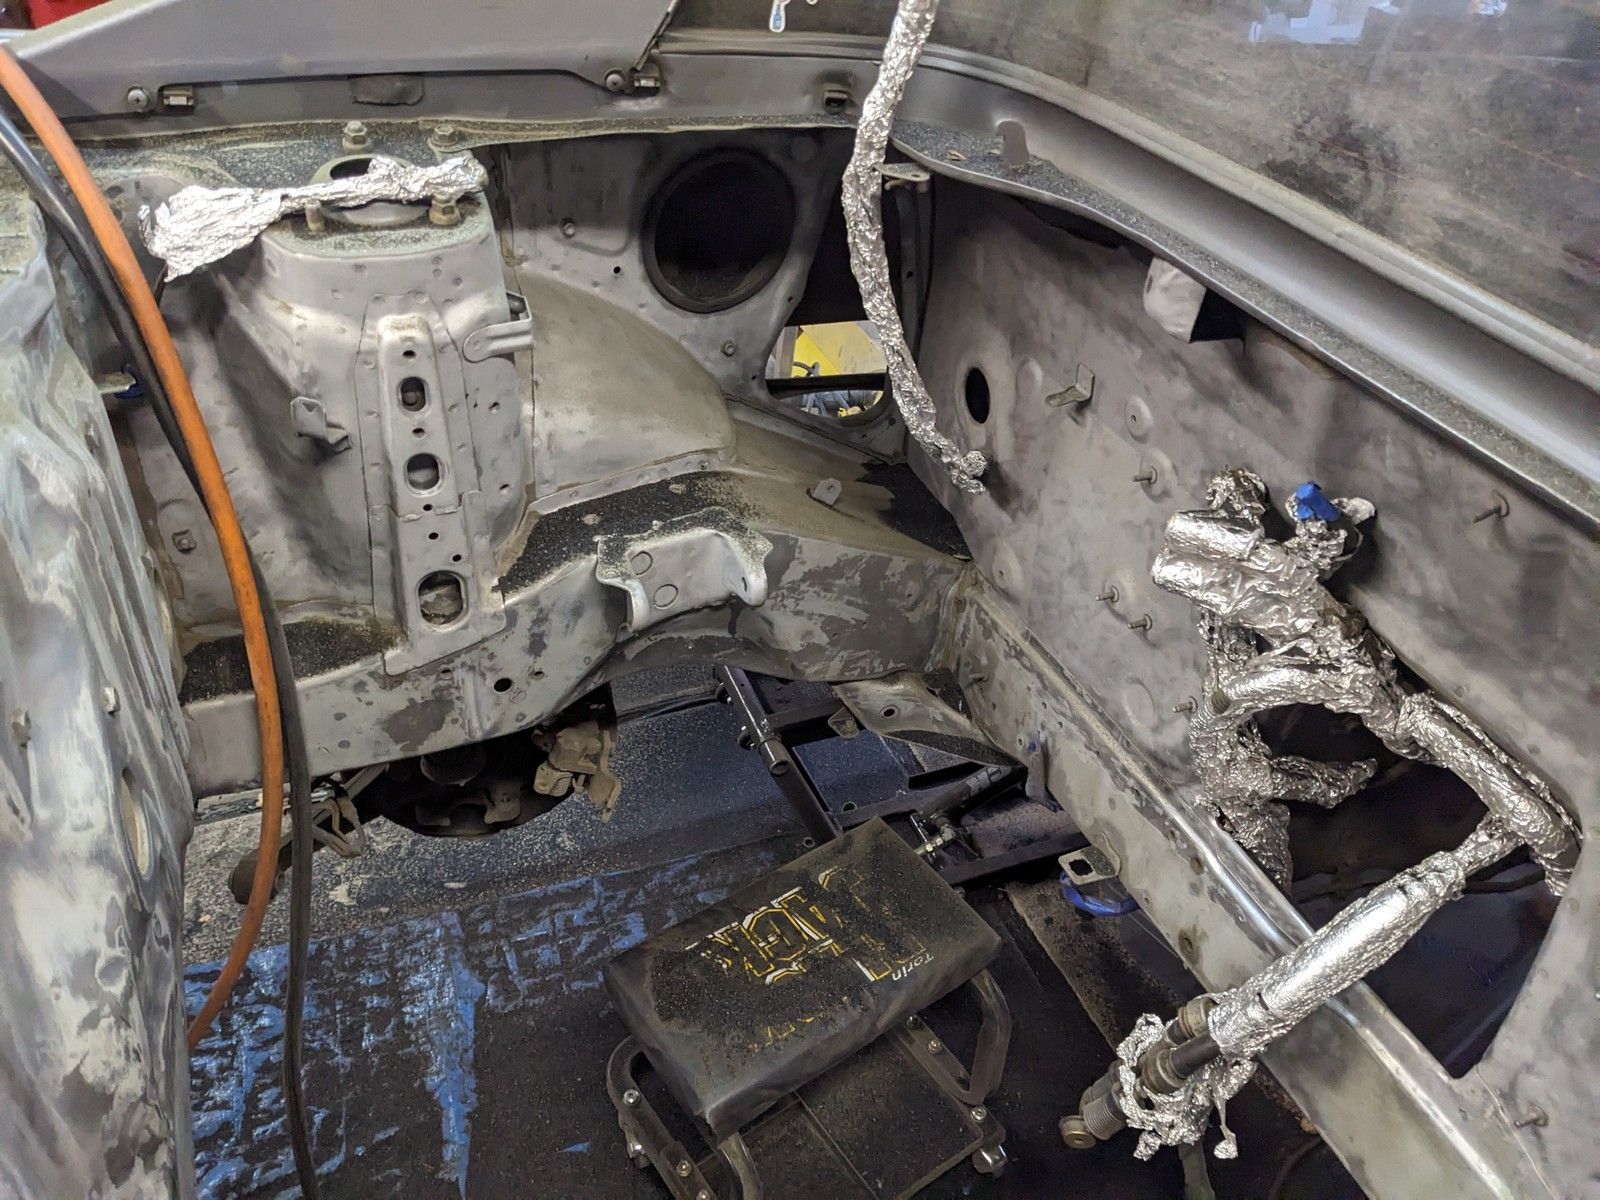
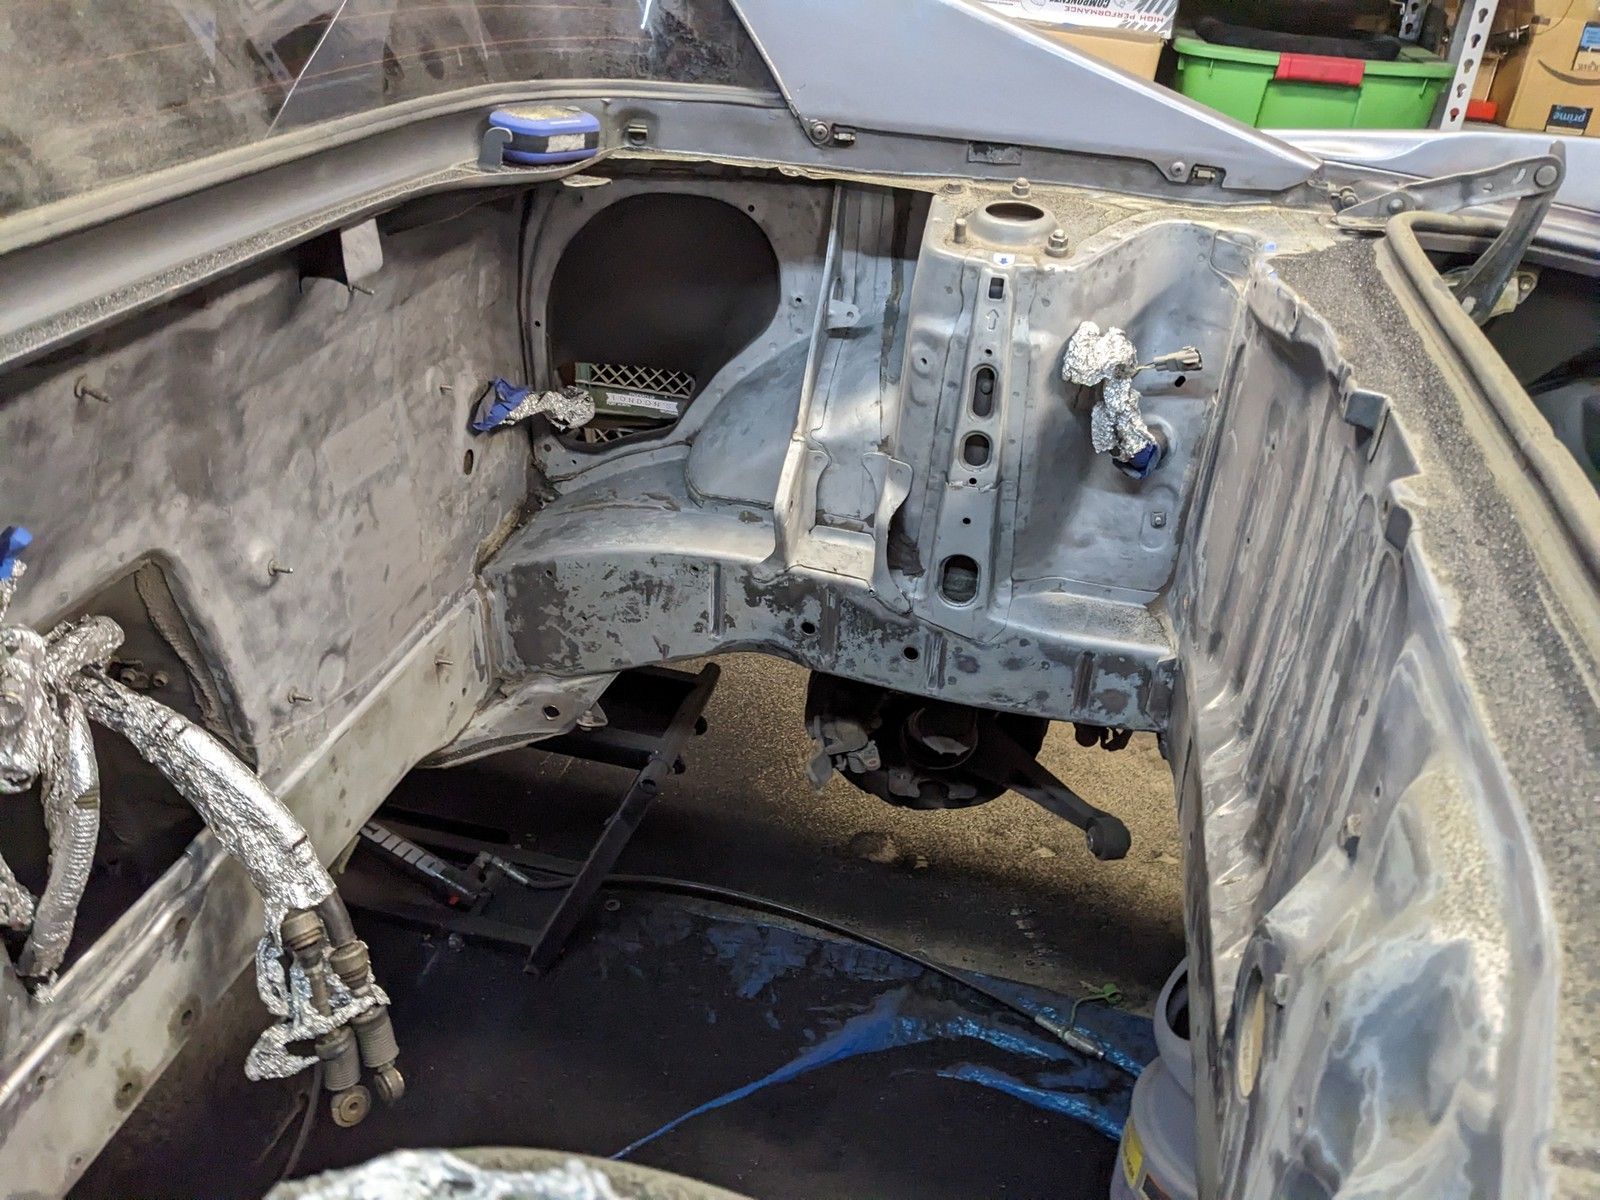

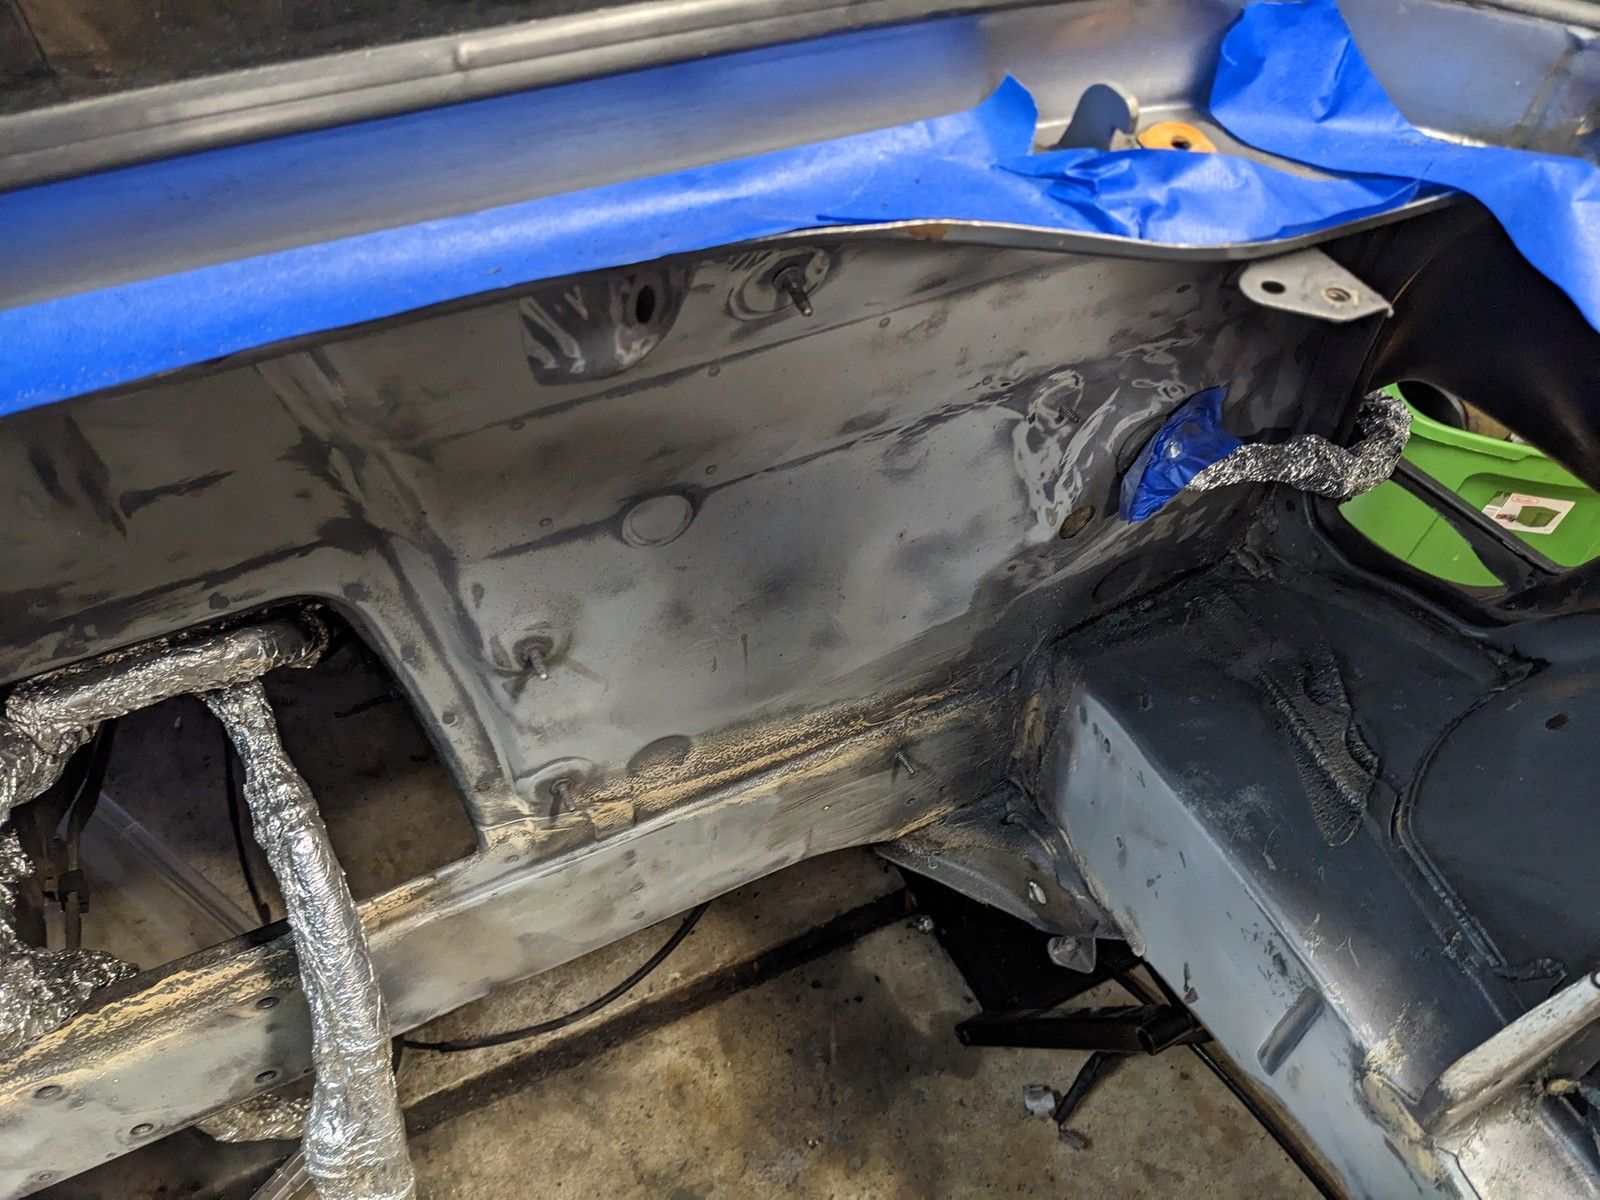
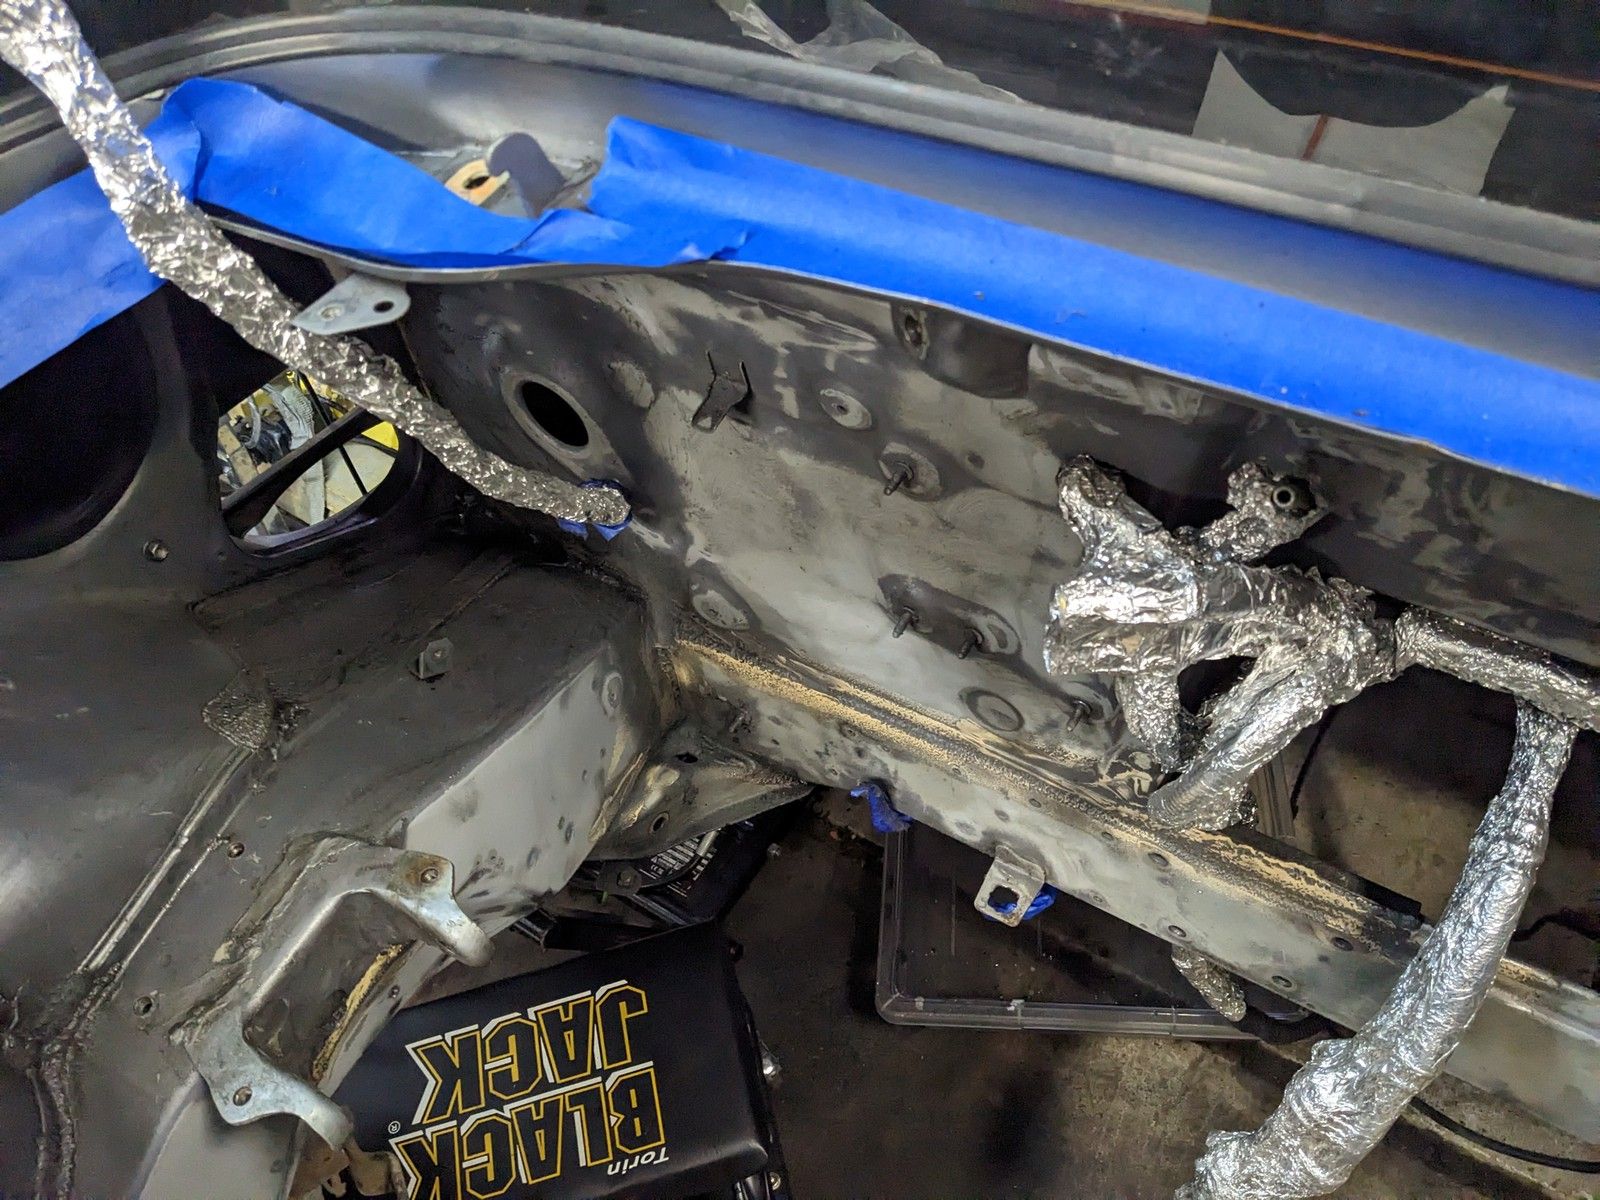
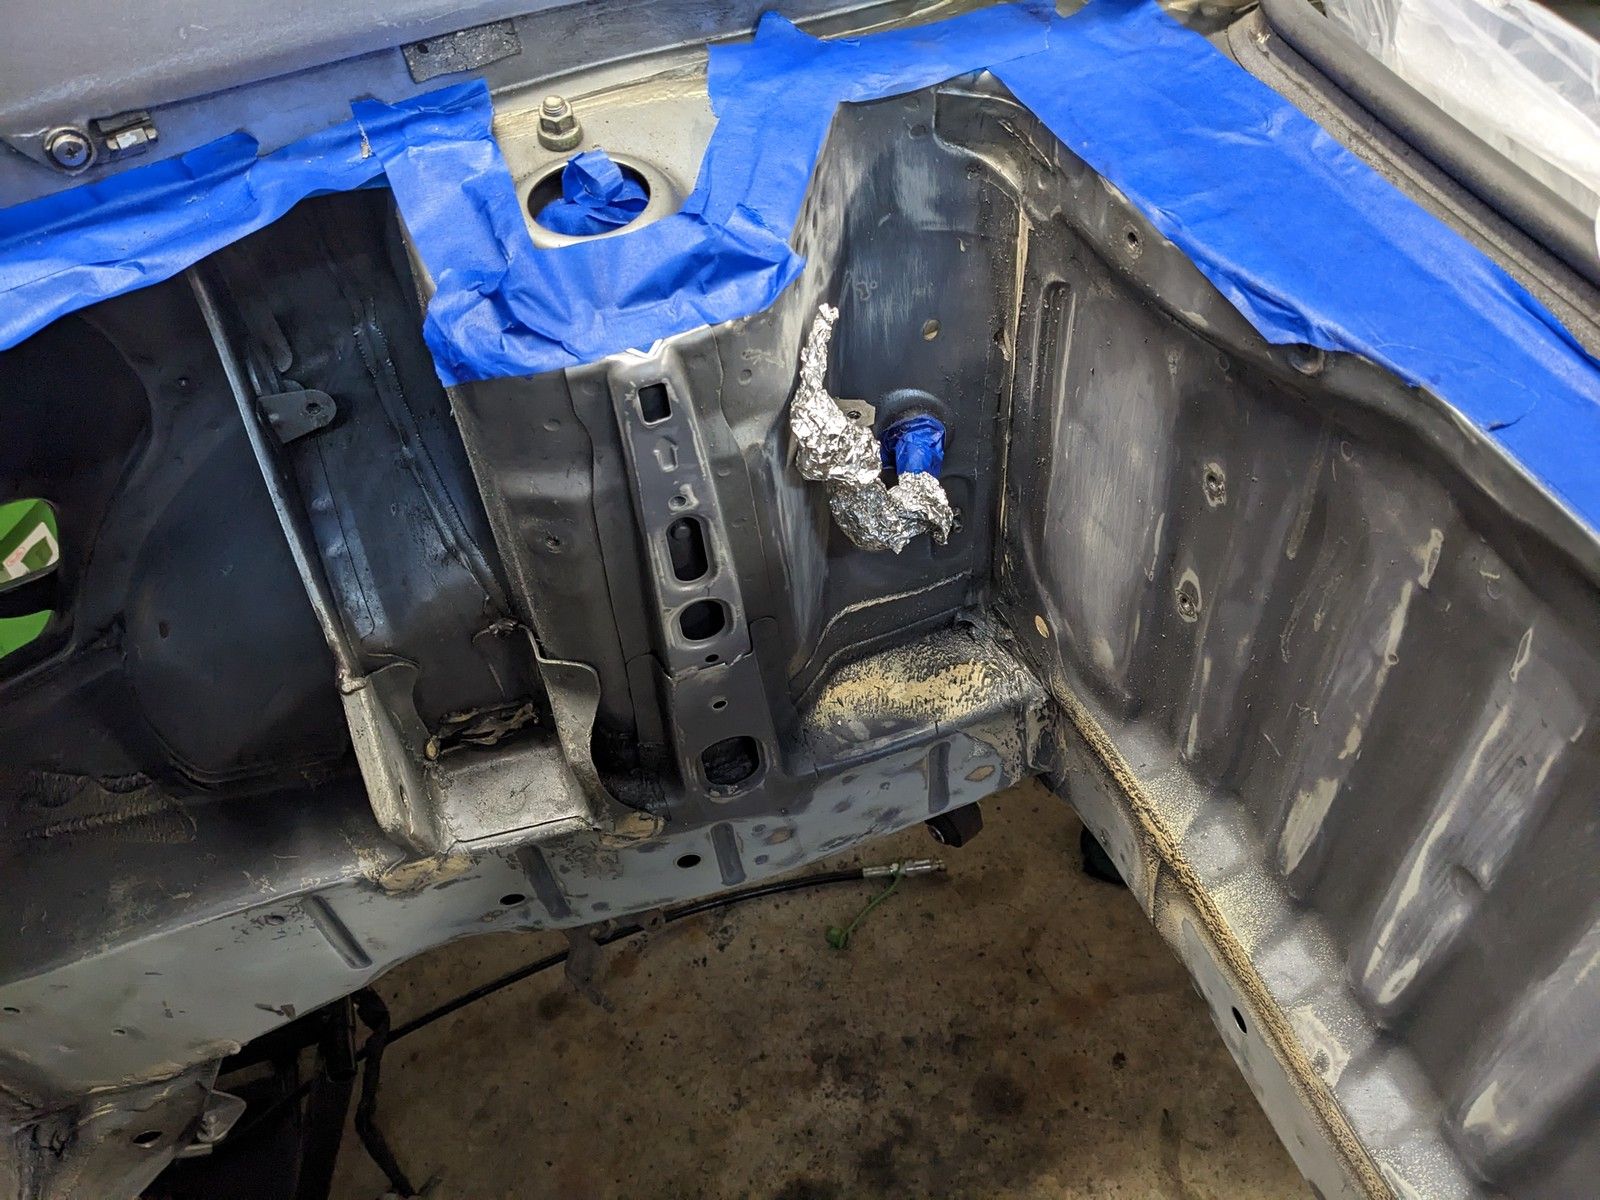
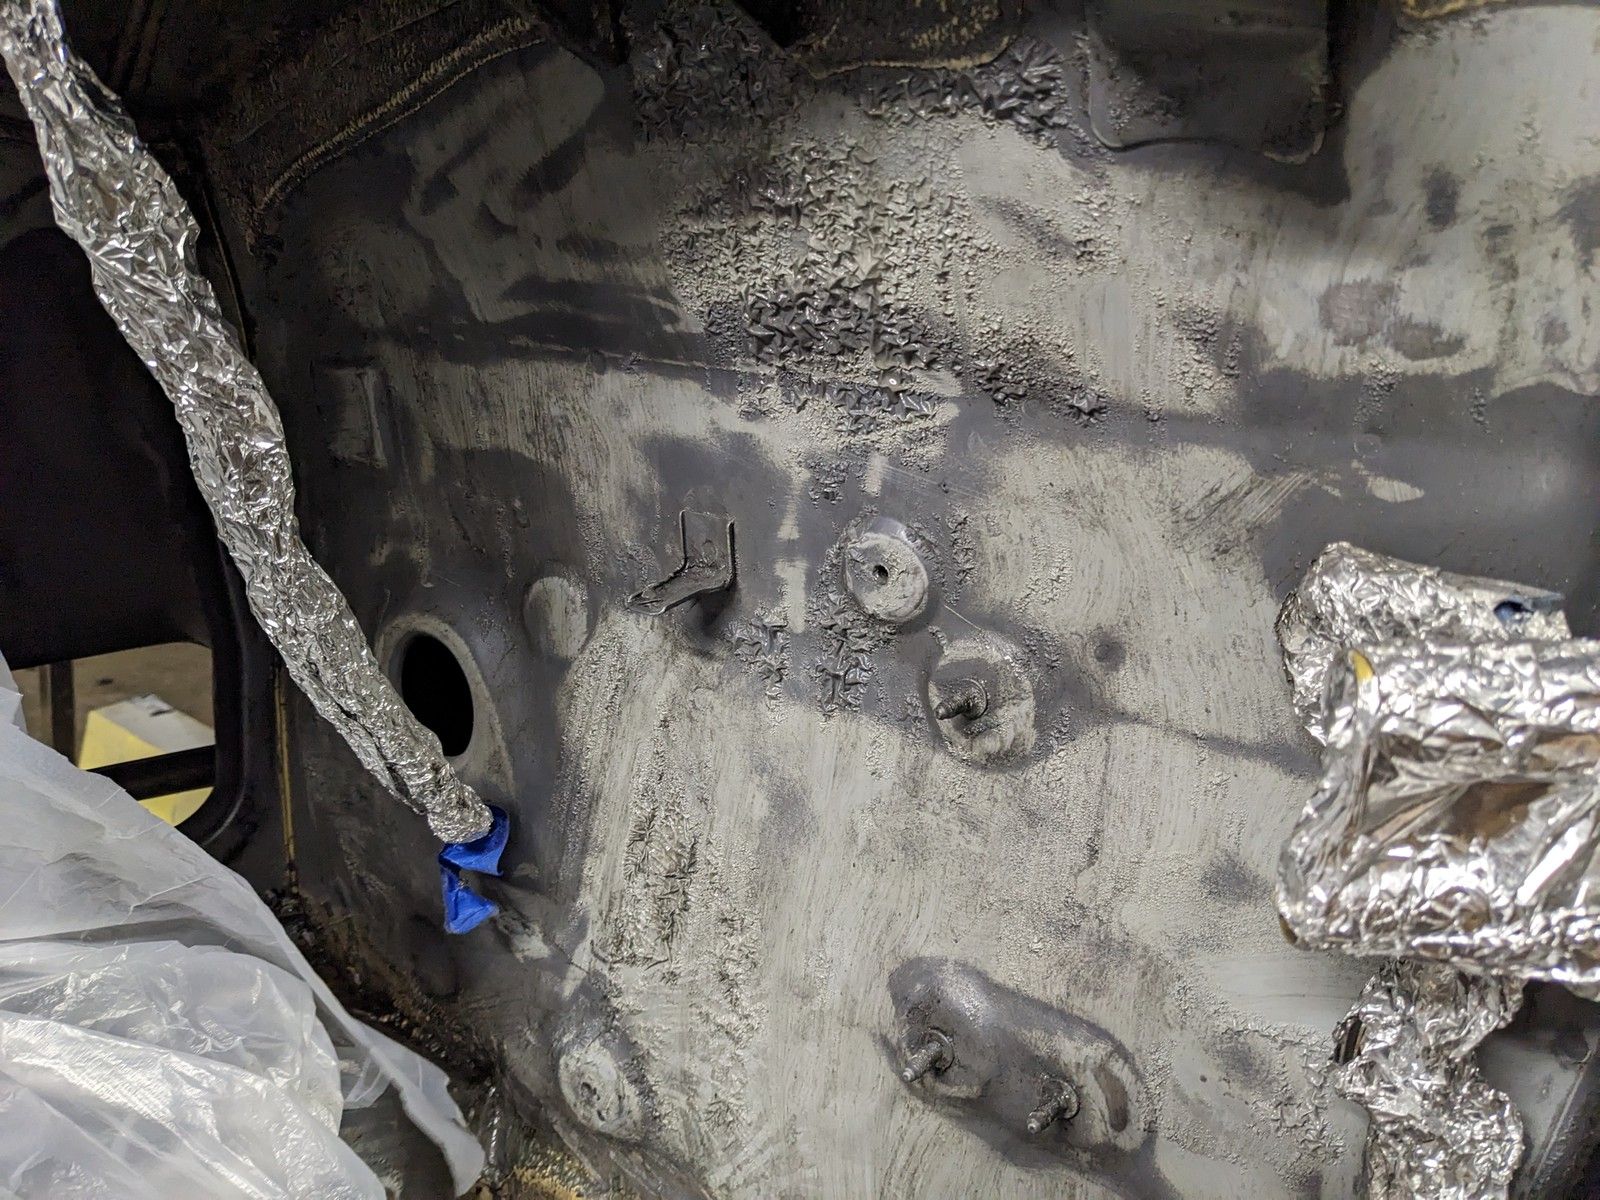
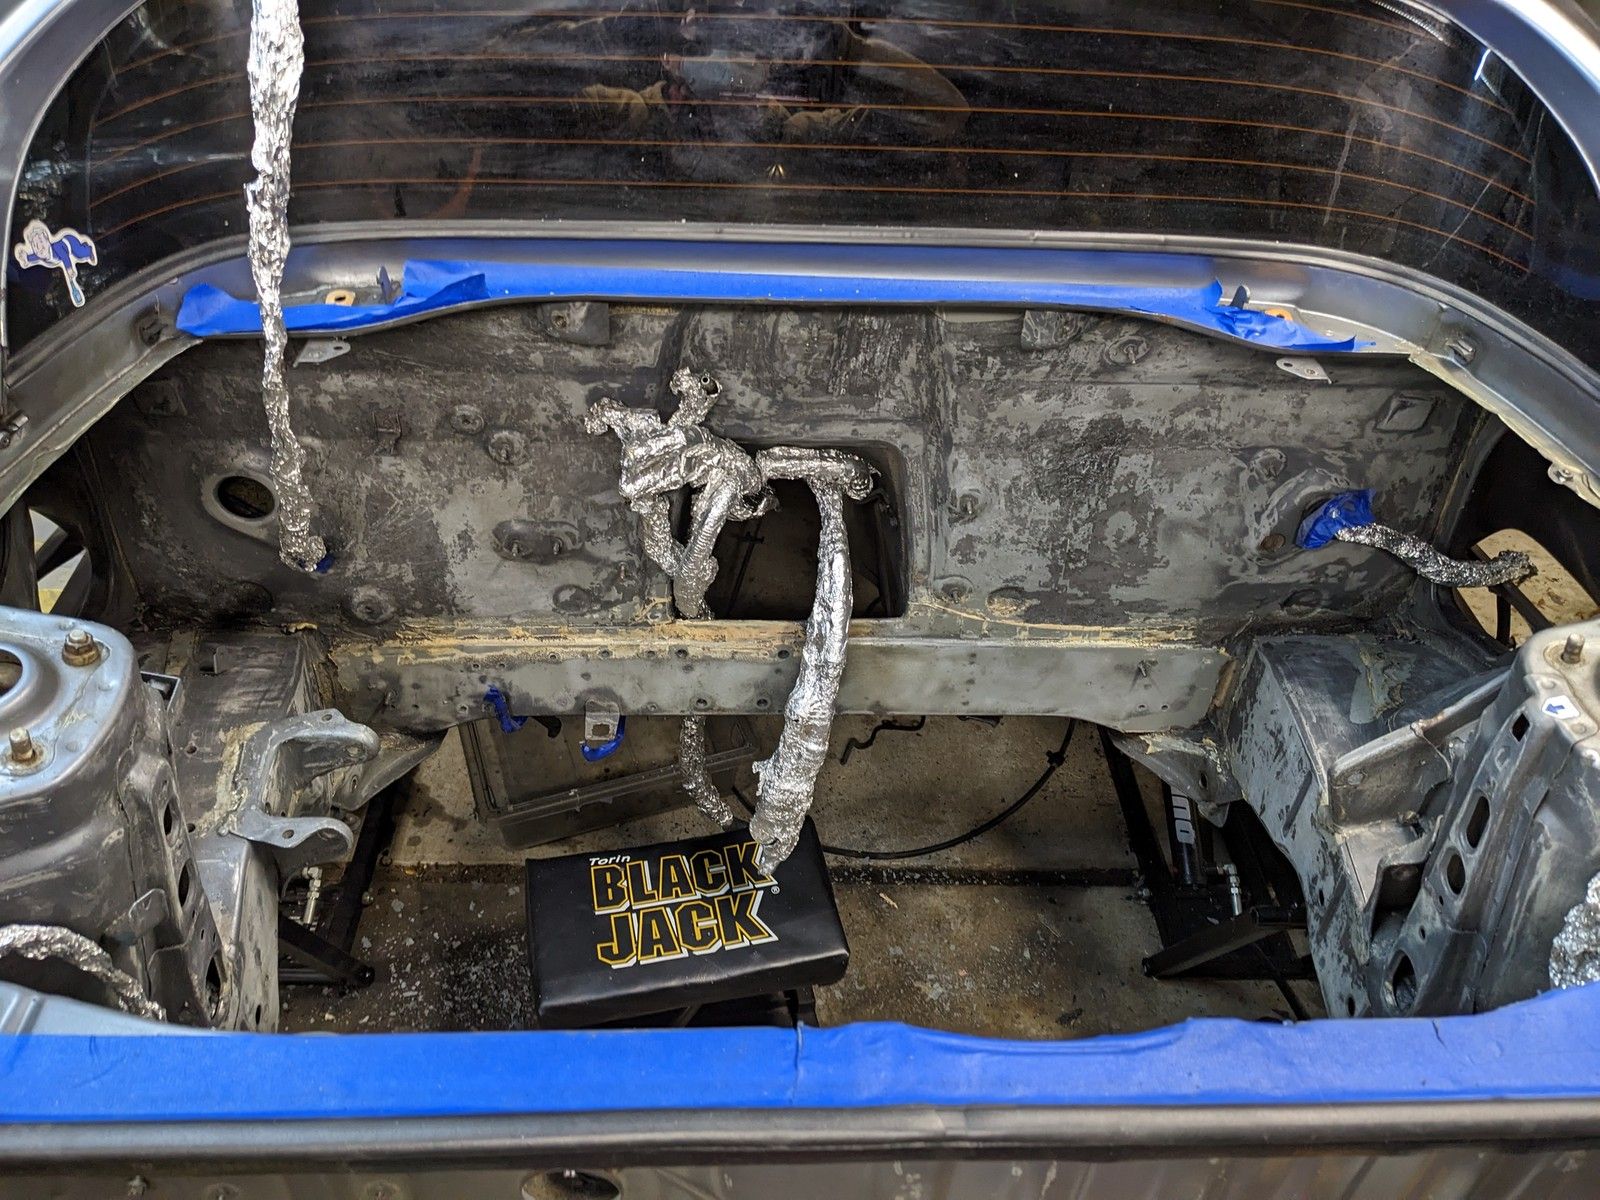
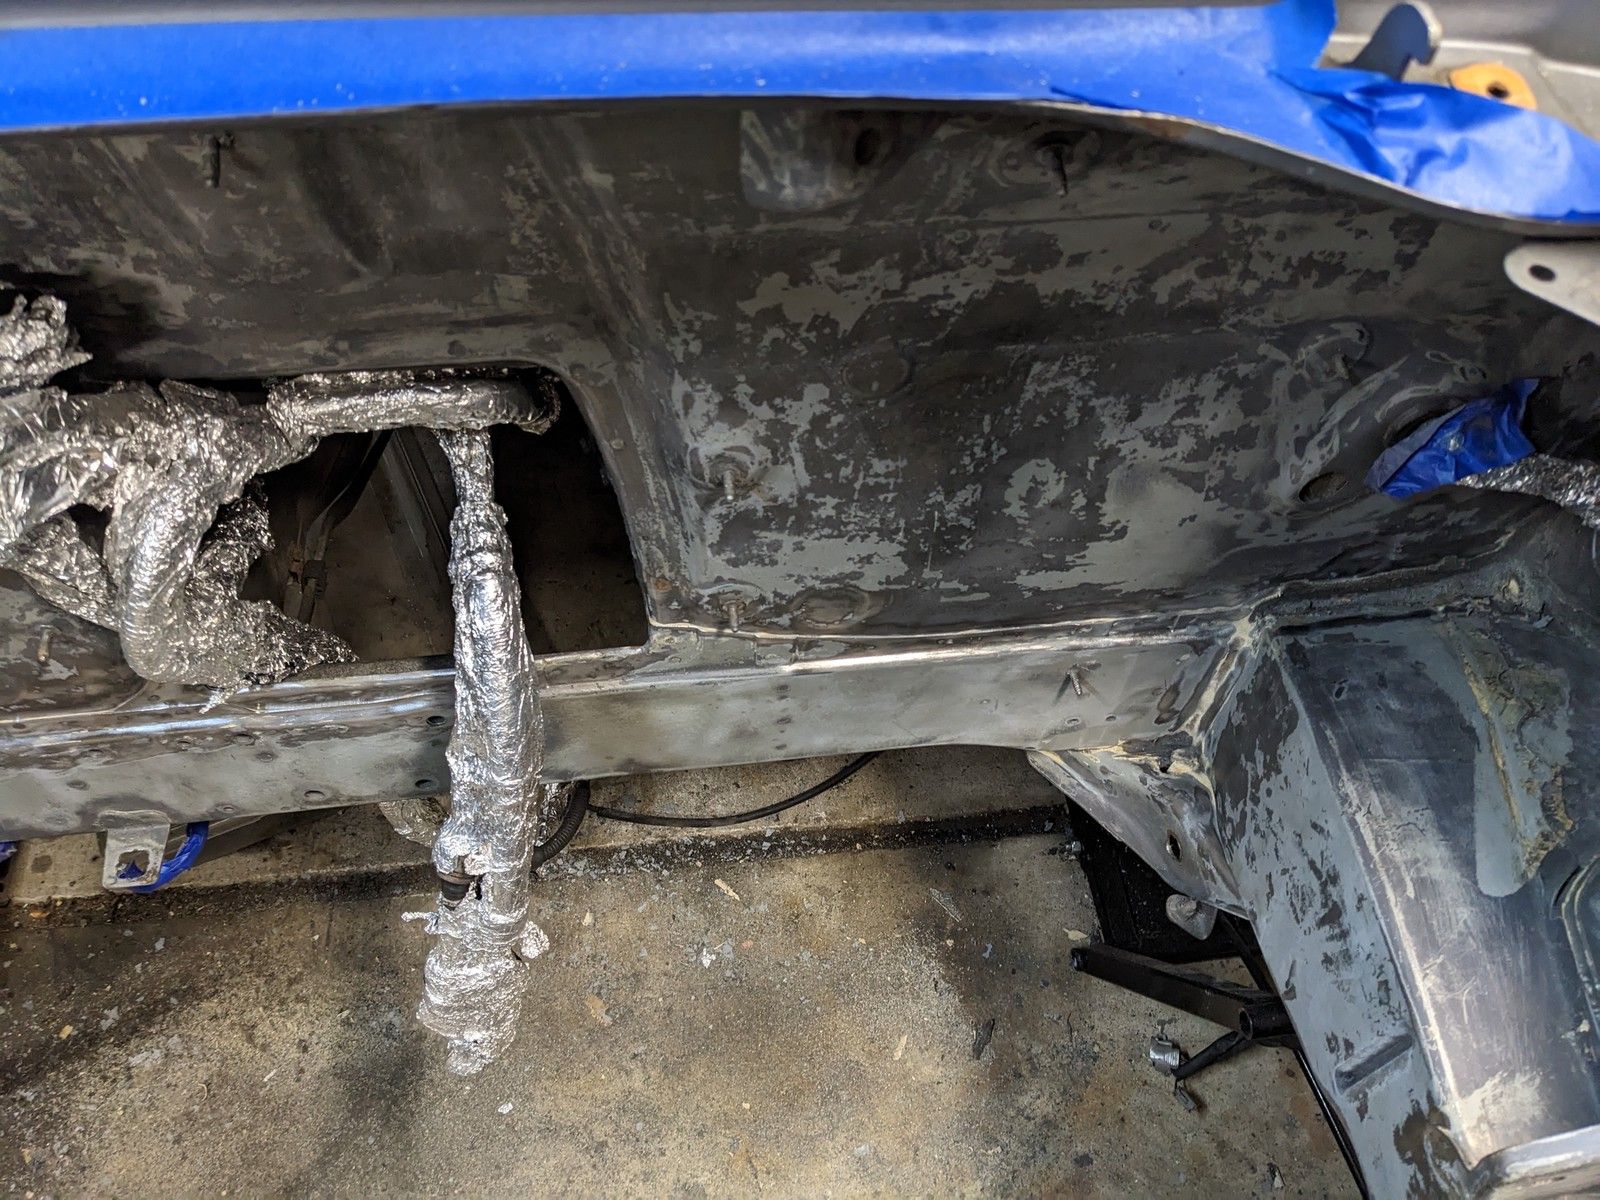
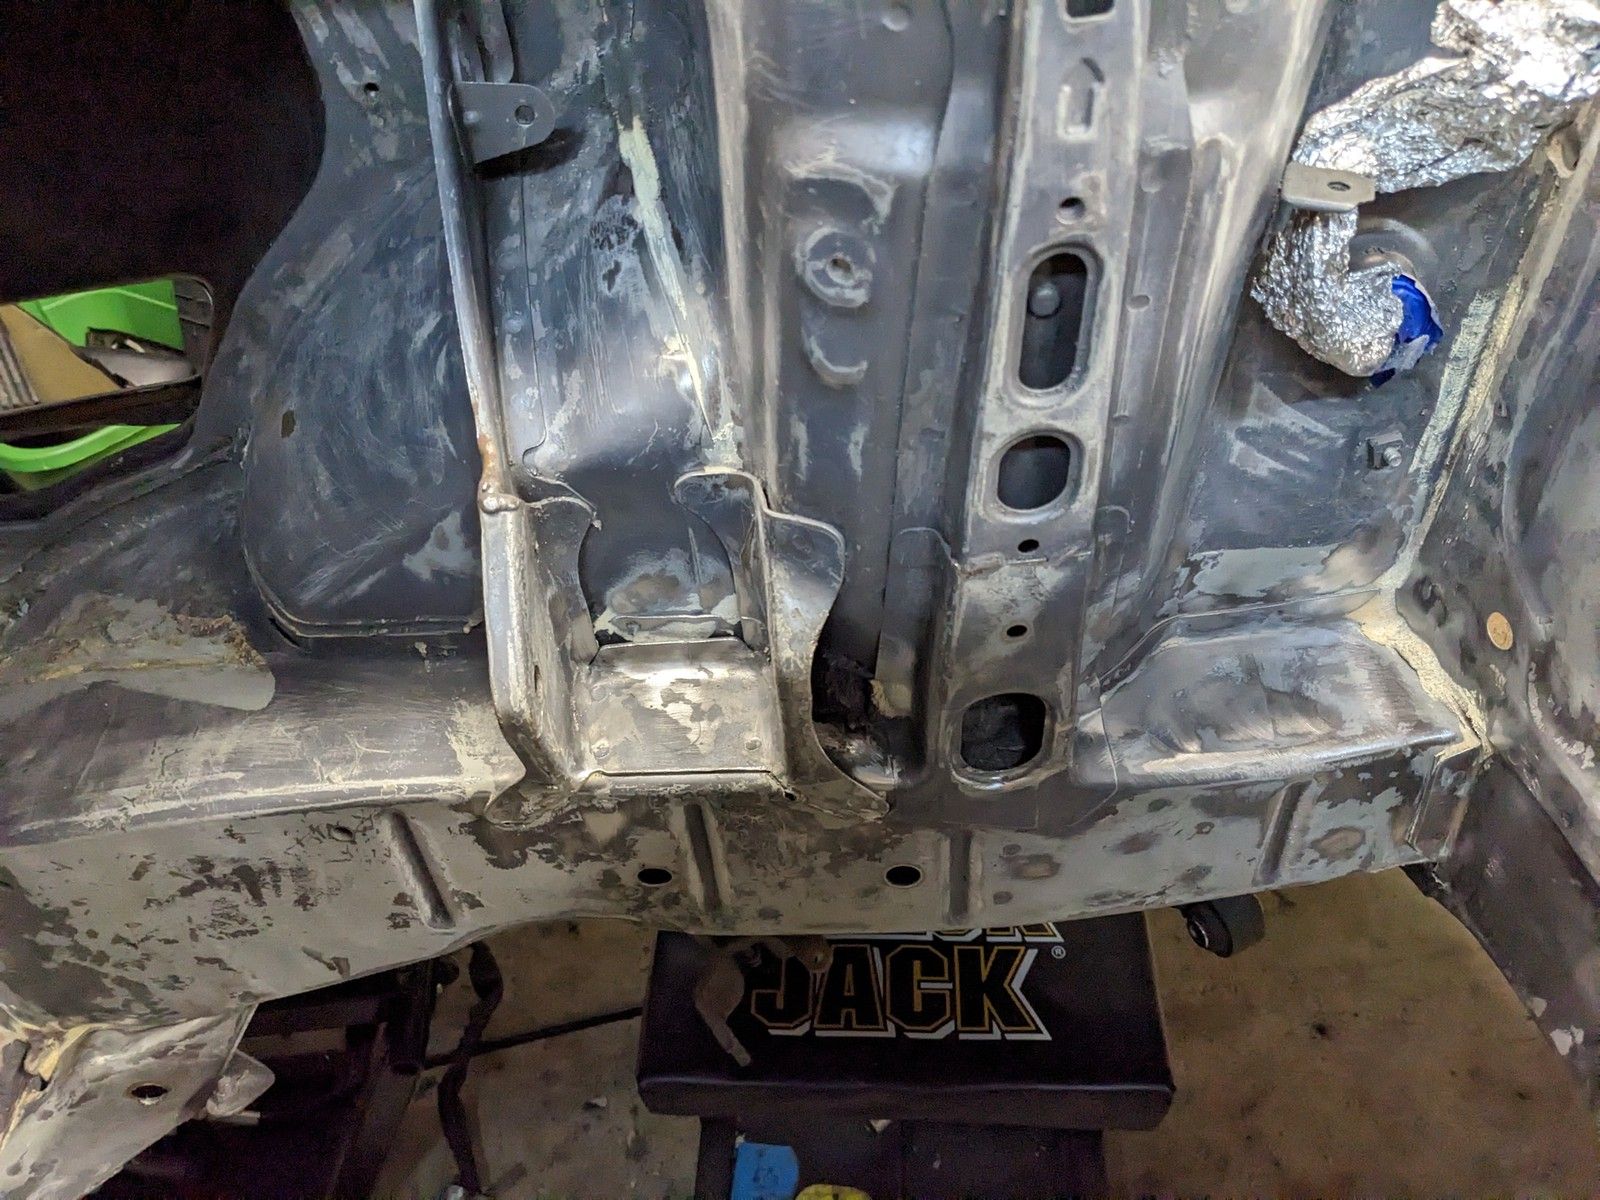
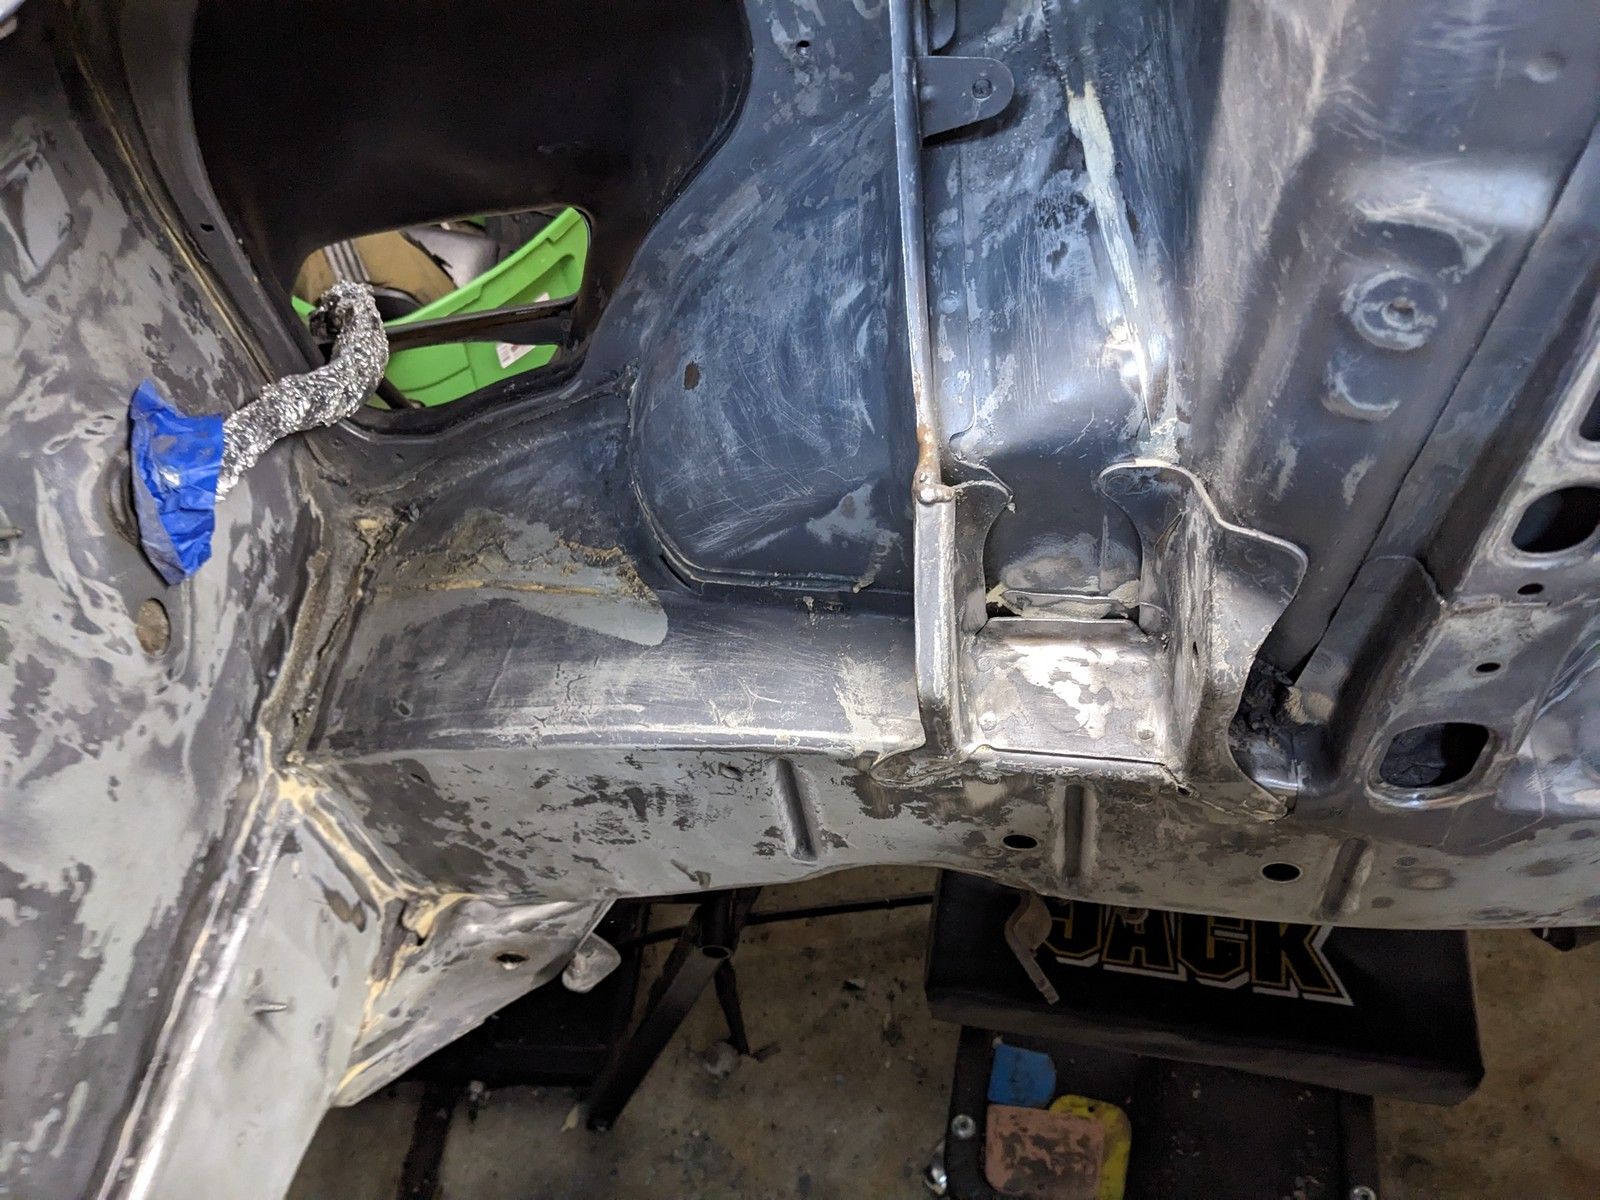
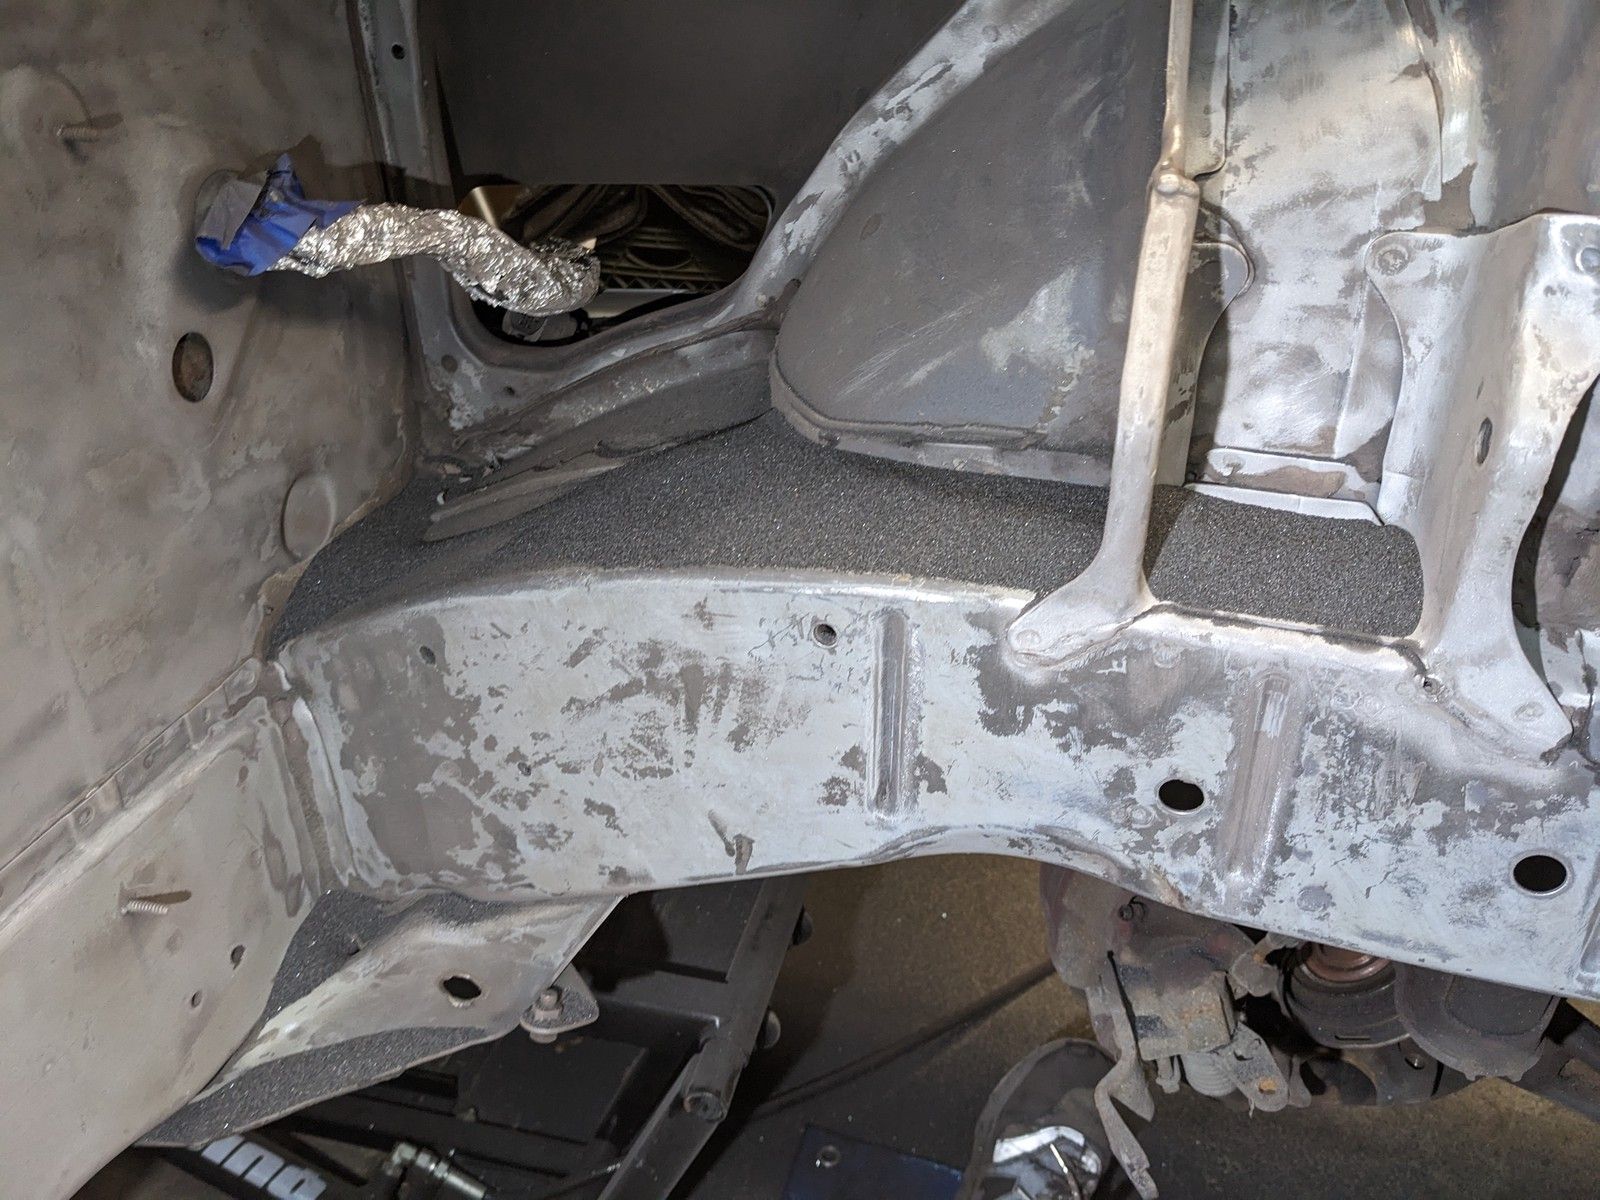
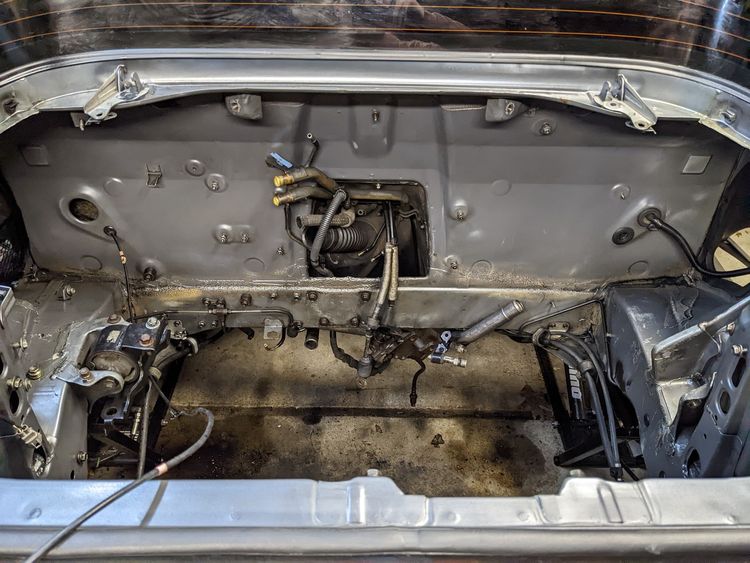
I threw on some music, put my head down, and blasted the whole bay over about a week, working 4/5 nights that week. It was faster, but I was now racing against another clock. Rust. I knew that once I exposed bare metal to the elements I had a limited time before it would inevitably start to get surface rust. Nothing to worry about, but definitely something that needed to be kept in mind.
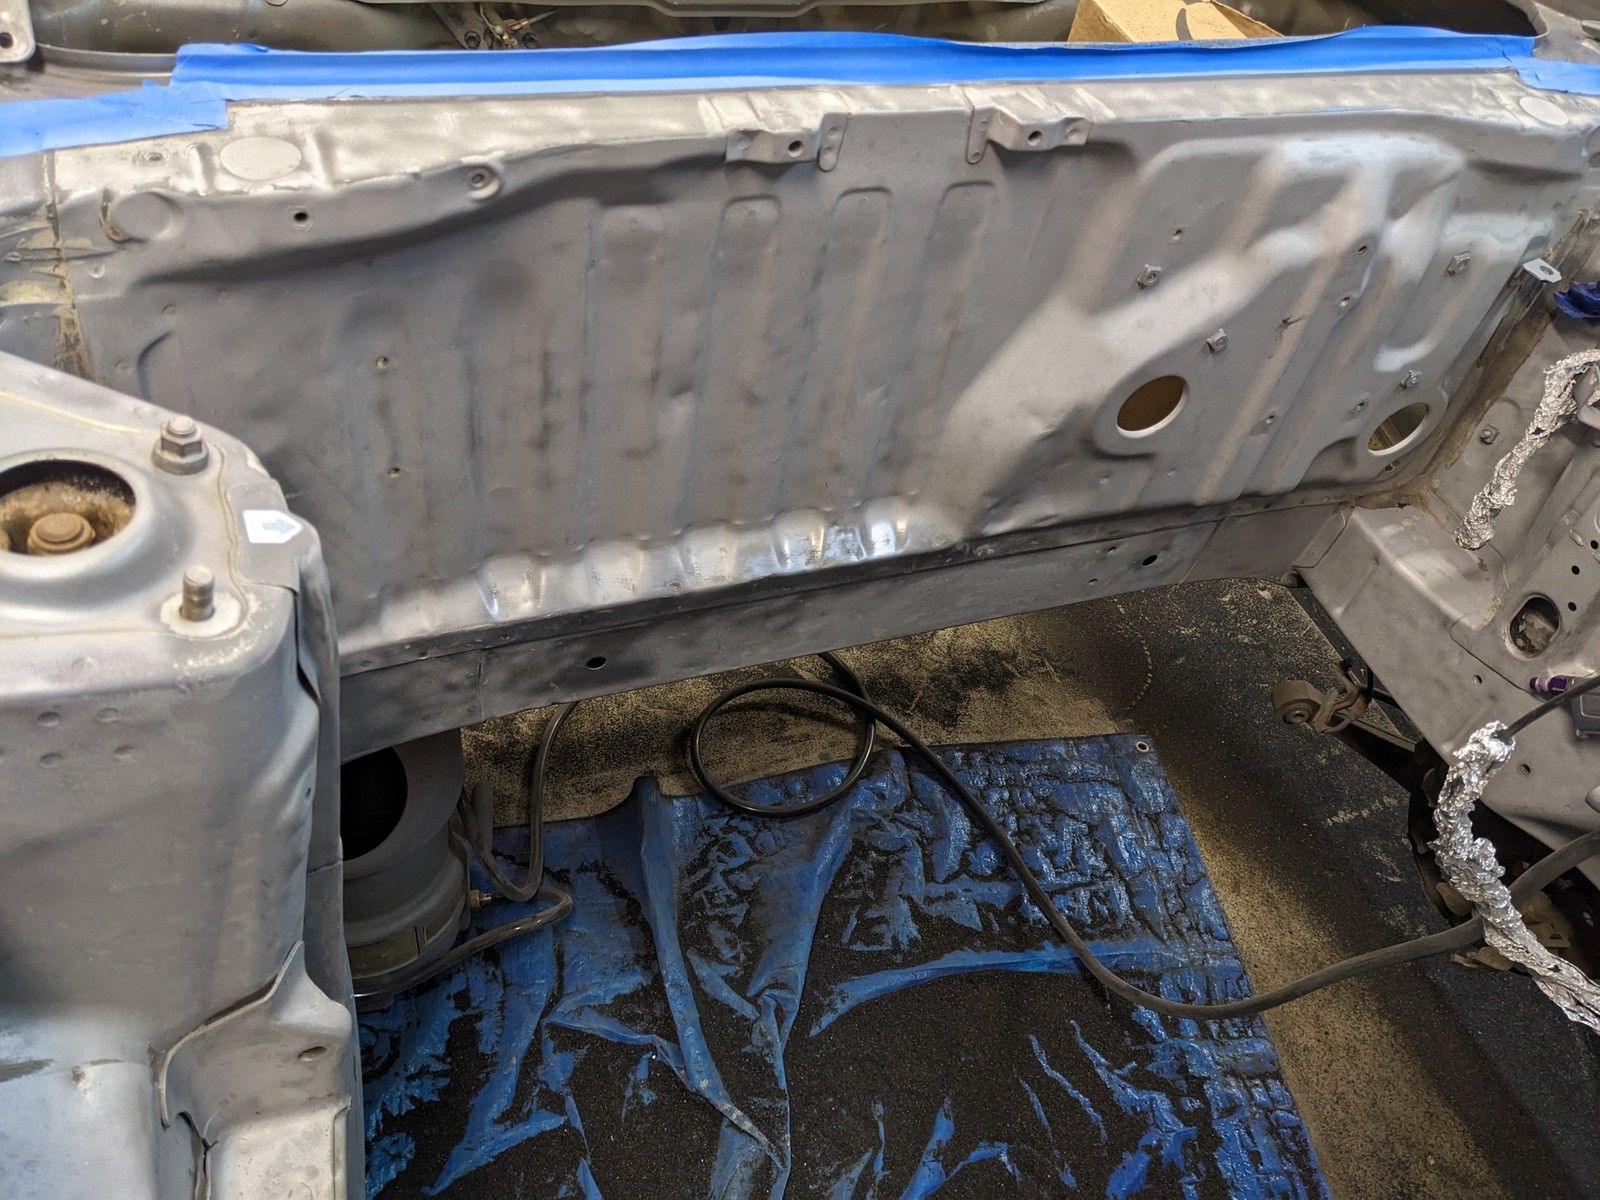
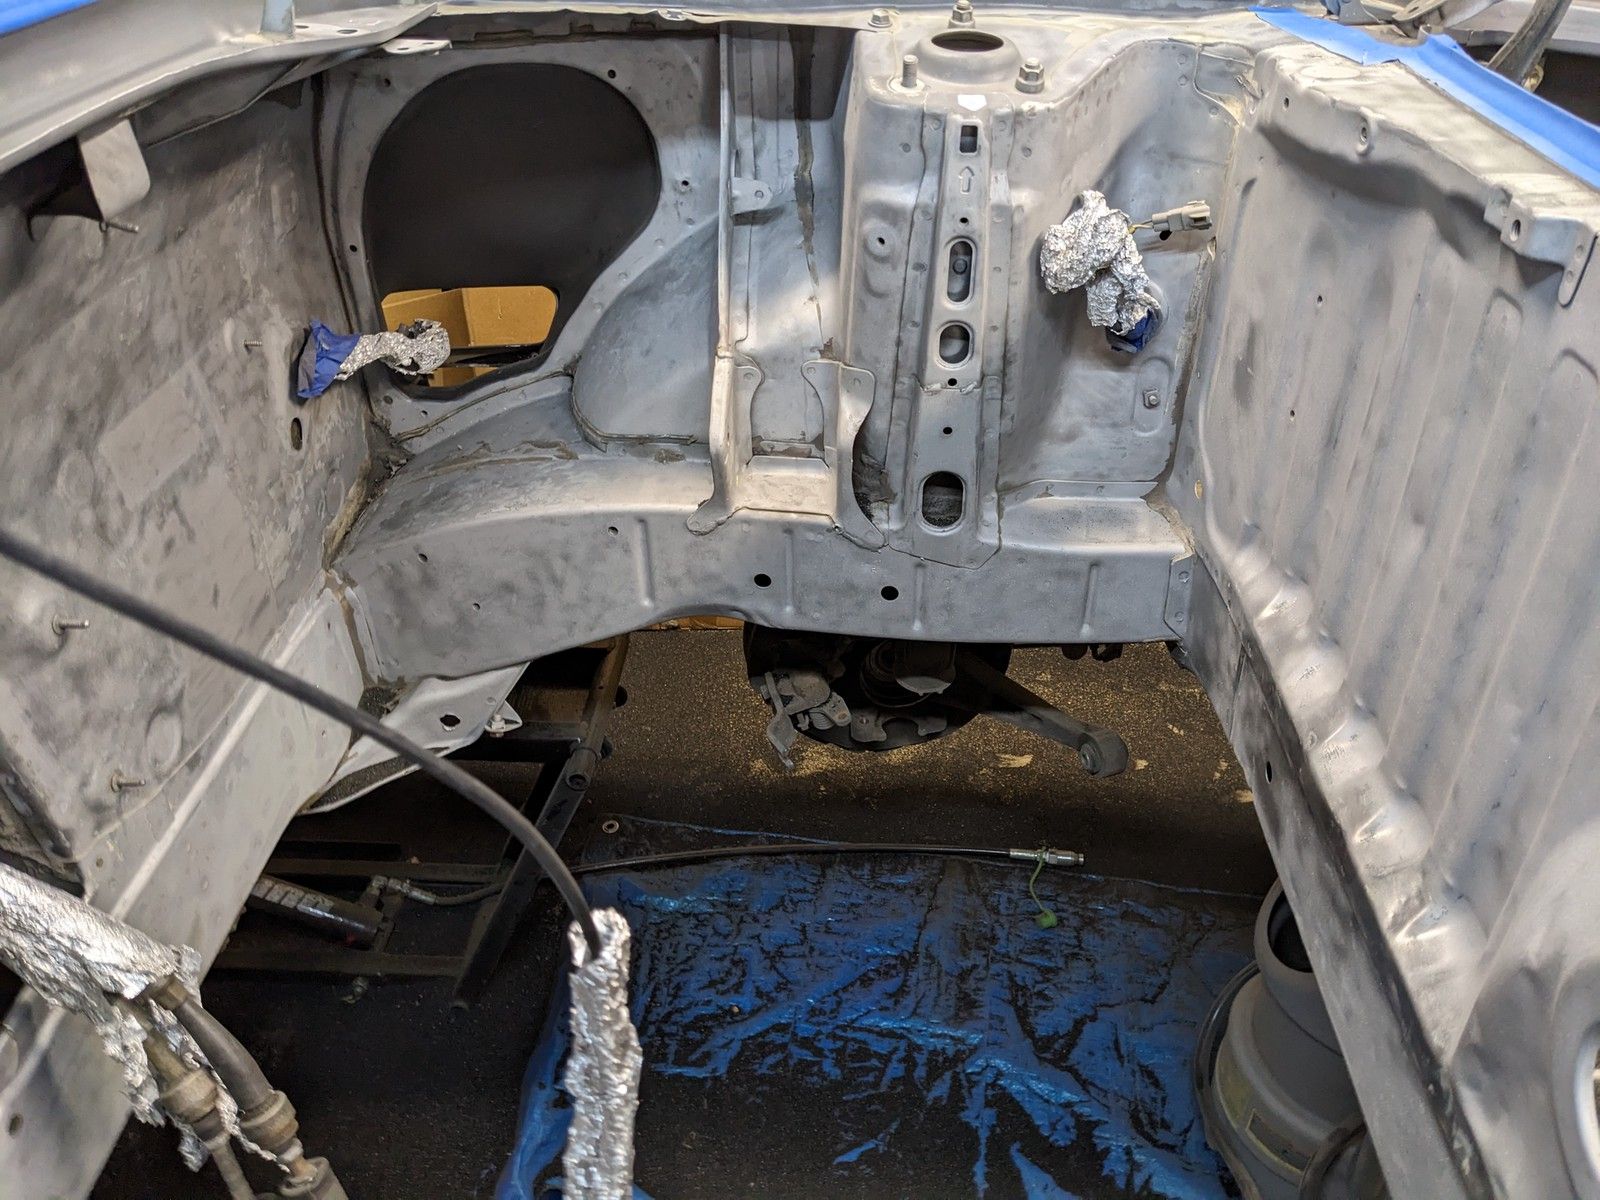
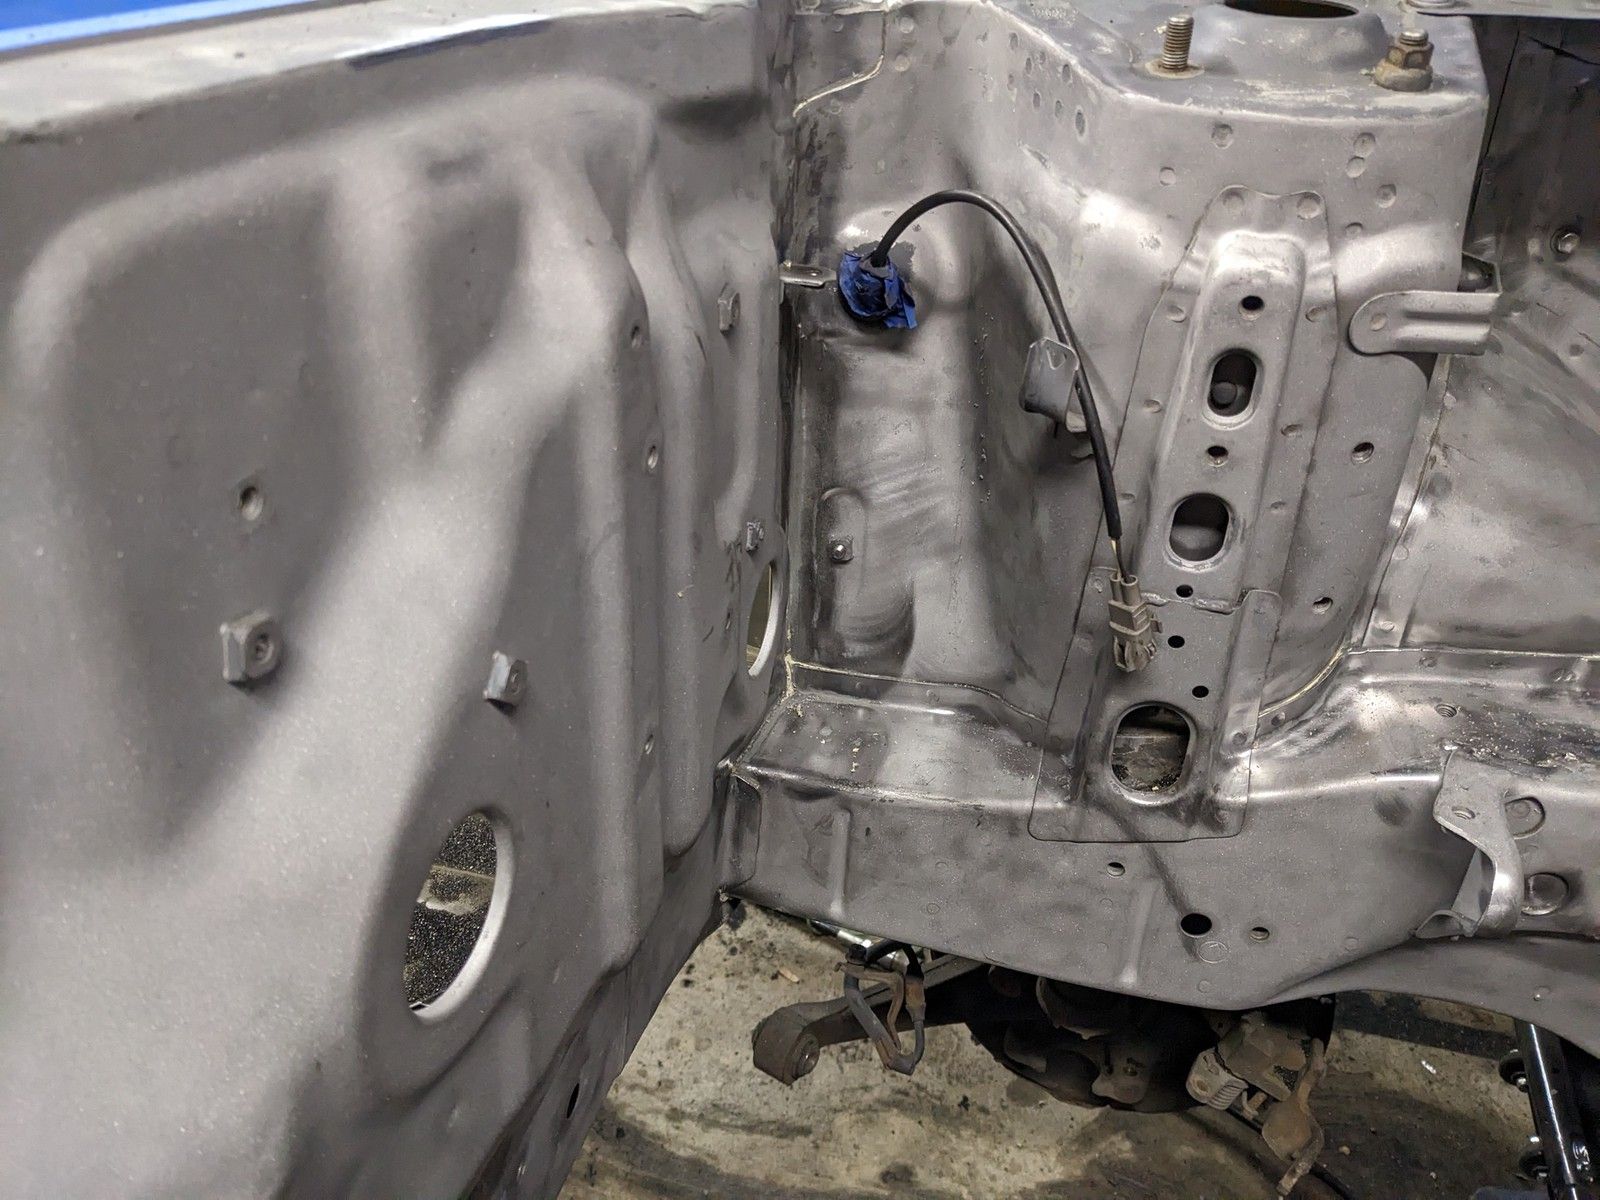
As you can see above, it did eventually come out pretty consistent, in my opinion. Definitely not the number 1 way to do this, but it did end up working for me.
So, what did we learn here?
- A light scuffing probably would have been enough in my engine bay's condition
- Paint stripper has its time and place, but be cautious when using it
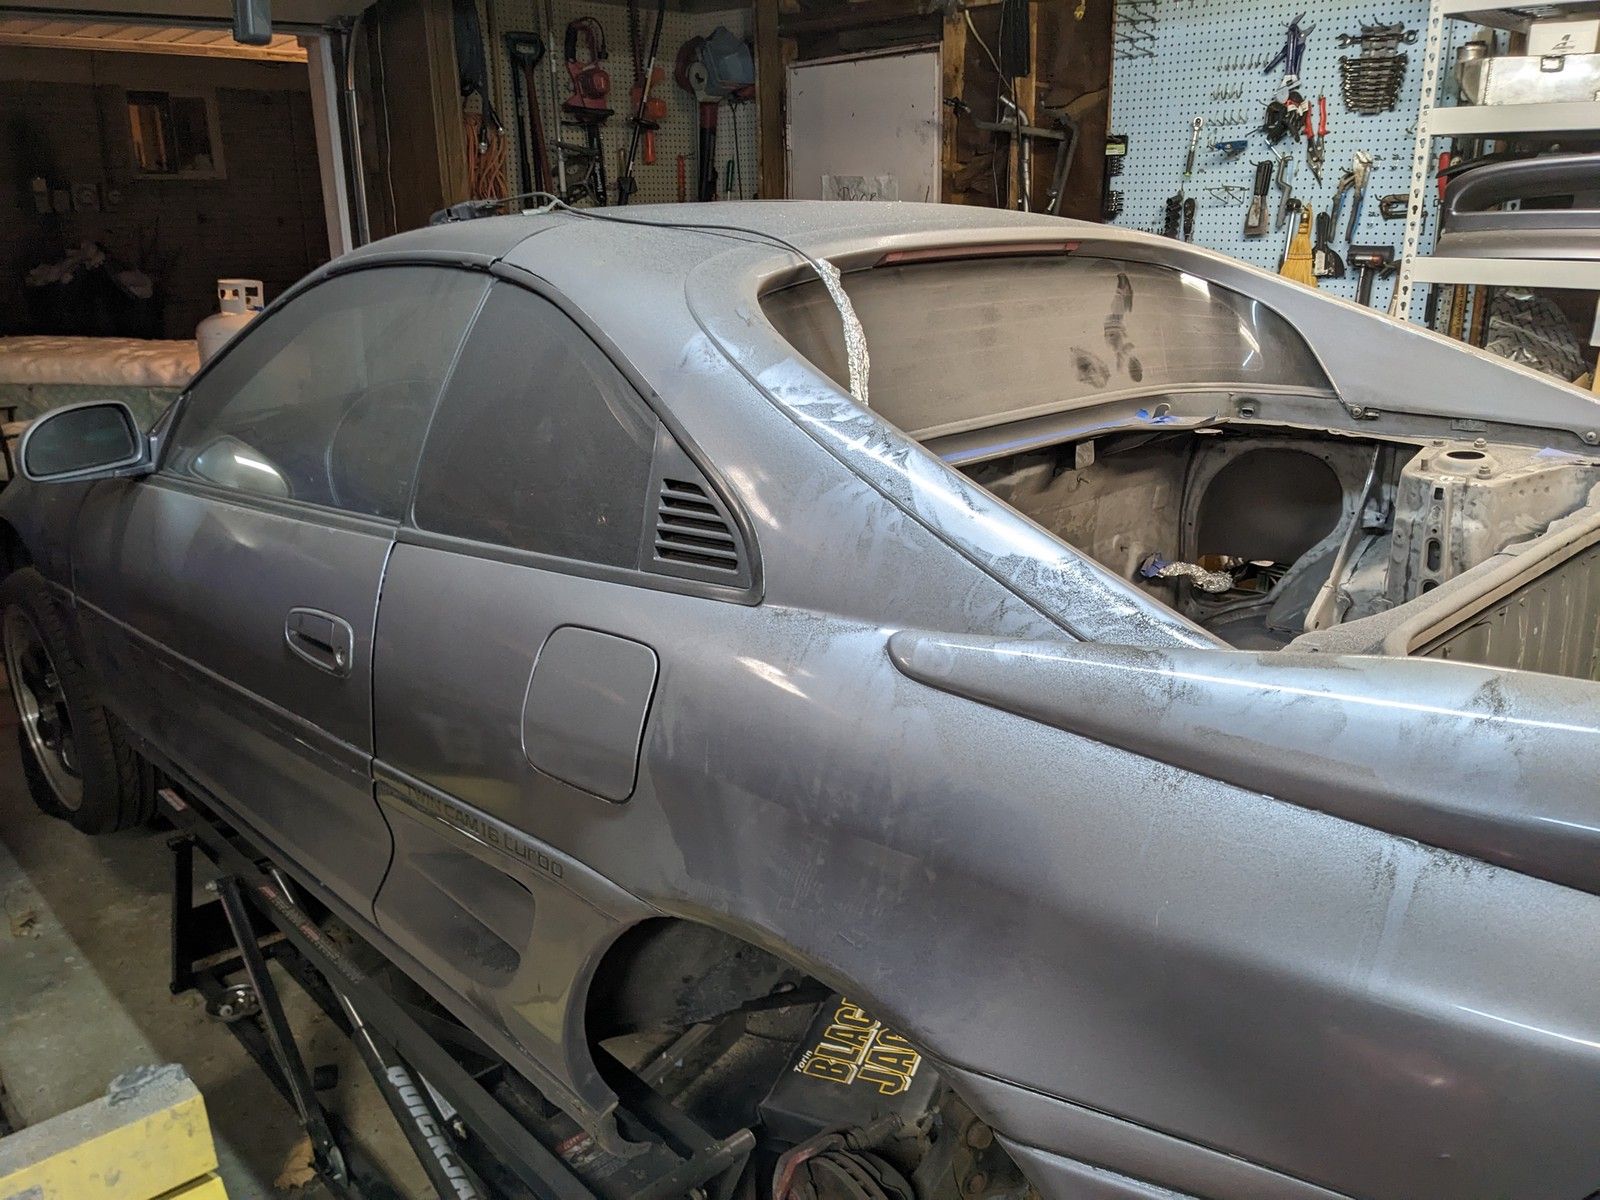
- Sandblasting has some amazing results, but if I could I would have moved the MR2 outside while working on it. I will be finding blast media for decades.
This whole process took many weeks start to finish and I could go on and on, but I know prepping an engine bay isn't exactly the most exciting topic to read about.
Next post I can guarantee there will be at least 1 new layer on the engine bay. Stay tuned and thanks for reading!
Comments ()