Scrub-a-Dub-Dub
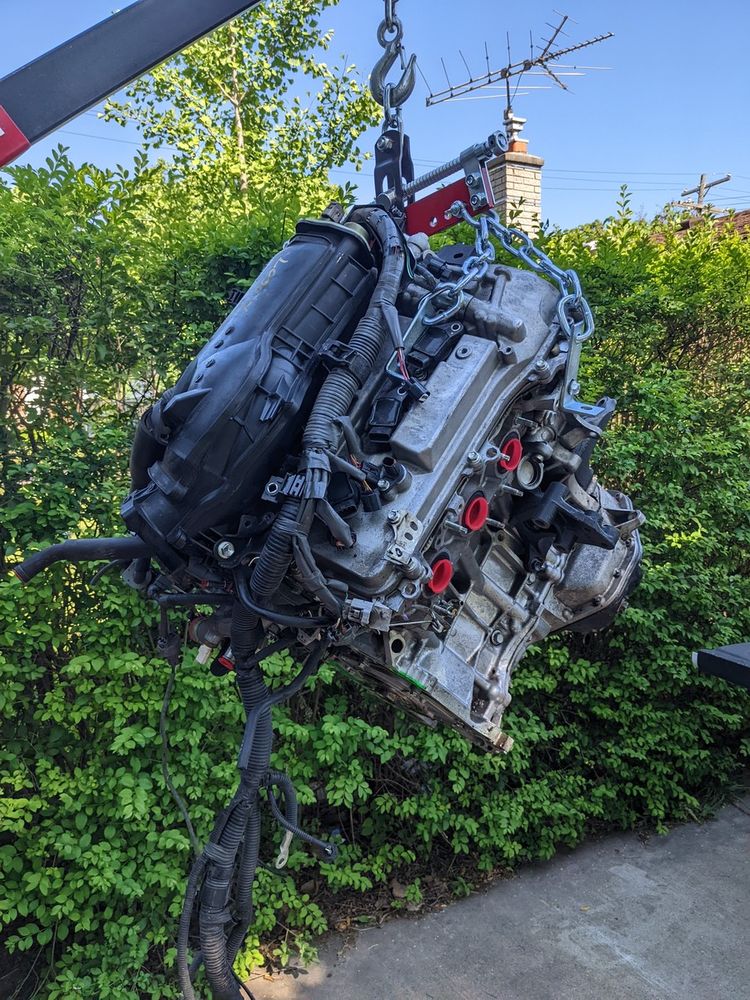
In the last post I got the engine out of the car, and I know that is not a big deal to many, many people in this hobby, but I was so proud that I have gone even that far. ... We're just going to gloss over that putting everything back in is at least 10x harder.
A milestone nonetheless!

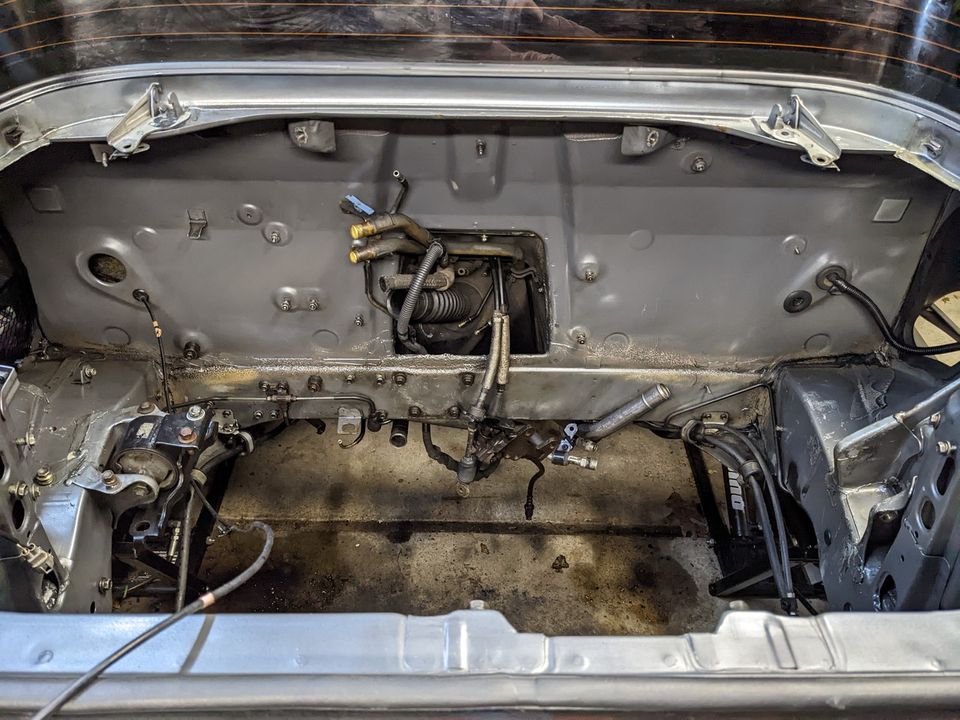
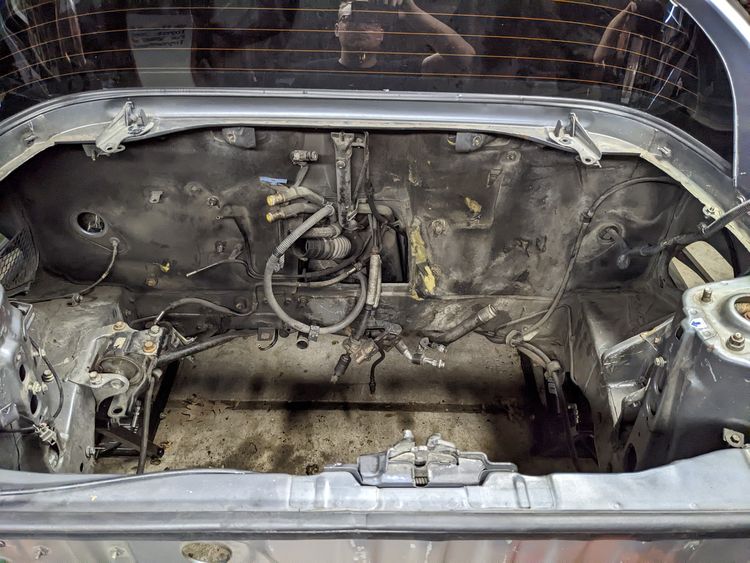
This engine bay is disgusting and is begging to be cleaned. I hope that I'm not in over my head already, but not only will I be doing the swap, I will also be at least partially "restoring" the car. It is a lot of extra work, I would argue more work than the swap, but many decisions I make will be driven by "While I'm in there."
The goal will be to restore as many parts as possible without replacement. Depending on the cost/time/effort/availability of some parts, of course.
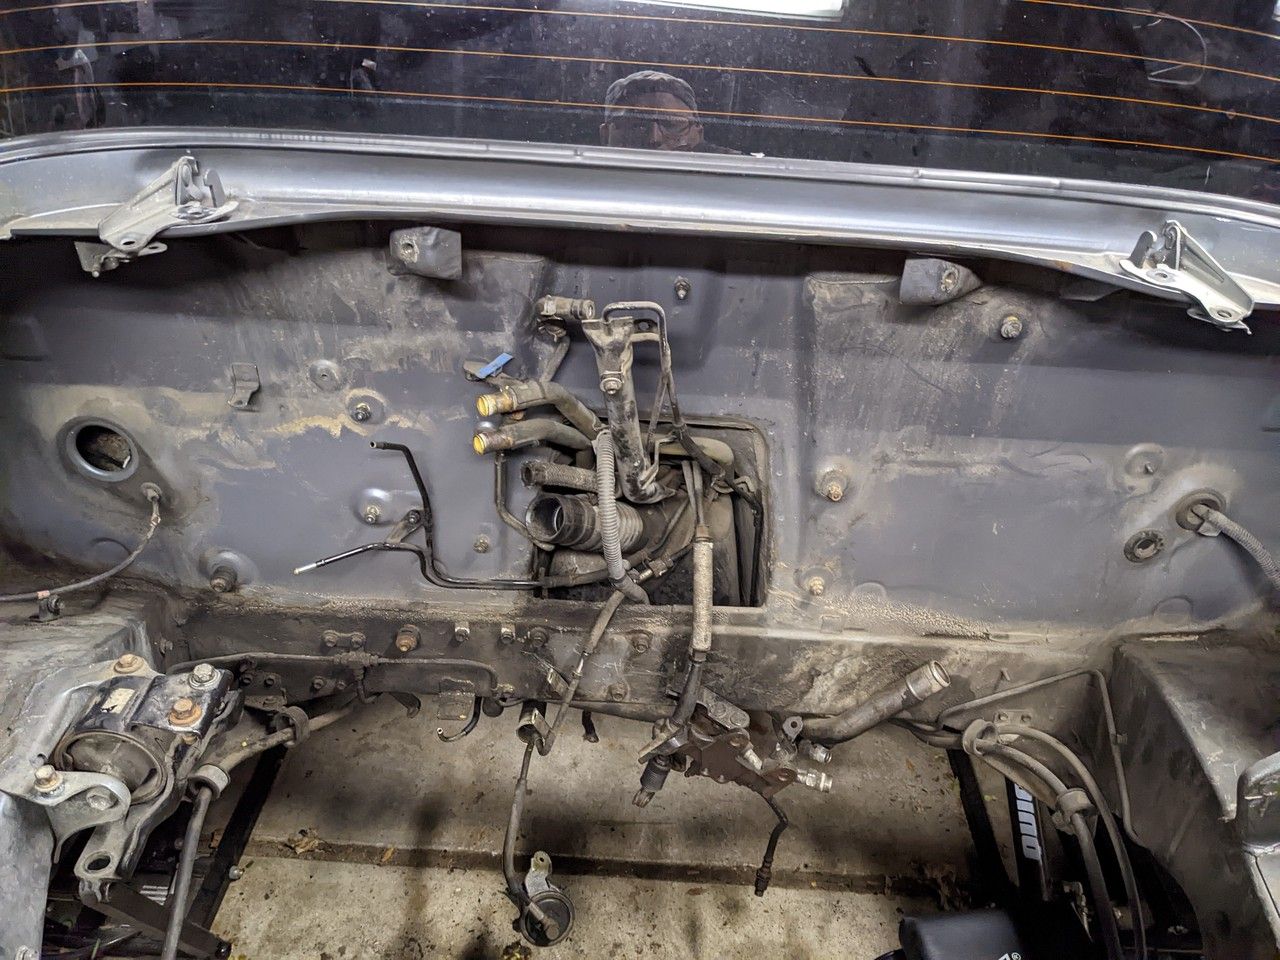
I started by removing the fabric heat shielding and it was already looking much better without that decomposing layer. Underneath the paint looked brand new, good thing I'll destroy that later!
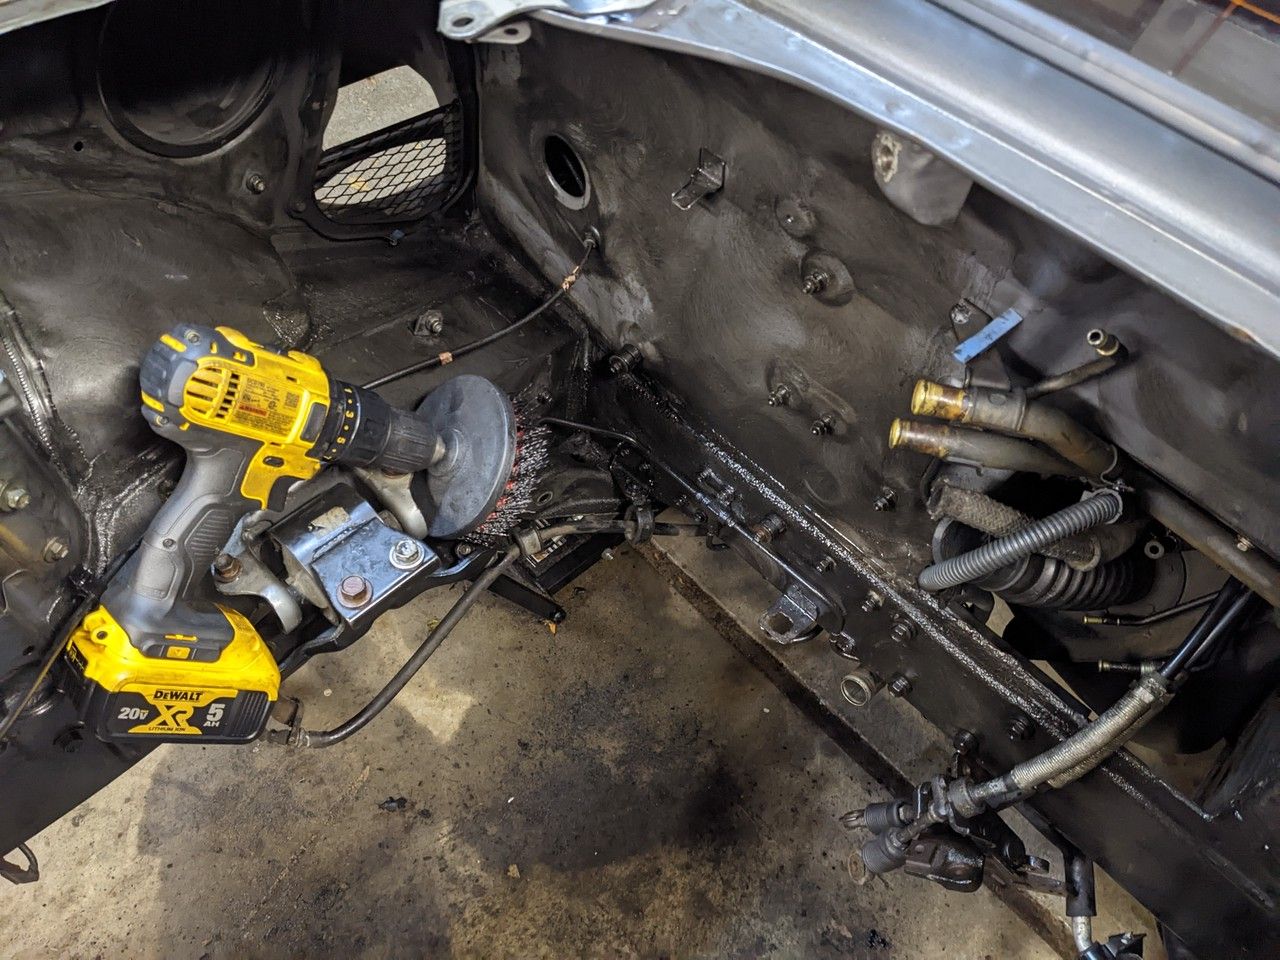
After removed a couple of other items with enough space to reach 85% of the bay, I sprayed some diesel/kerosene engine degreaser and scrubbed that with a brush attachment for a drill. That really loosened up most of the gunk on the bay and I would highly recommend, specifically, diesel/kerosene mixtures for this application. I tend to research most of the products I buy, at least cursory, and this blend which is most commonly found in GUNK (original formula) was the most effective with the least harm to the materials.

Next, I wanted to start the prep for paint and that meant removing some other items still hanging around in the bay.
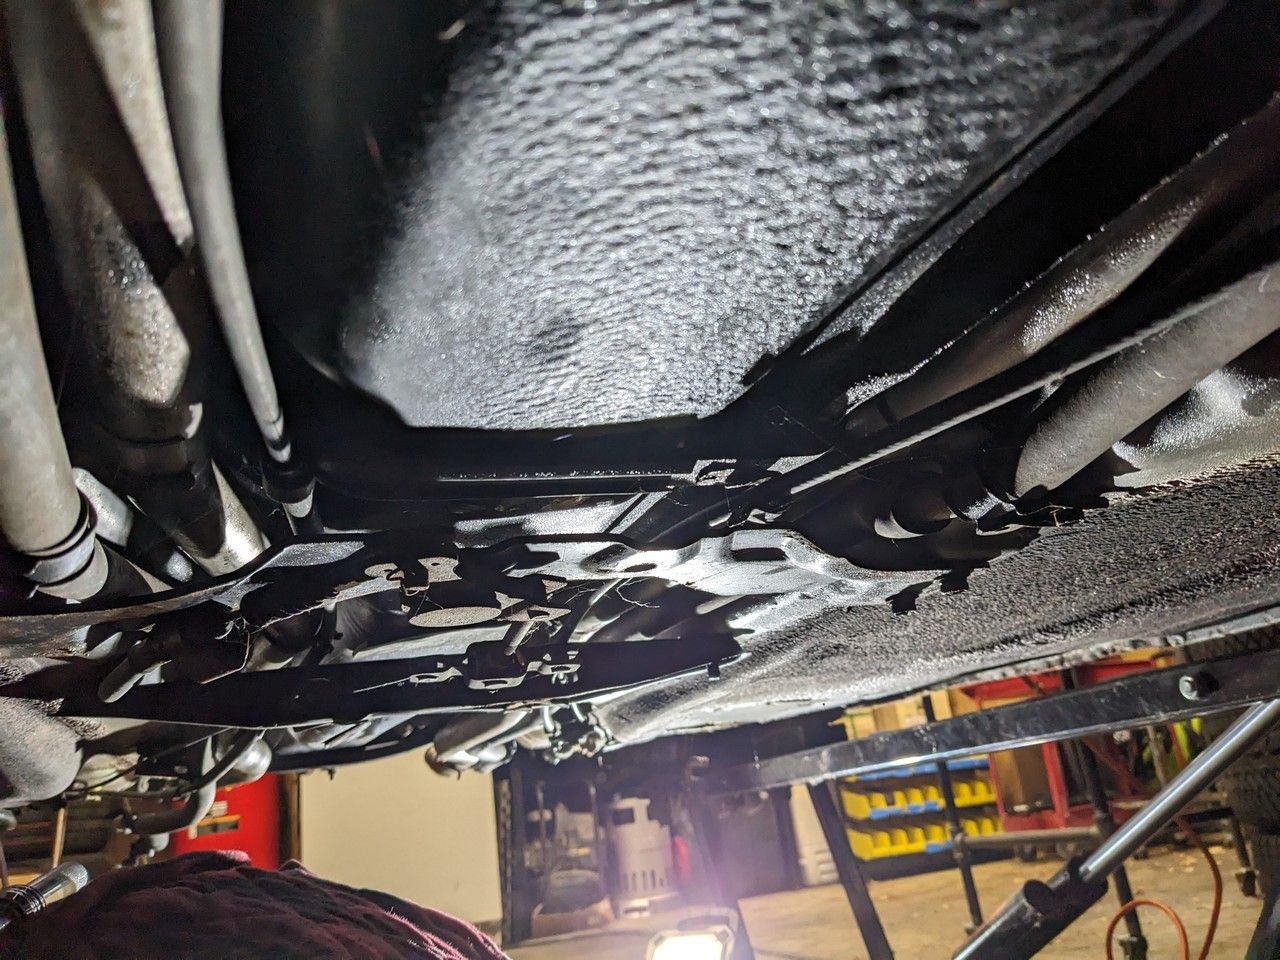
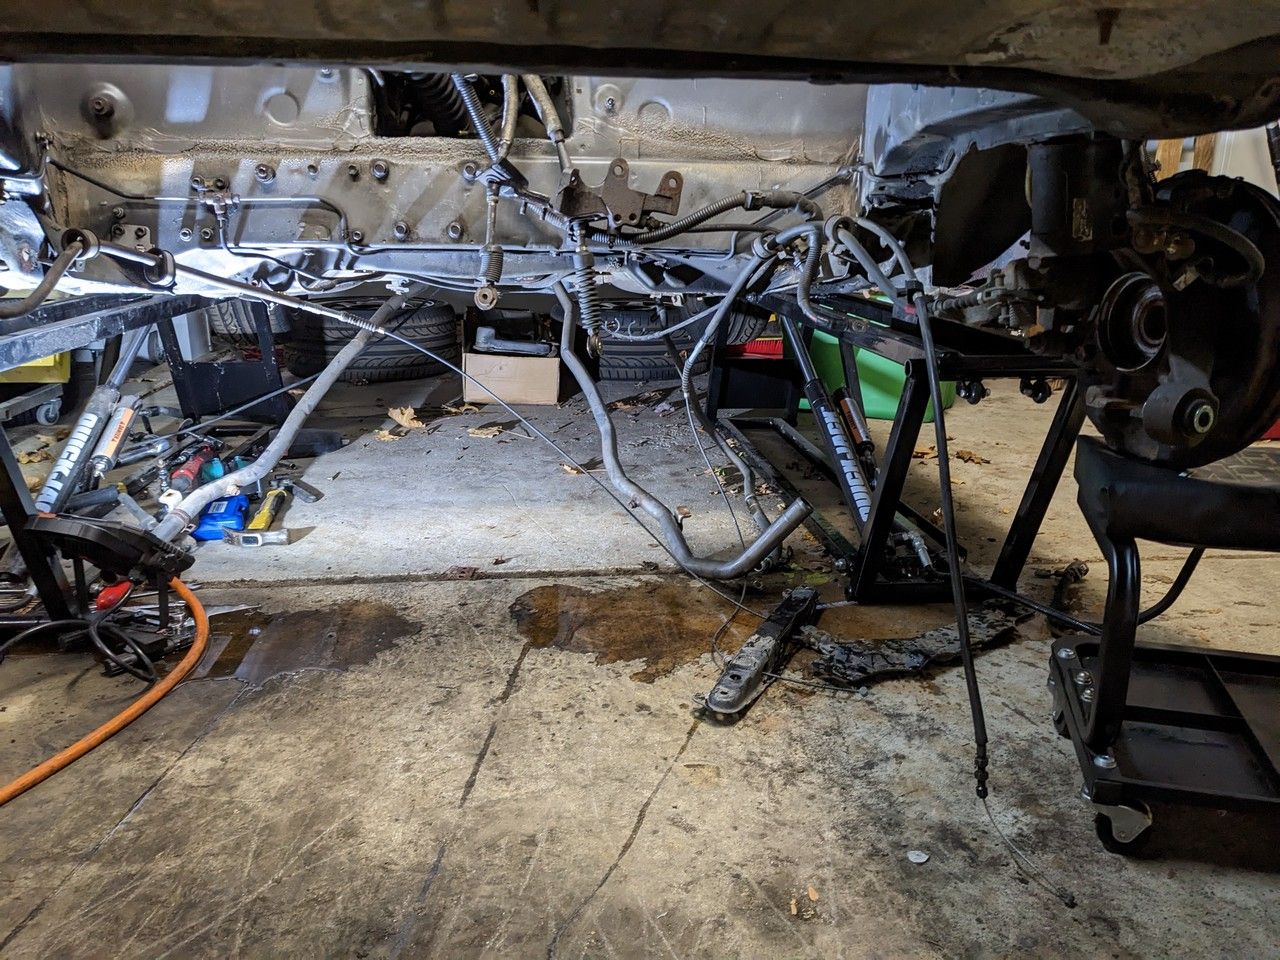
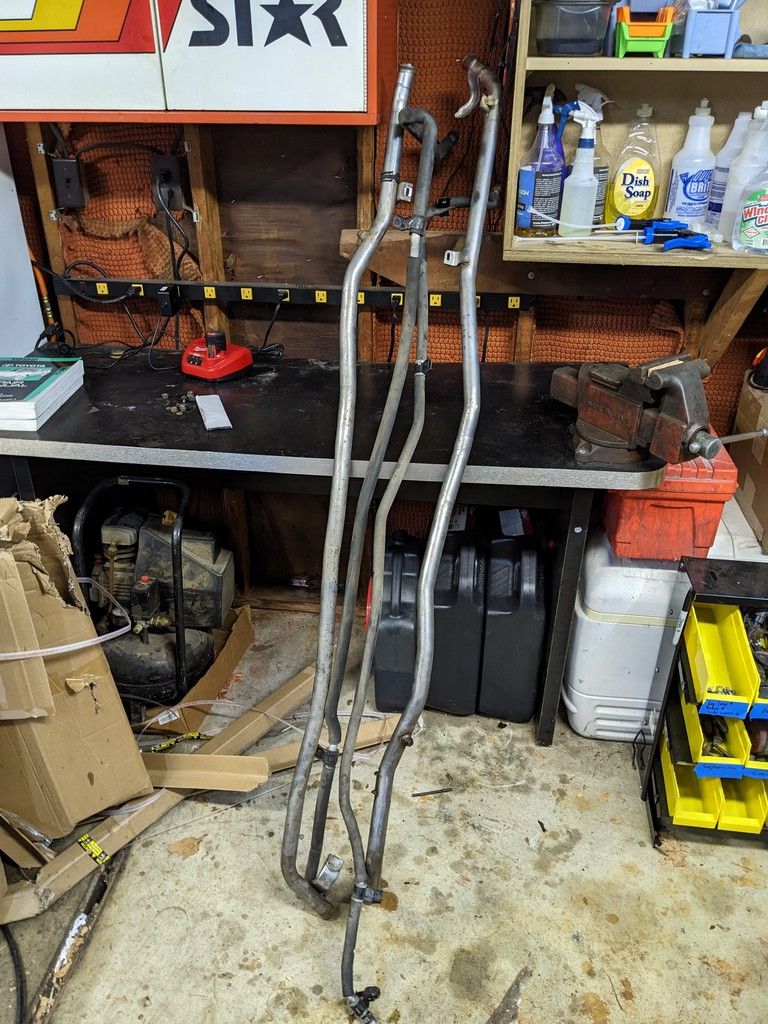
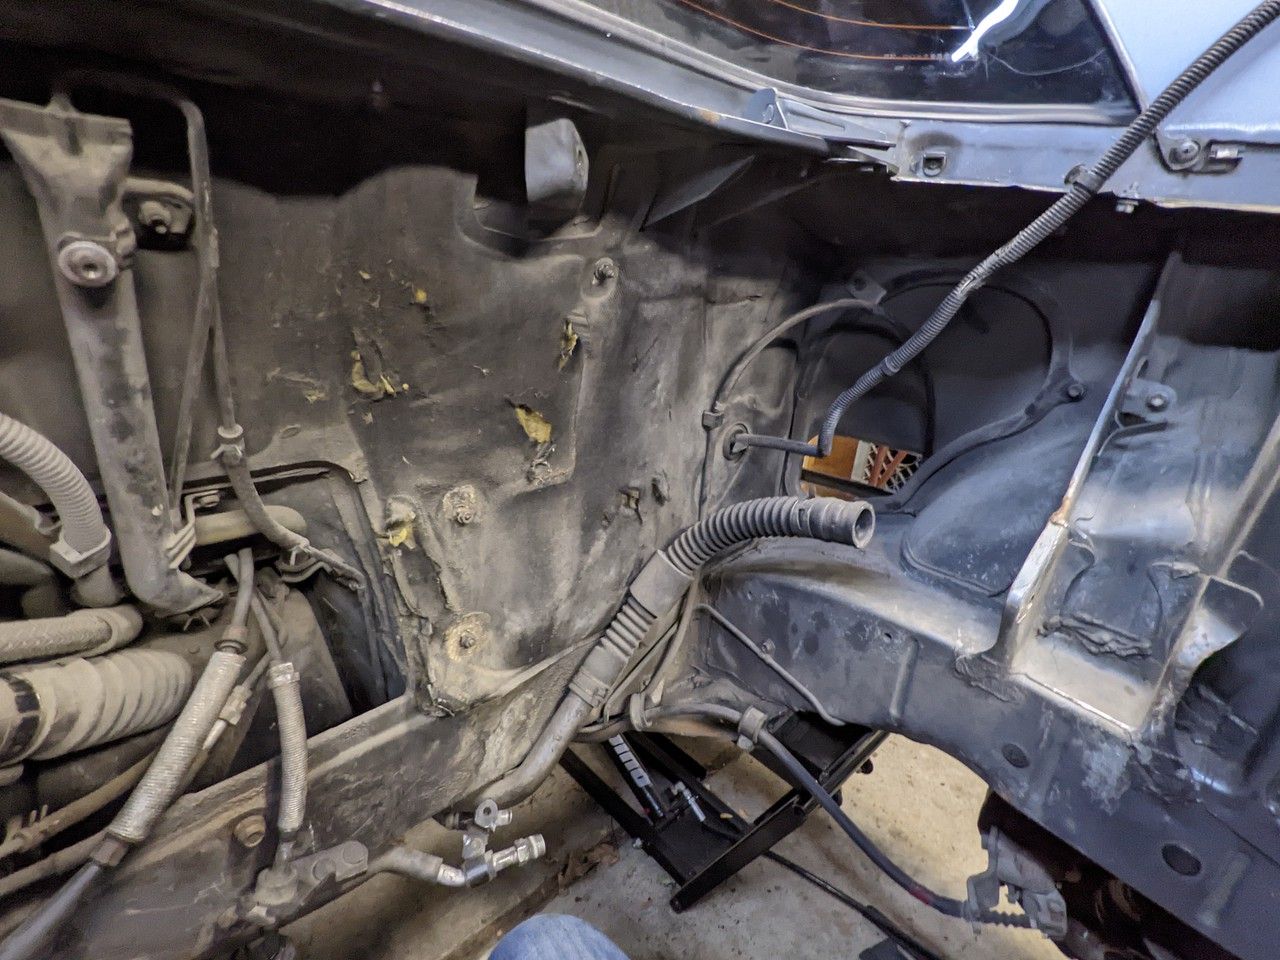
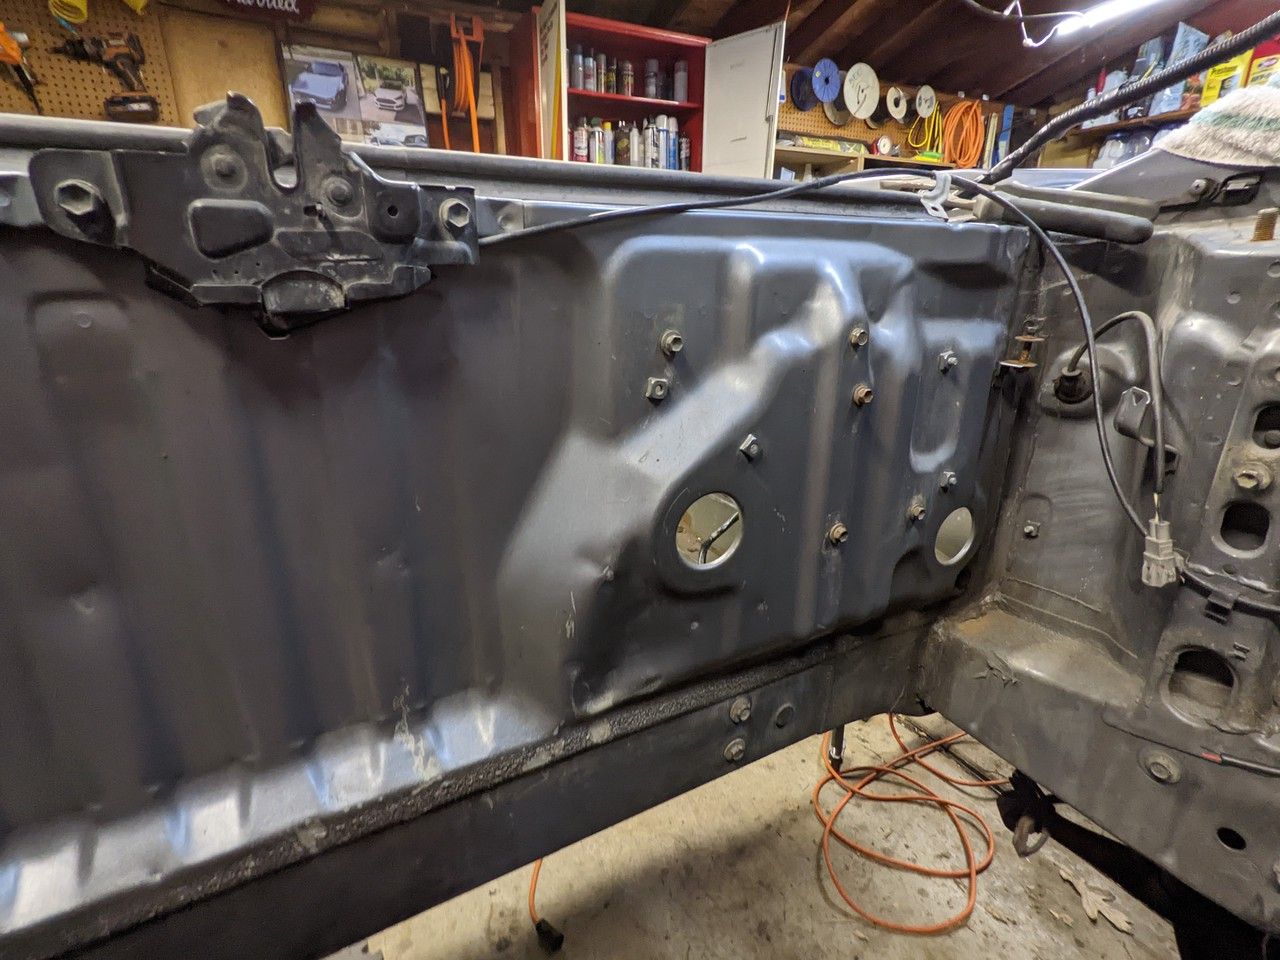
One of the top tasks I wanted to tackle while the engine is out of the car was the gas tank. There are some coolant pipes running from the engine to the radiator in the front and the A/C Lines from the compressor to the condenser. Gotta get those out of the way before I can drop the tank.
These tanks are notorious for being a royal pain in the ass to remove with the engine bay full of.... engine. I wanted to clean the tank inside and out and replace the fuel pump. It wasn't causing me any problems, but I never want to drop this thing again if I can avoid it.
We won't be installing the new fuel pump in this post, I haven't decided which one I will purchase yet. I reached out to Marc at Frankenstein Motorworks and got his recommendation, but haven't been able to find a kit that has everything I need. Might need to buy everything separately, so that's a problem for another day.
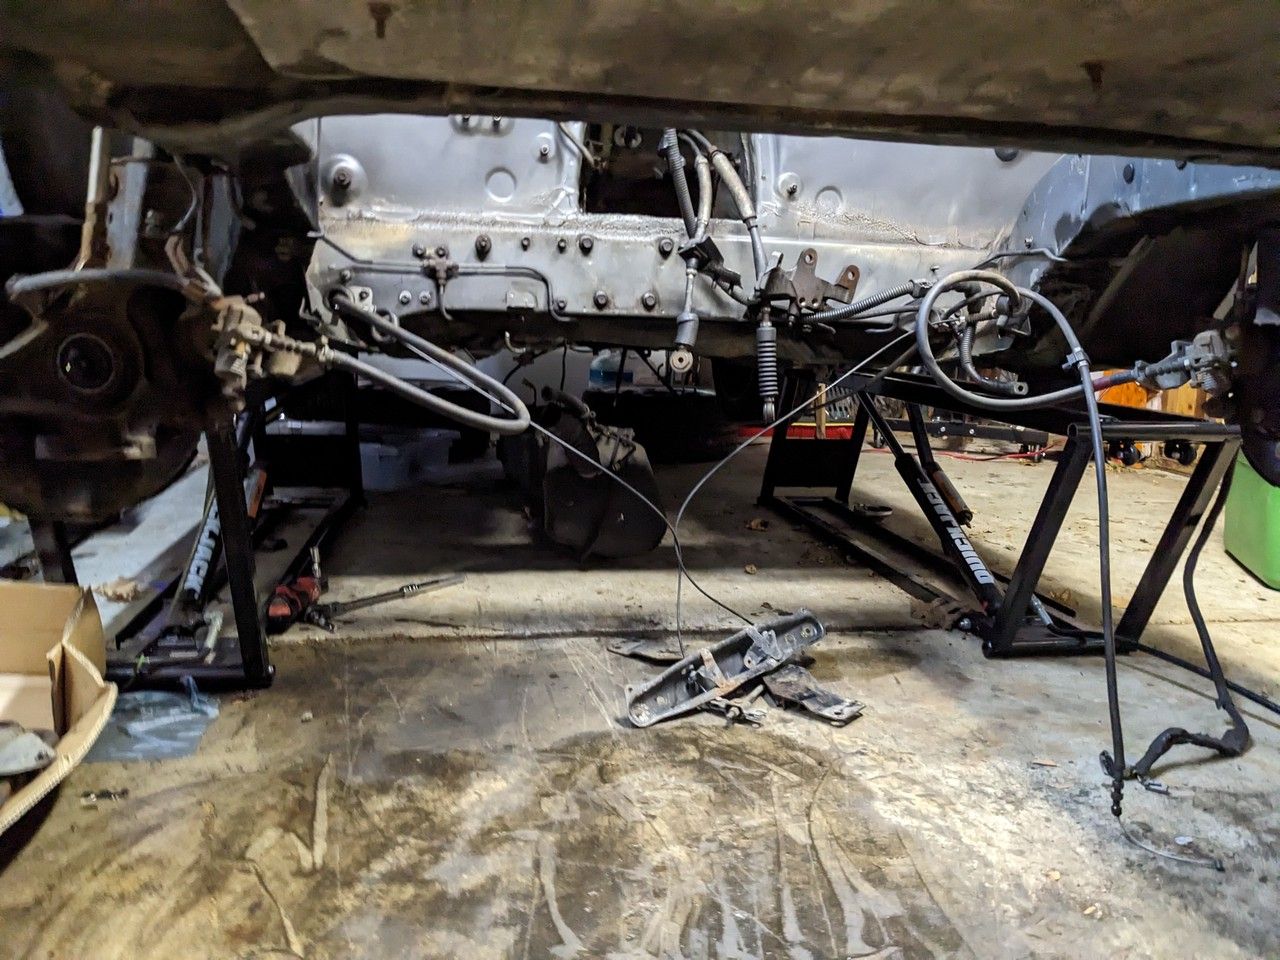
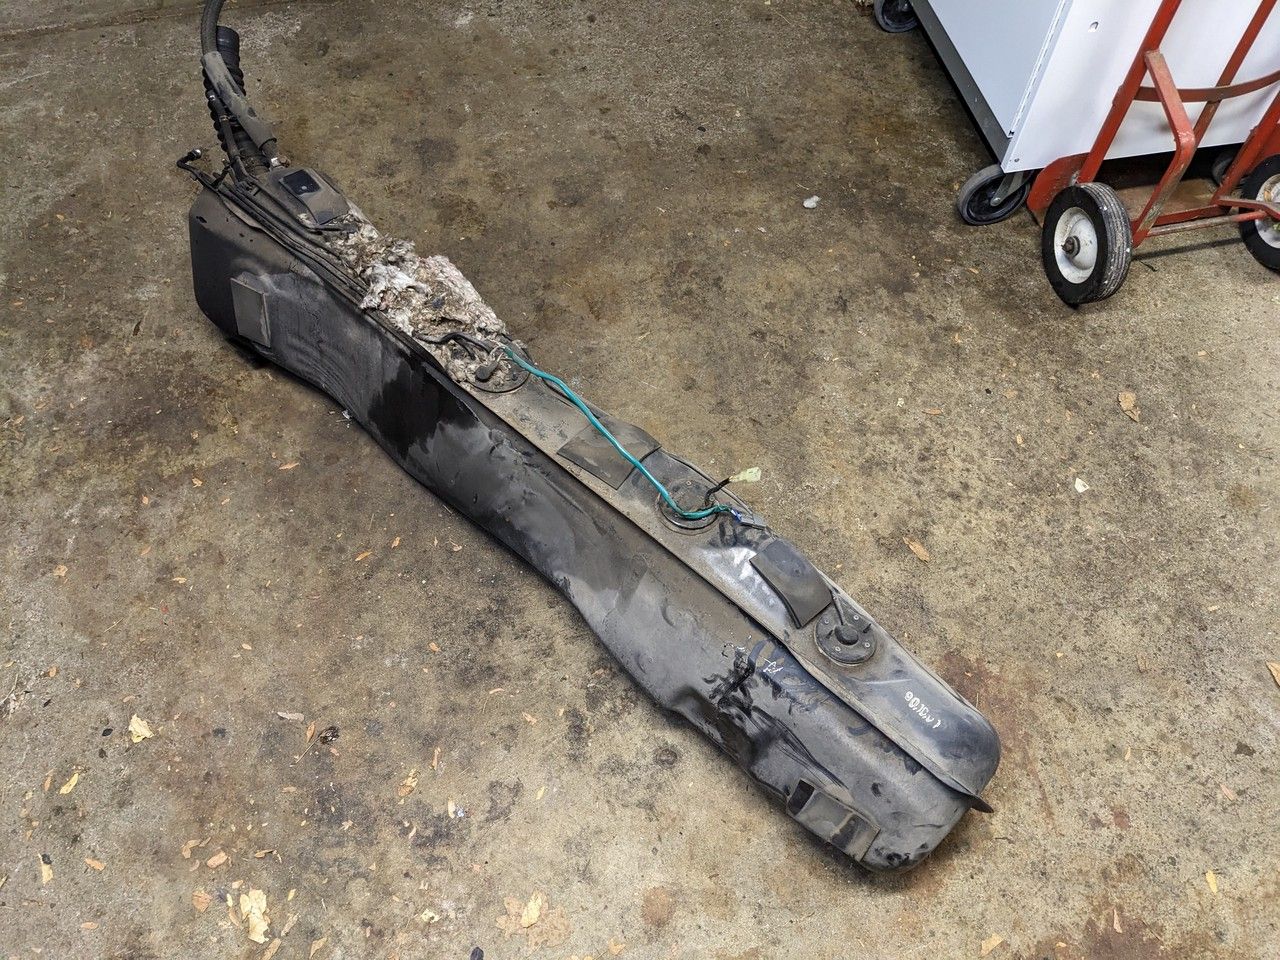
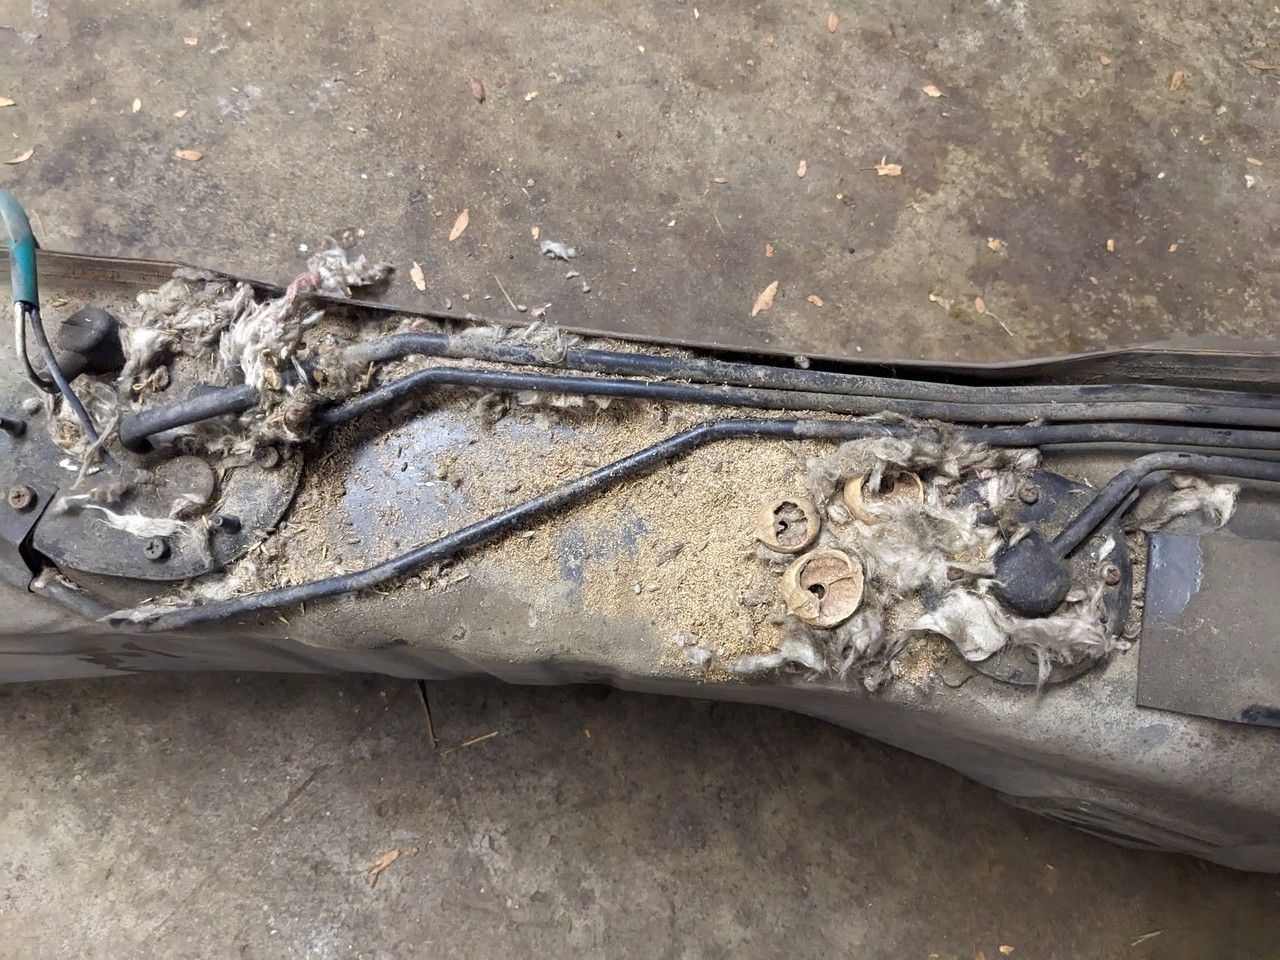
I don't how critters even get up there, but with the tank removed we can see at some point this MR2 was an apartment.
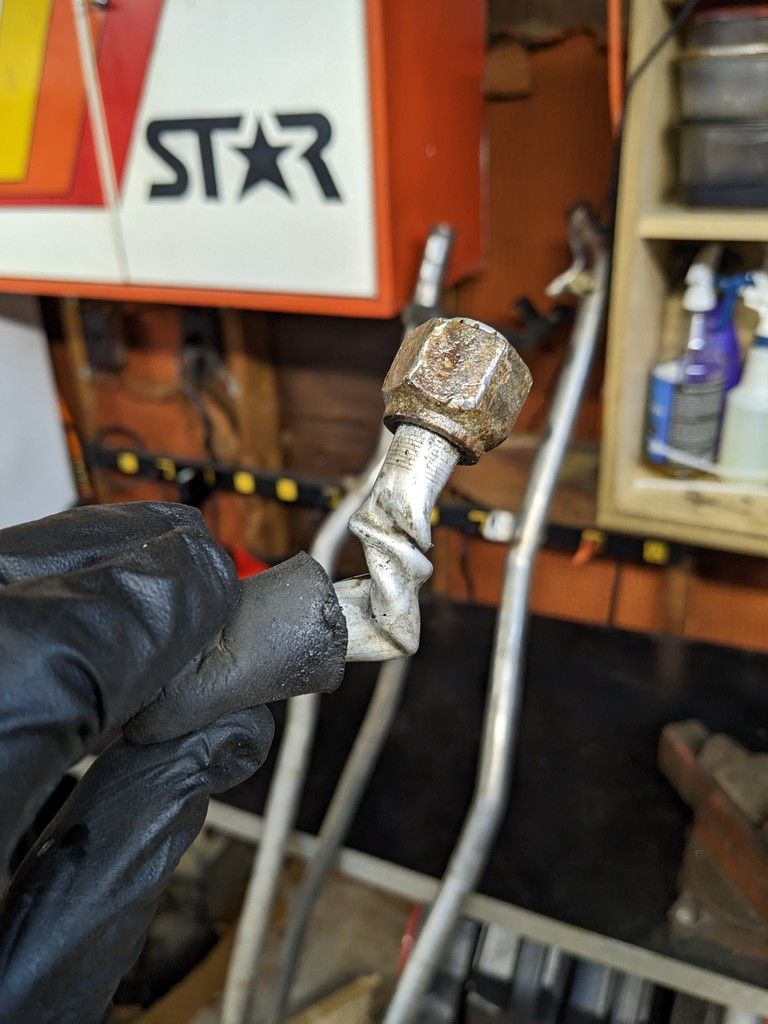
There was one unfortunate mistake on my part while removing the coolant pipes and A/C lines. There is a captive nut on the line you see above and stationary threaded end on the other side, while I was taking this line off I ran out of room to move my wrench so I grabbed the line to twist it around to get a better angle. Turns out that was a terrible idea because I made it a Twizzler. Thankfully, I have not broken too many things, but it is bound to happen eventually.
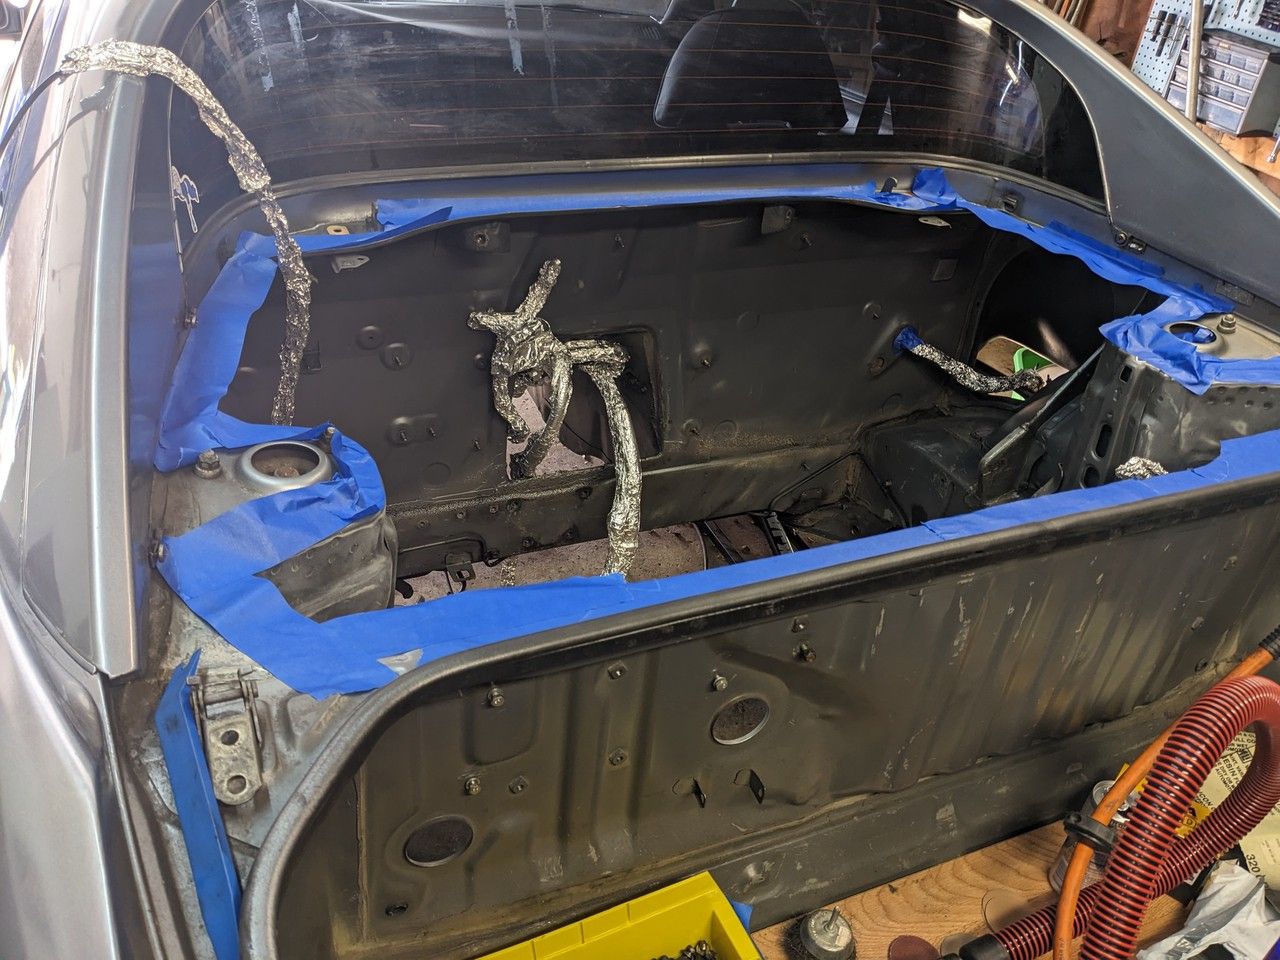
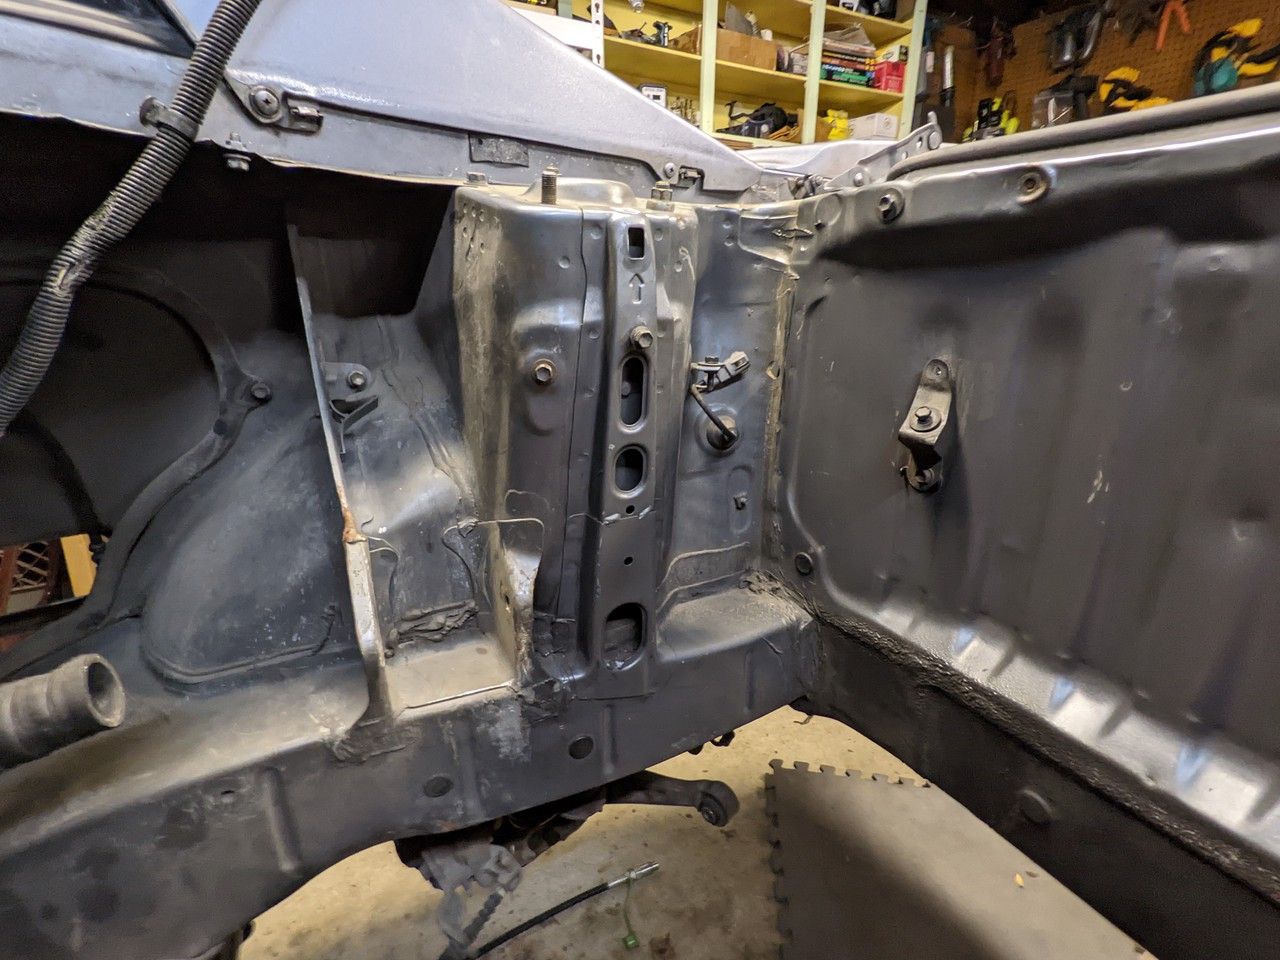
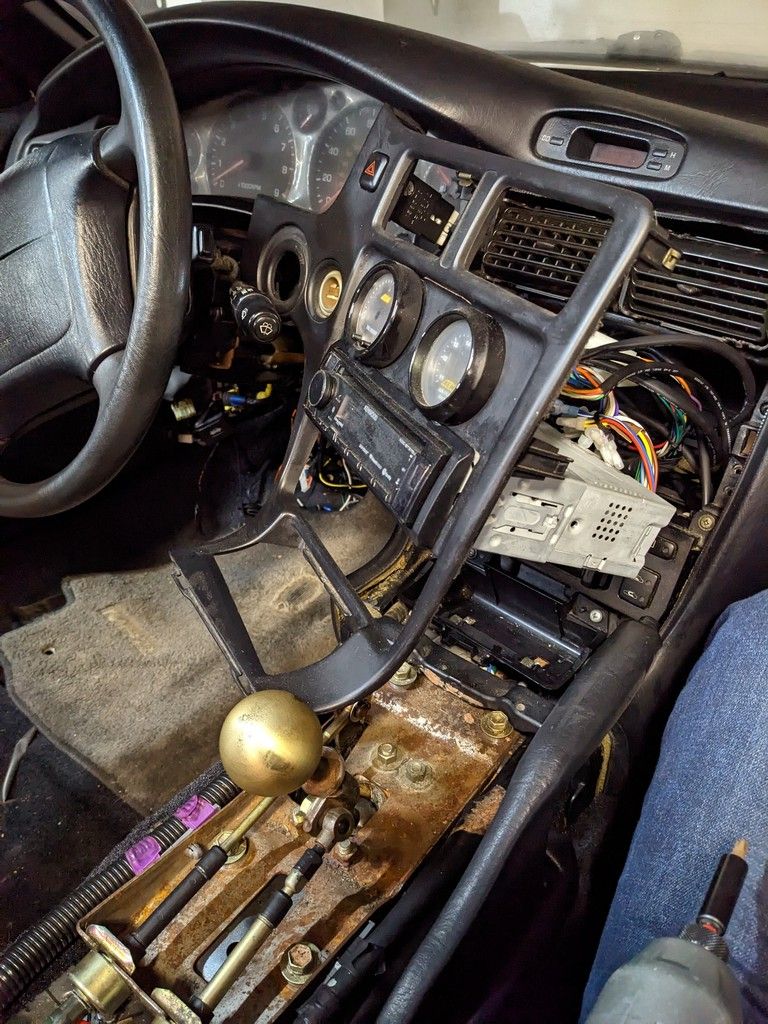
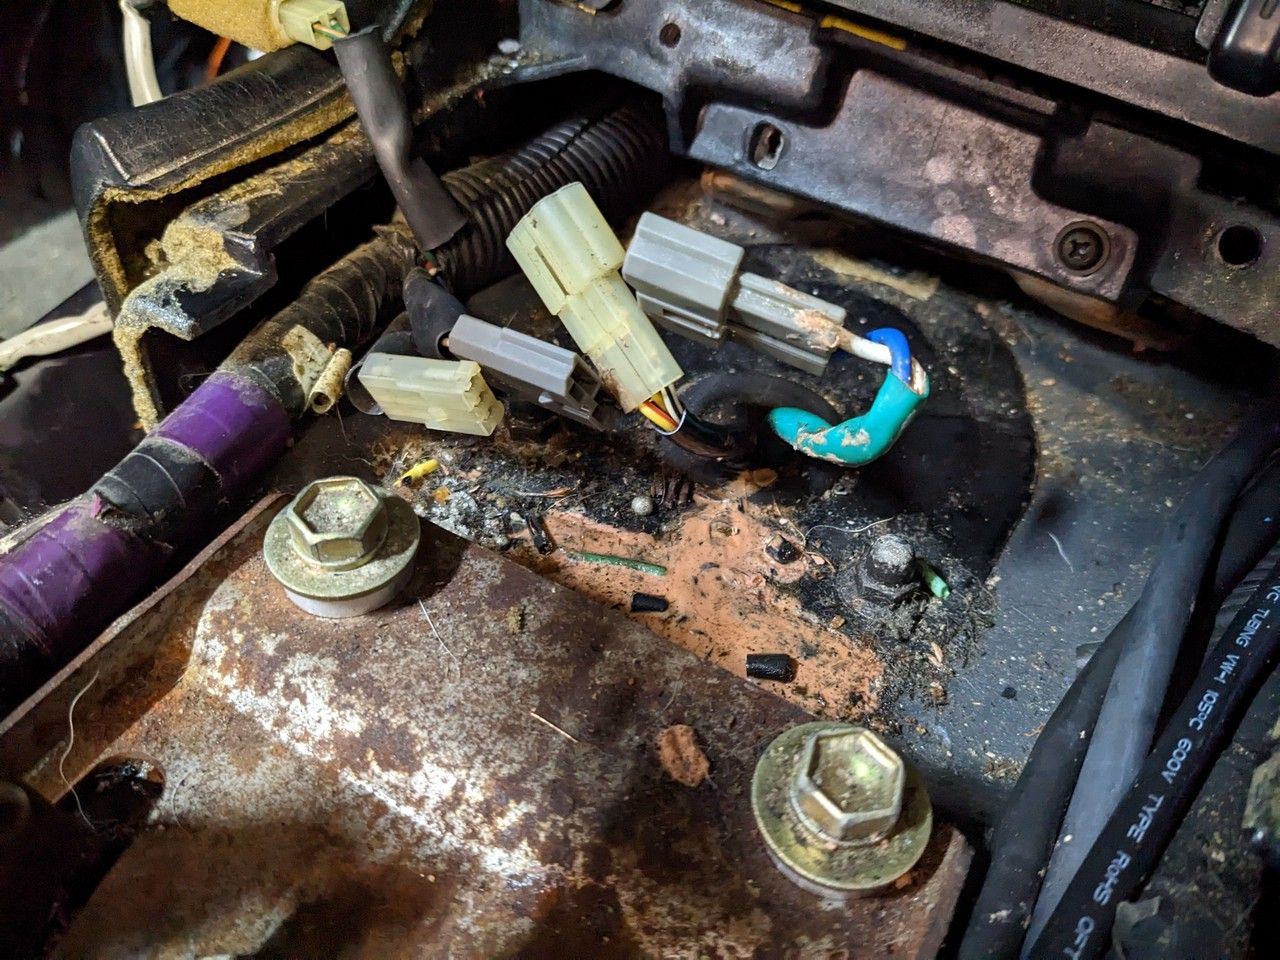
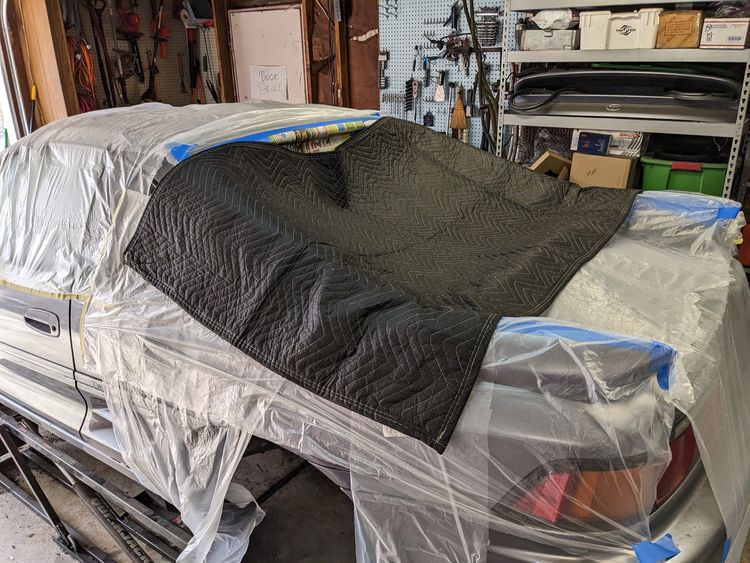
I continued removing items from the engine bay until I got here. Many of these items I felt were going to be more work to remove than just covering them and sanding/painting around them. That was wrong. Just trust me on this, just about everything in the bay is not that difficult to remove and far easier than working around it. I also "masked" the bay here and later we'll find why this was a waste time at this stage.
Next post will be continuing to prep the bay for paint and my process for getting there. I know this is a lot of prep before anything really exciting happens, but I promise it will be worth the wait (probably).
Editor's note: This hasn't been released to the public yet and by the time I post it will probably be a few posts behind. So if you're reading this there won't be a wait!
Comments ()